Friendship bracelets are one of those classic crafts that never go out of style. They’re simple, fun to make, and full of meaning, whether you plan to give one to a friend or wear your creation with pride.
If you’ve always wanted to try making one but didn’t know where to start, this beginner-friendly guide has you covered.
We’ll walk you through every step on how to make friendship bracelets while using clear instructions, helpful visuals, and even a video to make learning easy and fun.
You’ll learn how to create the chevron pattern, one of the most popular and recognizable bracelet styles. By the end, you’ll have the confidence to try out even more designs and make bracelets that truly stand out.
Why Are Friendship Bracelets Special?
Friendship bracelets are more than just colorful accessories; they carry meaning, memories, and connection.
Handmade and thoughtful, they symbolize friendship, love, and care between the giver and receiver.
Each knot represents time and effort, making the bracelet feel personal and heartfelt. They’re also a fun way to express creativity through colors and patterns, and a great keepsake that can last for years.
Whether exchanged at camp, during school, or just for fun, friendship bracelets are a simple yet powerful way to show someone you care.
What Materials Do You Need to Make Friendship Bracelets?
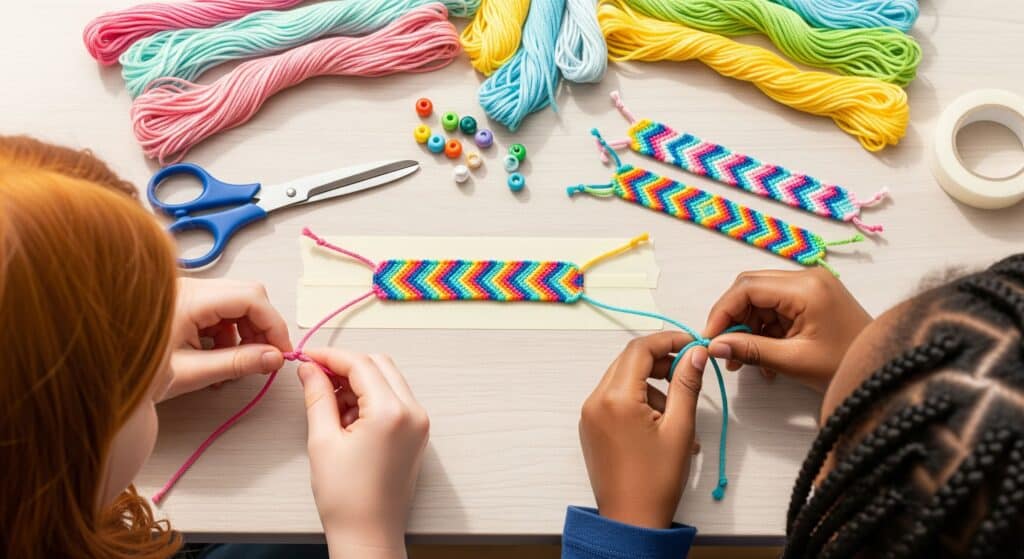
Before you start crafting and learning how to make friendship bracelets, ensure you have all the necessary materials ready. Here’s what you’ll need to get started.
| Material | Details |
|---|---|
| Embroidery Floss | 6 strands, each about 72 inches long |
| Scissors | For cutting the floss |
| Tape / Clipboard / Pinboard | To secure the top loop while knotting |
| Beads or Charms (optional) | To personalize your bracelet |
Once you’ve gathered these simple supplies, you’ll be all set to begin your bracelet-making project, no fancy tools required!
Step-by-Step: Making the Chevron Bracelet
Ready to make your first chevron bracelet? Follow these simple steps to create and learn how to make friendship bracelets, a colorful, classic design that’s perfect for gifting or wearing yourself.
Step 1. Prepare & Secure the Floss

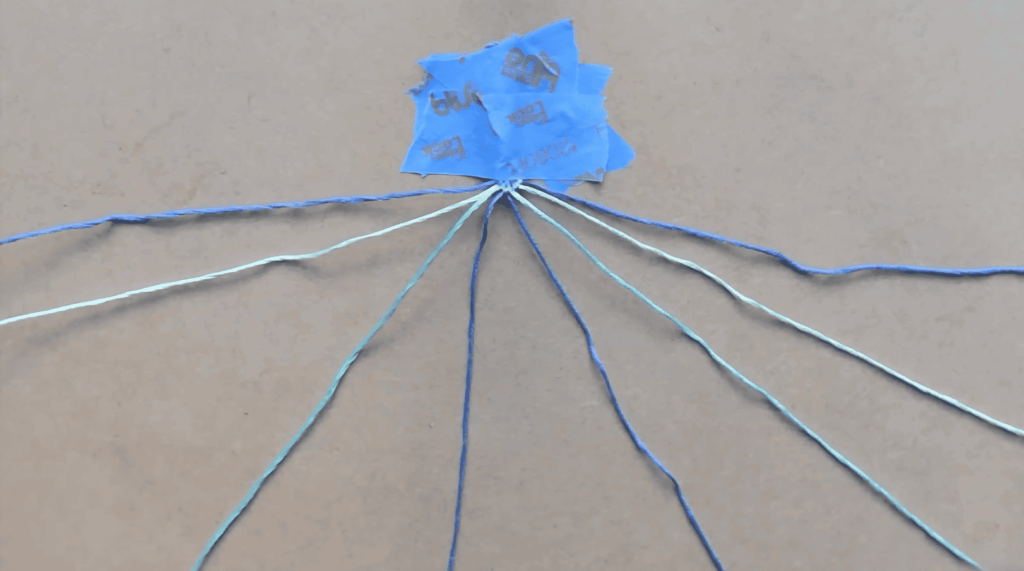
Start by folding all six strands of embroidery floss in half and tying a knot about an inch below the fold to form a loop; this will be the top of your bracelet.
Secure the loop to your workspace with tape, a clipboard, or a pinboard.
Then, arrange the strands in a mirrored order from the center out (e.g., A, B, C on the left and C, B, A on the right), which is key for making the chevron pattern.
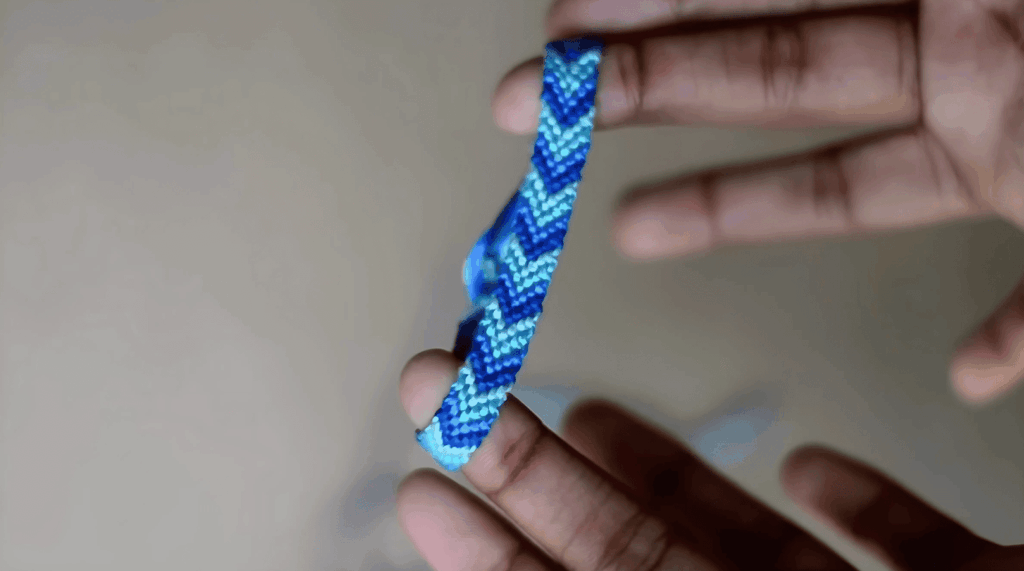
Step 2. Starting the Chevron
![]()
Next, begin with the outer left strand (A) and tie two forward knots on each strand as you move toward the center, stopping when you reach the middle.
Then switch to the outer right strand (A) and tie two backward knots on each strand toward the center.
When both A strands meet in the middle, tie them together with a forward or backward knot. This completes one row and forms your first chevron “V”!
Step 3. Connect the Center
When the two leading strands meet in the center, bring them together and tie a backward knot followed by another backward knot to form a double knot.
This secures the center and creates the sharp “V” point of your chevron pattern. Repeat this step each time the outer strands meet in the middle.
Step 4. Repeat the Rows

Continue the pattern by starting each new row with the outermost strands on both sides.
Tie forward knots from the left and backward knots from the right, moving inward. When the strands meet in the center, tie them together to complete the row.
Repeat this process to form the chevron “V” pattern, and continue until the bracelet reaches your desired length.
Step 5. Finishing the Bracelet
Once your bracelet reaches the desired length, gather all the strands and tie a tight final knot just below the last row to secure it. Trim any excess floss neatly.
You can braid or knot the loose ends on each side to make simple ties for wearing and adjusting the bracelet.
For a fun finishing touch, consider adding a bead or charm to the ends.
Once you’ve finished tying the last knot, step back and admire your work! You’ve just made a classic chevron bracelet, perfect for gifting or keeping as a handmade accessory.
For more detailed instructions, refer to the YouTube video below:
Why the Chevron Pattern Is Great for Beginners?
The chevron pattern is one of the best designs to start with when learning how to make friendship bracelets.
It teaches you the two most essential knot types, forward and backward knots, which are the foundation for almost every other bracelet style.
As you repeat the steps, you’ll build confidence and muscle memory, making it easier to move on to more advanced patterns later on. Plus, the bold “V” shape of the chevron looks impressive, even for a beginner, which helps keep you motivated.
Once you’ve mastered the chevron, you’ll be ready to try more complex styles like double-chevron, diamond, or wave designs.
Pro Tips for Chevron Bracelet Success
Want to keep your bracelet-making smooth and frustration-free? These simple tips will help make the process easier, neater, and more enjoyable from start to finish.
- Keep Tension Consistent: Try to tie each knot with the same tightness to ensure even rows and a smooth, polished look.
- Use a Clipboard or Tape: Securing your bracelet helps keep the strands steady and prevents tangling as you work.
- Check Your Strand Order Often: Make sure your strands stay in mirrored order—this keeps the chevron pattern neat and symmetrical.
- Double Knot Every Time: Always tie two knots per strand (forward or backward) to lock each step in place and make your design durable.
- Practice Makes Perfect: Your first bracelet might not be perfect, but with practice, your knots will get more even and your pattern cleaner.
- Use Good Lighting: Proper lighting helps you see the strands clearly and catch mistakes early.
- Leave Extra Length: Start with longer strands than you think you’ll need—better to have extra than to run short partway through.
Wrapping it Up
You now have everything you need to make your very own chevron friendship bracelet from start to finish.
With your materials ready, step-by-step instructions in hand, and video support to guide you, creating a beautiful bracelet is entirely doable, even for beginners.
As you practice, you’ll get more comfortable with the basic knots and may even feel ready to try more complex patterns. Don’t forget to have fun with colors, add personal touches like beads or charms, and enjoy the process.
Once your bracelet is complete, wear it proudly, gift it to someone special, or share your creation online to inspire others. Friendship looks good in a string!