Ready to pick up a pencil and start drawing? Whether you’ve never sketched before or just want to refresh your skills, drawing is a fantastic way to tap into your creativity.
It’s easier than you think to begin, and with a little guidance, anyone can learn to create beautiful art.
In this blog, we’ll explore the essential tools you need, simple techniques to get started, and fun exercises to build your skills.
By the end, you’ll be confident enough to sketch anything, from basic shapes to simple objects, and even begin adding shading and depth. Let’s get started on your drawing journey!
What is Drawing? Is It Worth Learning?
Drawing is the act of creating marks on a surface, usually paper, to form shapes, objects, or even abstract compositions.
It’s often seen as the core of artistic expression, enabling visual communication of ideas, emotions, and observations. For beginners, drawing offers the unique opportunity to explore creativity without any pressure.
But is it worth learning? Absolutely! Drawing isn’t just about creating art; it also helps improve focus, patience, and observation skills.
Plus, it can be incredibly therapeutic, offering a calm space to relax and unwind. Whether you want to sketch for fun or develop skills for other artistic endeavors, learning to draw is a rewarding experience.
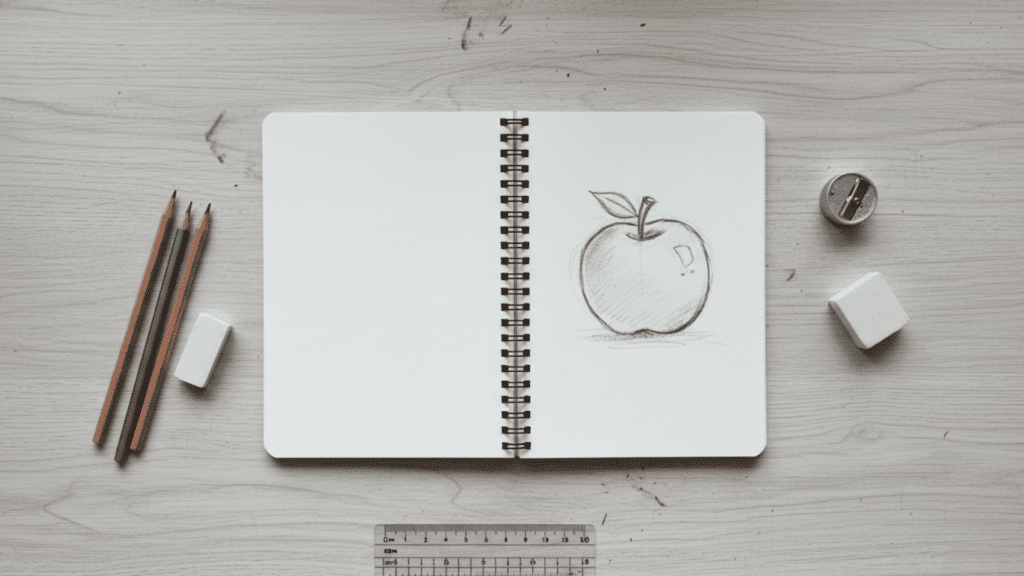
Must-Have Drawing Tools for Beginners
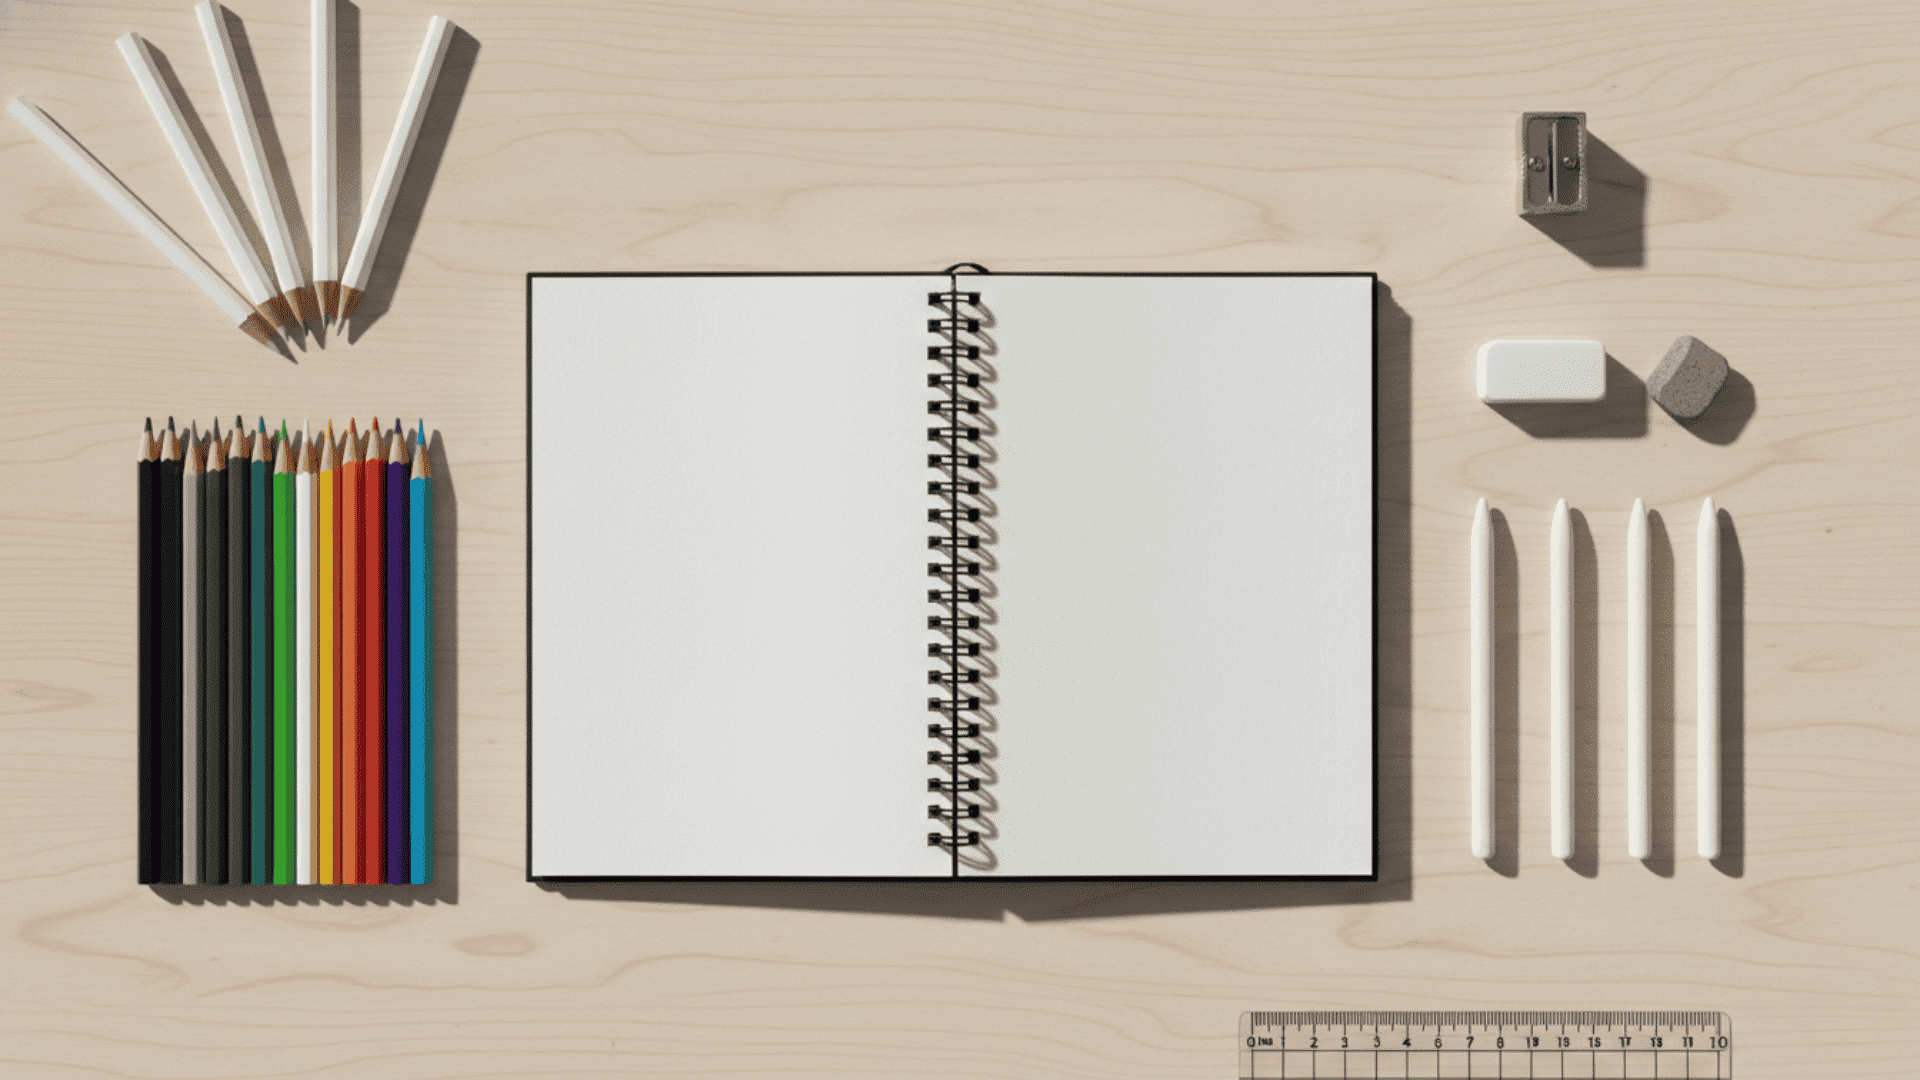
Before you start drawing for beginners, it’s important to know the essential tools you’ll need. Luckily, you don’t need an expensive set of materials to get started; basic tools will do the trick.
| Tool | Purpose | Notes |
|---|---|---|
| Pencils | Use for sketching and shading. | Start with HB for sketching, 2B/4B for shading. |
| Paper | Use textured paper for better marks. | Choose a good-quality sketchbook. |
| Erasers | Lighten marks and refine details. | Kneaded for blending, precision for details. |
| Blending Stumps | Smooth shading and transitions. | Helps create soft edges and gradients. |
| Colored Pencils | Add color to your sketches. | Great for more vibrant, detailed drawings. |
| Pens | Outline and define sketches. | Use for clean, sharp lines. |
| Ruler | Draw straight lines and measure proportions. | Ideal for architecture or geometric shapes. |
| Sharpener | Keep pencils sharp for fine details. | Invest in a quality sharpener for durability. |
Fundamental Drawing Techniques for Beginners
Now that you’re equipped with the right tools and posture, let’s dive into the core techniques every beginner should learn. These are the building blocks of drawing, and once mastered, they’ll make everything else much easier.
1. Lines and Shapes
Drawing basic shapes, such as circles, squares, and triangles, forms the foundation for more complex drawings. These shapes help you structure your sketches, and with practice, you’ll learn how to break down more complicated objects into simple forms.
2. Contour Drawing
Contour drawing involves outlining the shapes of objects without lifting your pencil from the paper. For beginners, this technique improves your ability to observe details and helps develop precision. Try practicing with everyday objects and challenge yourself with blind contour drawings (draw without looking at your paper) to sharpen your skills.
3. Shading and Light
Understanding light and shadow is crucial in creating depth and dimension in your sketches. Start with basic shading techniques, such as hatching (parallel lines), cross-hatching (intersecting lines), and stippling (dotting). By observing light sources and how shadows fall, you’ll learn how to give your drawings more realism.
4. Perspective

Perspective helps you create the illusion of depth in a two-dimensional drawing. Start with one-point perspective, where parallel lines converge toward a single point on the horizon. Once you’re comfortable with that, explore two-point perspective for more dynamic compositions.
5. Proportion
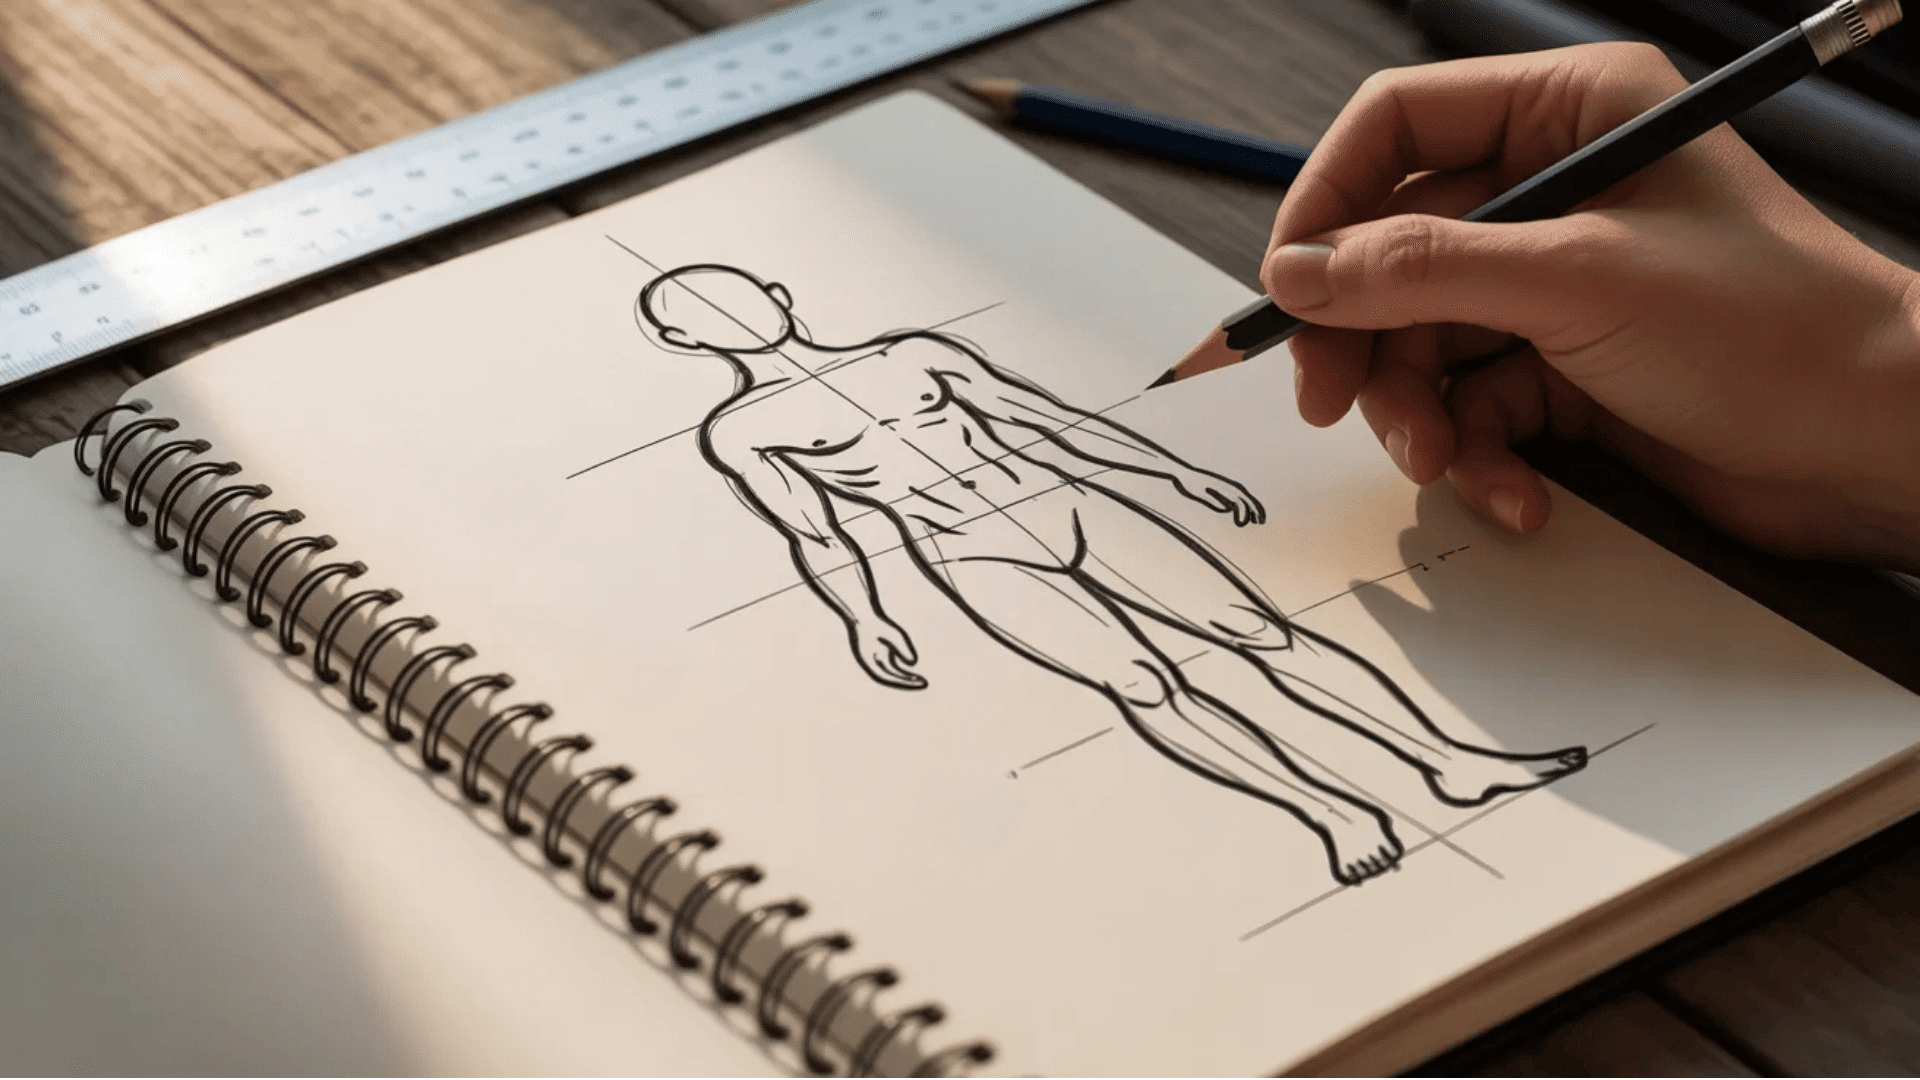
Getting proportions right is essential, especially when drawing human figures or objects. Learning basic proportions, such as the “rule of thirds” for faces, can help ensure your drawings look realistic. Using reference images or grids can help you get a feel for proper proportions.
6. Gesture Drawing
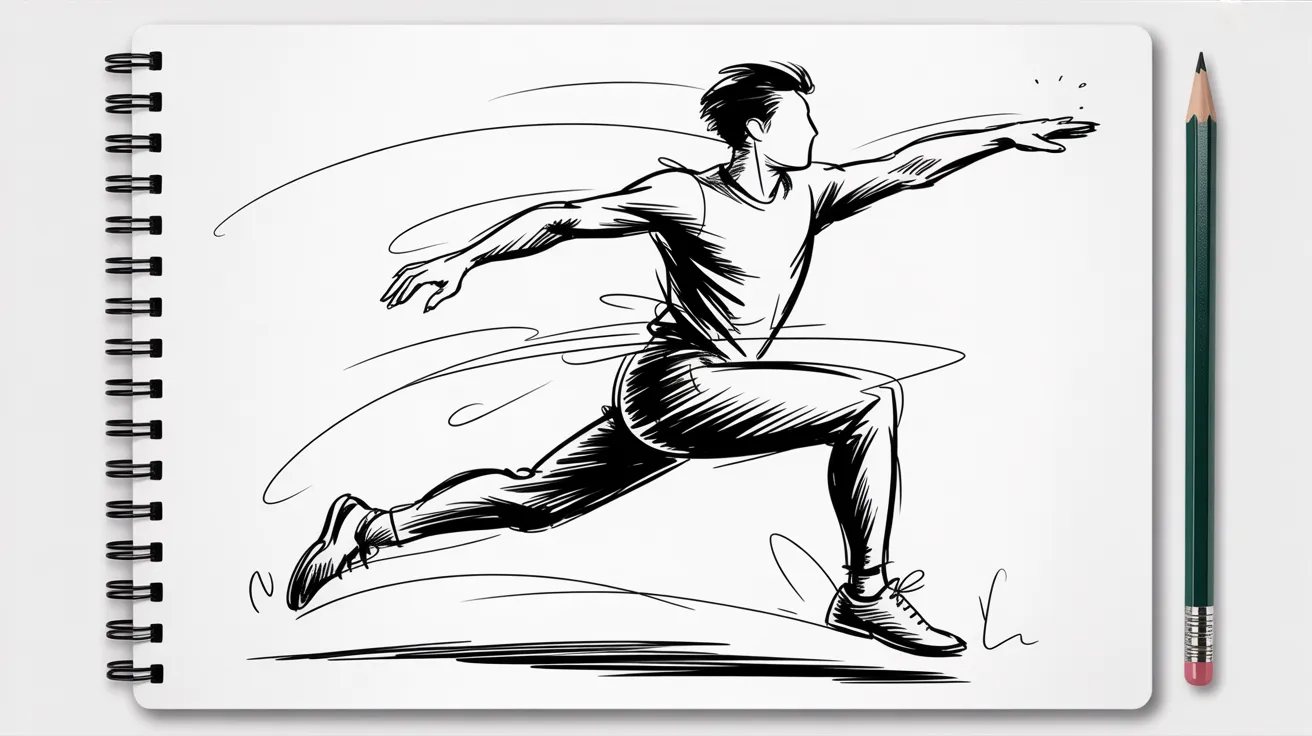
Gesture drawing involves capturing the movement and essence of a subject in a few quick lines. This technique helps you learn to draw fluidly and expressively. Try drawing quick sketches of people or animals in motion to practice.
How to Hold Your Pencil & Get Comfortable?
When you’re just beginning, the way you hold your pencil can impact your lines and overall comfort.
Many beginners make the mistake of gripping their pencil too tightly, which can lead to hand cramps and stiff lines. To avoid this, try using a relaxed grip.
For more controlled sketches, the tripod grip (where the pencil rests between your thumb and index finger) is a good choice.
For looser, more fluid sketches, hold your pencil further back, almost like you’re holding a paintbrush. This will allow your hand to move more freely.
Start with basic shapes and practice different grips to see what feels most natural. This will help you stay relaxed while sketching and build the muscle memory necessary for smooth strokes.
Step‑by‑Step Drawing Exercises for Beginner
To truly improve your drawing, it’s essential to practice consistently. These beginner exercises will help you develop fundamental skills, build muscle memory, and sharpen your observation abilities. Take it slow and enjoy the process!
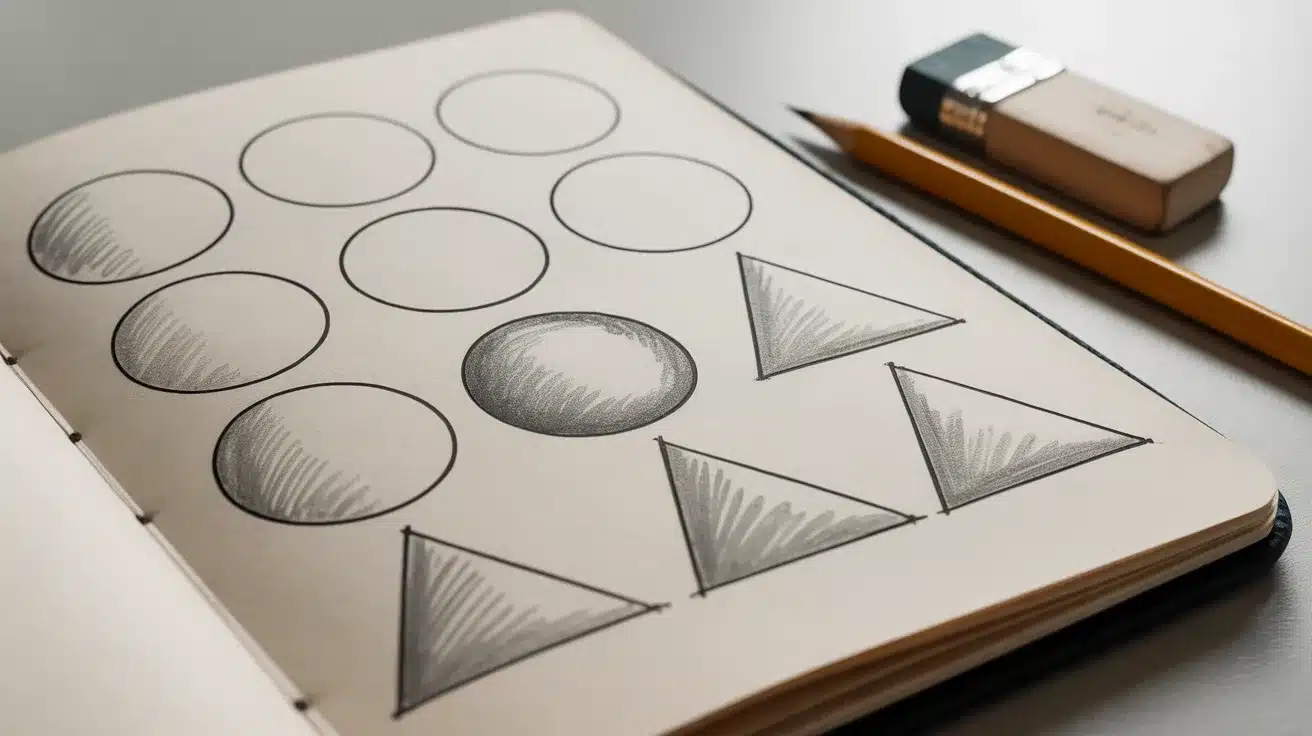
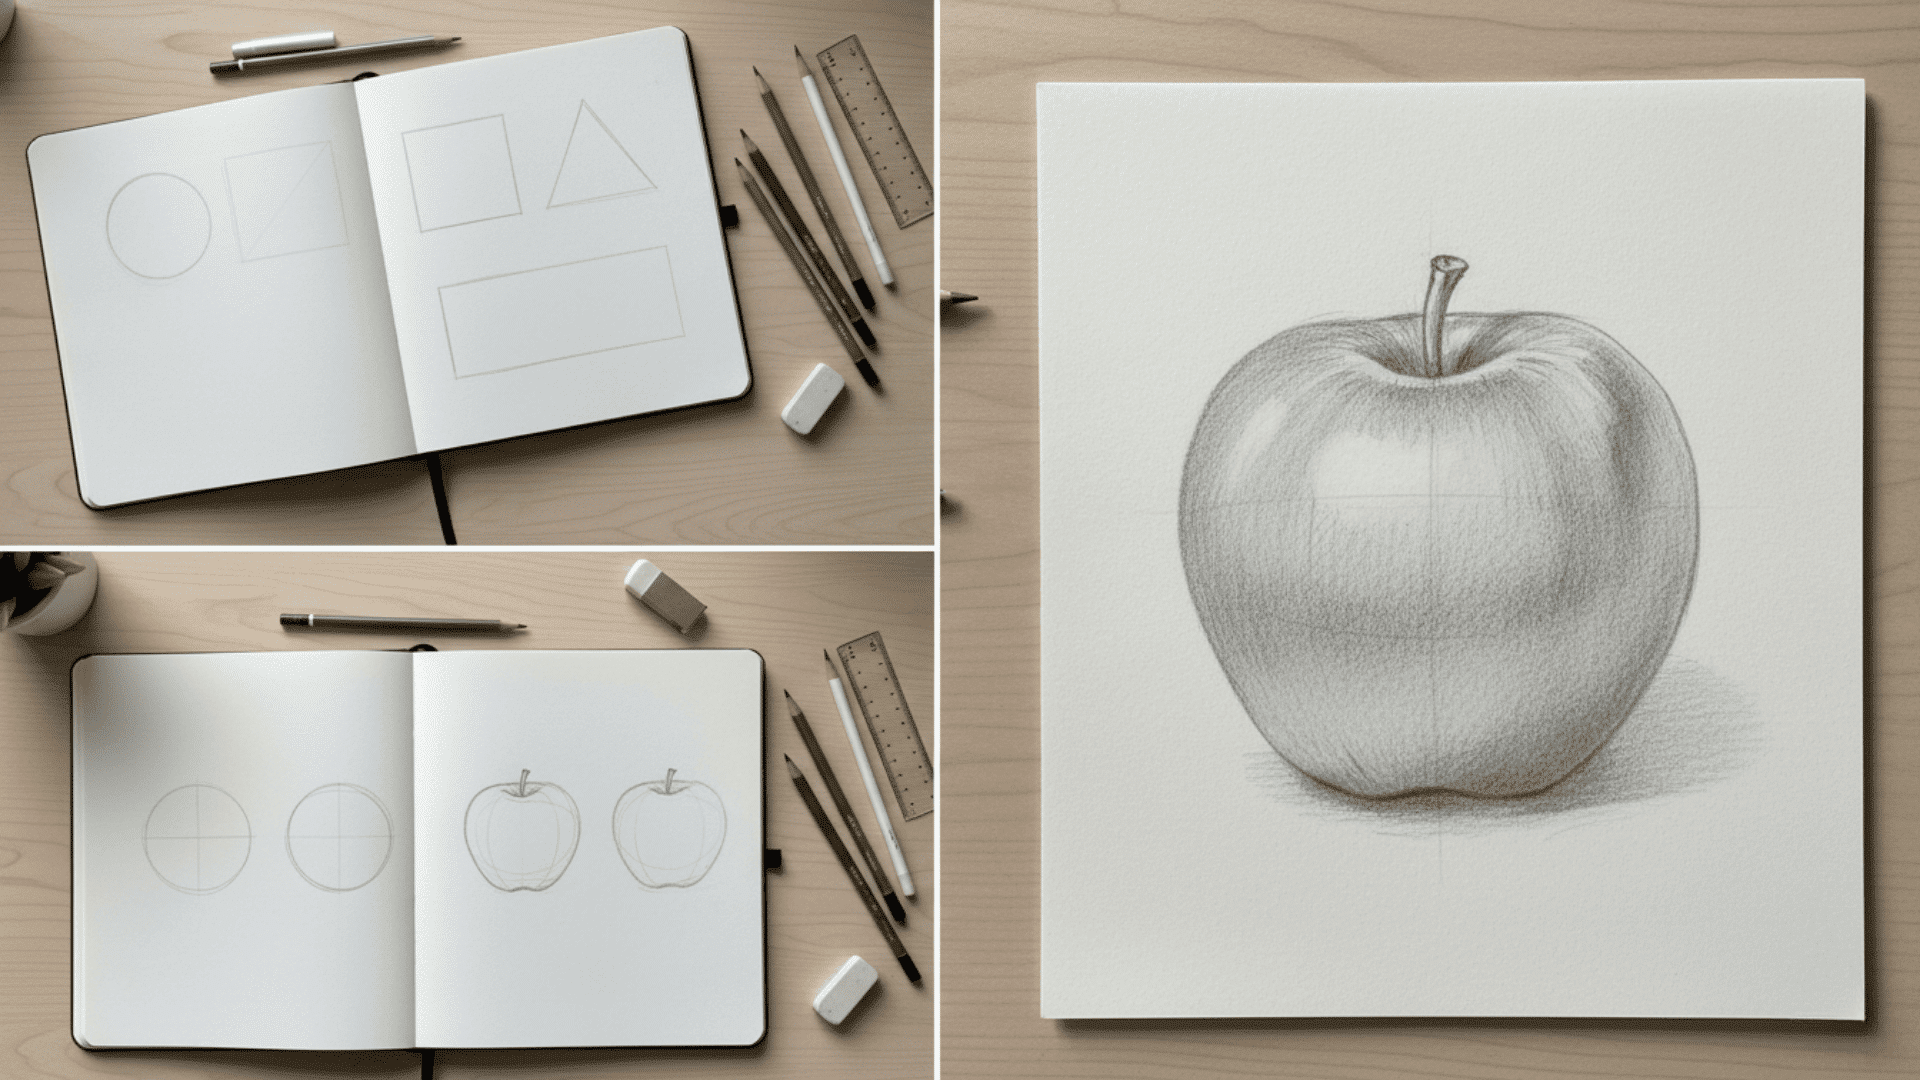
Step 1. Start with Simple Shapes
Begin by drawing basic shapes such as circles, squares, and rectangles. Once you’re comfortable with these, try combining them into 3D forms like cubes, spheres, or cylinders. This exercise is essential for understanding form, structure, and spatial relationships.
Tools Used:
- Pencils (HB or 2B)
- Paper (sketchbook or textured paper)
- Erasers (for correcting mistakes)
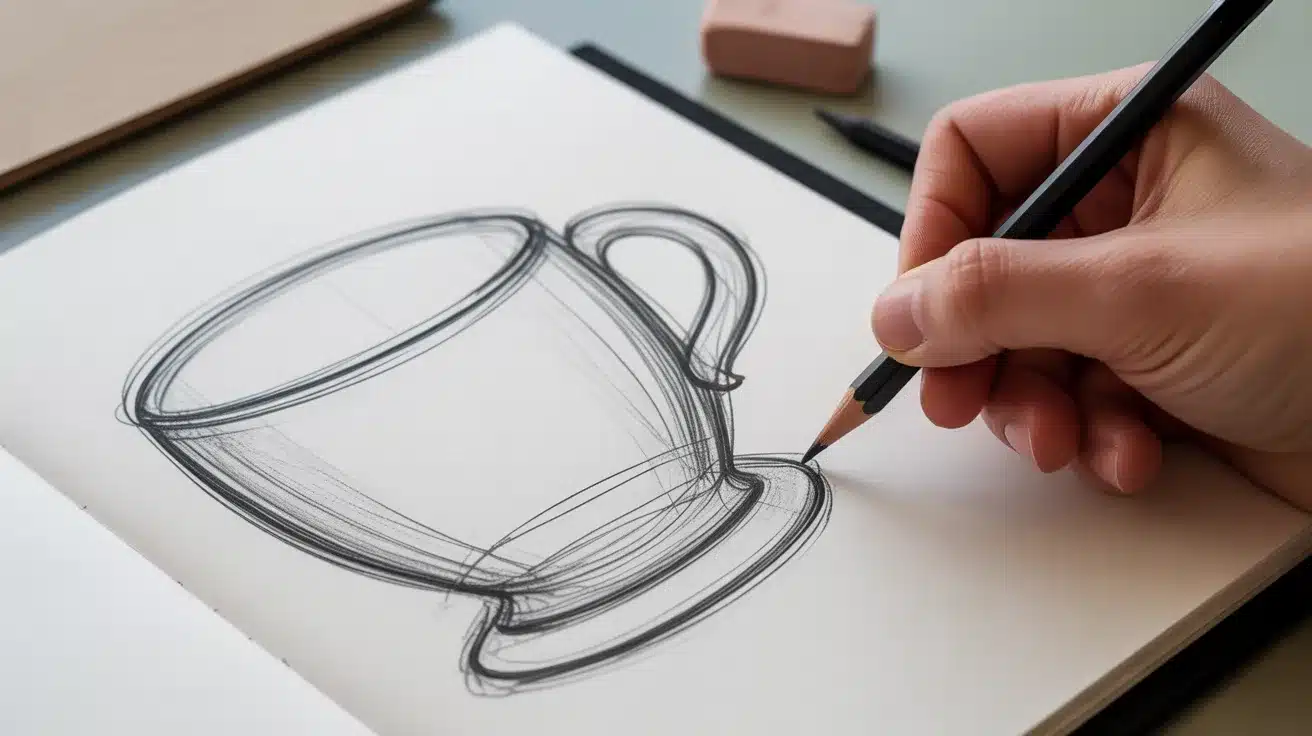
Step 2. Sketch Everyday Objects
Choose simple objects from around your home, like a cup, a plant, or a book, and sketch them. This exercise helps improve your eye for proportion and shape. Don’t worry about adding shading at first—focus on getting the proportions and structure correct.
Tools Used:
- Pencils (HB, 2B)
- Paper (preferably a sketchbook with a textured surface)
- Erasers (precision tip for detail)
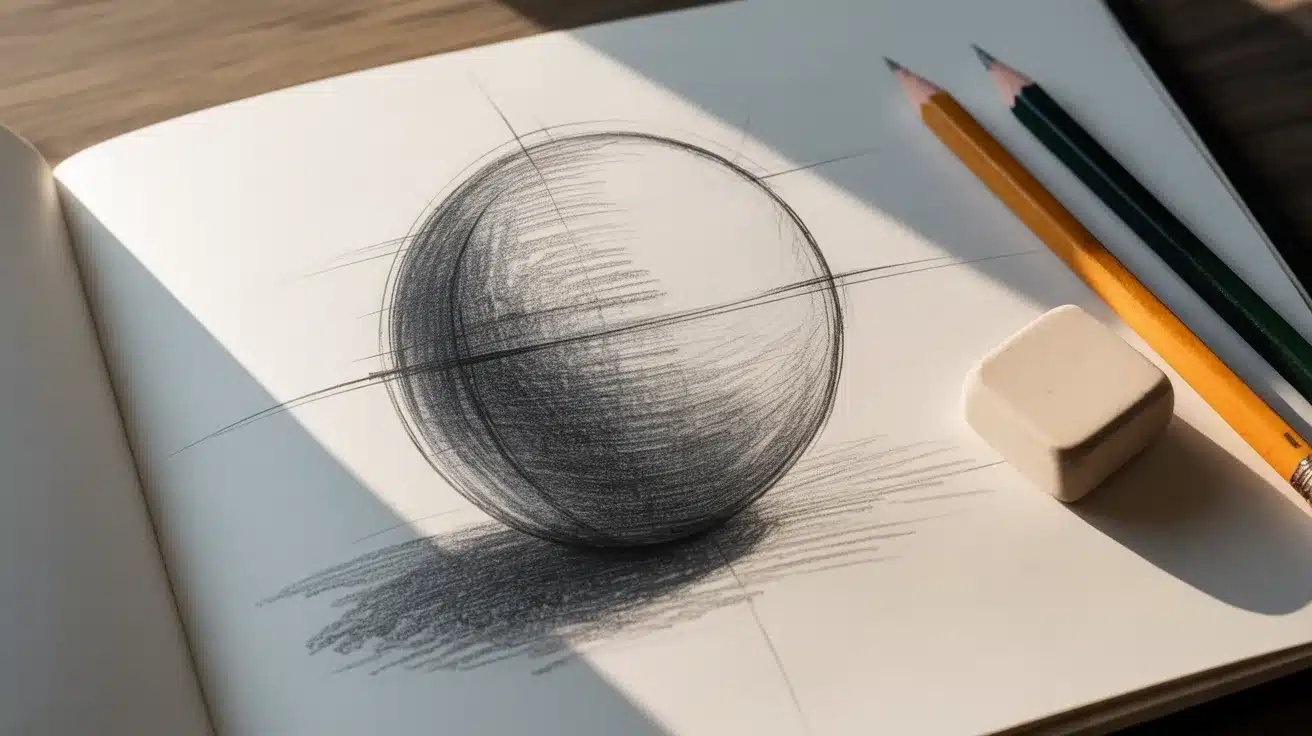
Step 3. Experiment with Shading
Once you’re comfortable with basic shapes, move on to shading. Start by drawing a simple object, like a ball, and practice creating light and dark areas to give it depth. Understand how light hits the object and how shadows create volume.
Tools Used:
- Pencils (2B, 4B for shading)
- Blending stumps (optional, for smooth transitions)
- Erasers (to lighten areas or correct shading)
Step 4. Gesture Drawing
Gesture drawing involves quick, loose sketches of people or animals in motion. Focus on capturing the energy, flow, and movement rather than precise details. These quick sketches train your hand to draw fluidly and expressively.
Tools Used:
- Pencils (2B for fluid sketches)
- Paper (any type of sketching paper)
- Timer (optional, to keep sketches brief, around 30 seconds to 2 minutes)
Simple 8 Drawing Ideas for Beginners
Working on fun projects not only helps you stay motivated but also makes learning enjoyable. These simple drawing ideas will allow you to practice different techniques and gain confidence in your skills.
1. Fruits and Vegetables
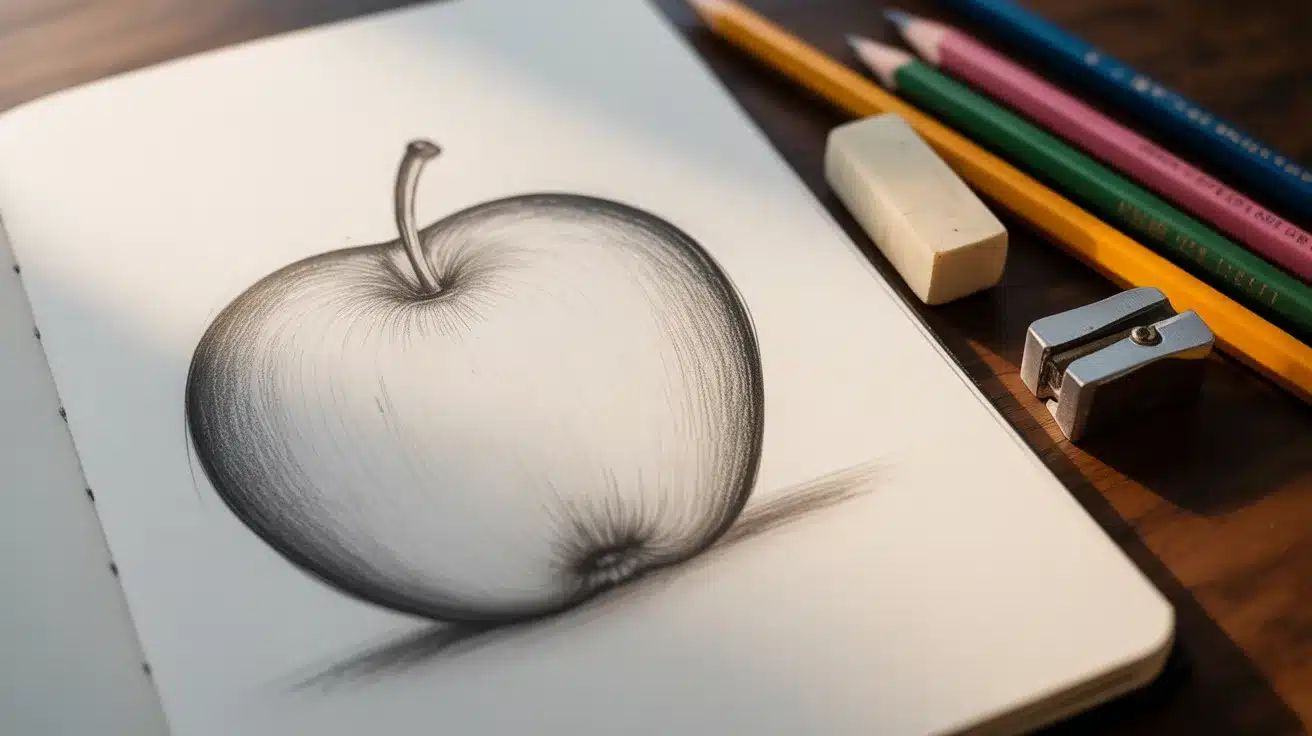
Start with basic, round objects like apples, oranges, or pumpkins. These subjects are perfect for practicing shading and proportions, as they allow you to experiment with light and texture while keeping the shapes simple and easy to capture.
2. Animals
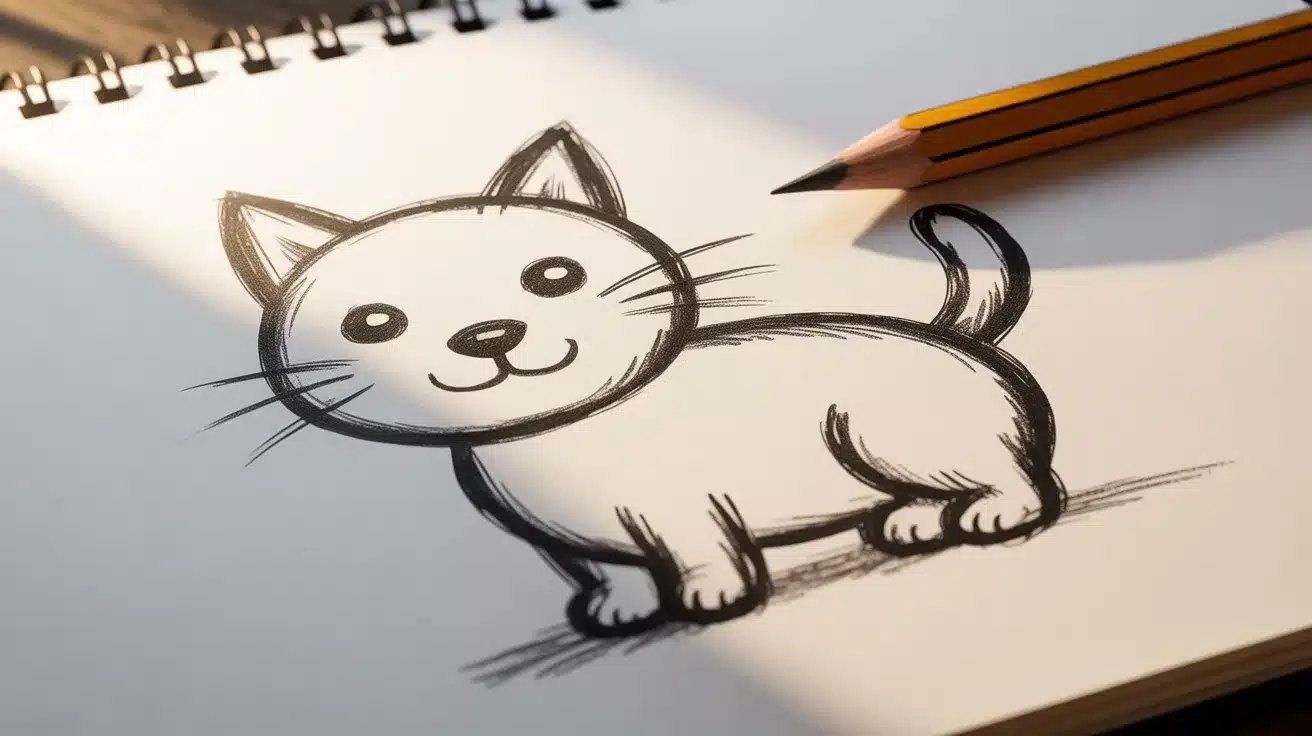
Drawing simple animals like cats, dogs, or birds can be a fun way to focus on basic shapes and proportions. Don’t worry about getting every detail perfect—just concentrate on the general structure and form to build your understanding of anatomy.
3. Still Life
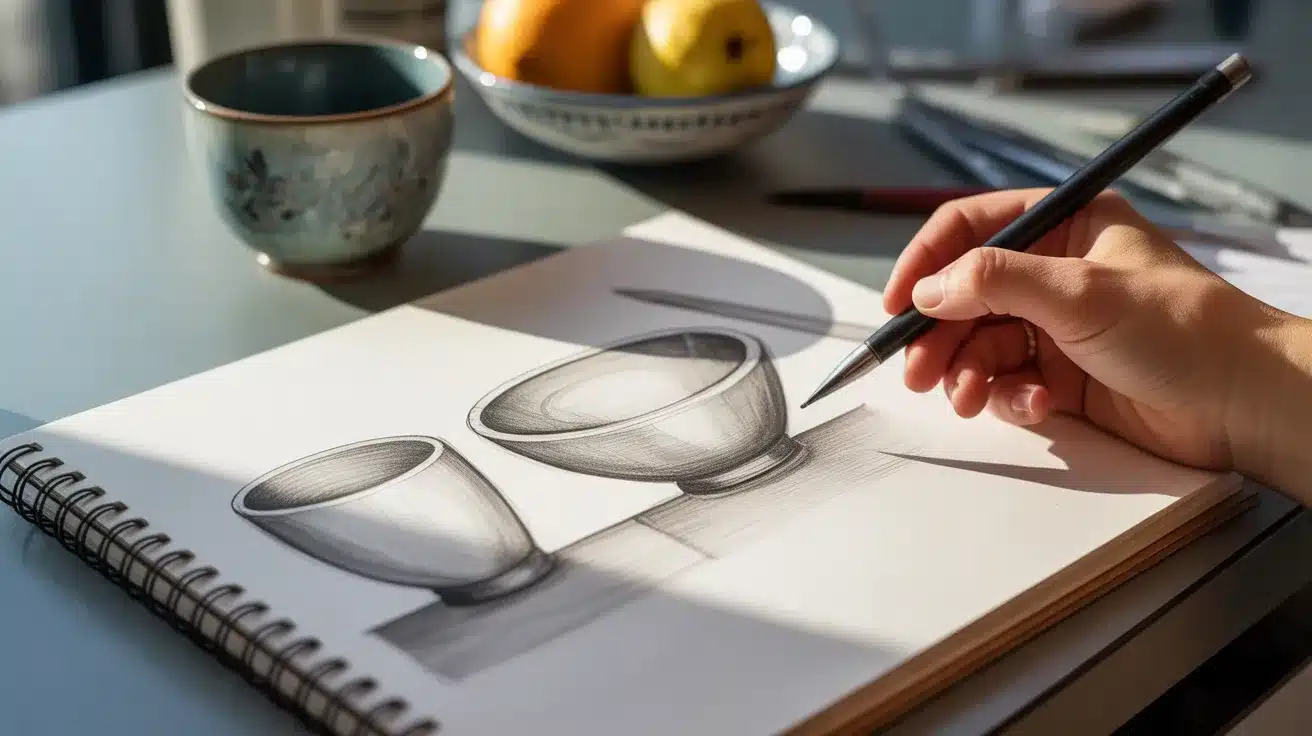
Set up a small still-life arrangement with a few objects, such as a vase, a bowl, or fruit. This exercise helps you practice proportions, angles, and perspective. It’s a great way to improve your observation skills and learn how to balance the objects in your drawing.
4. Plants and Flowers
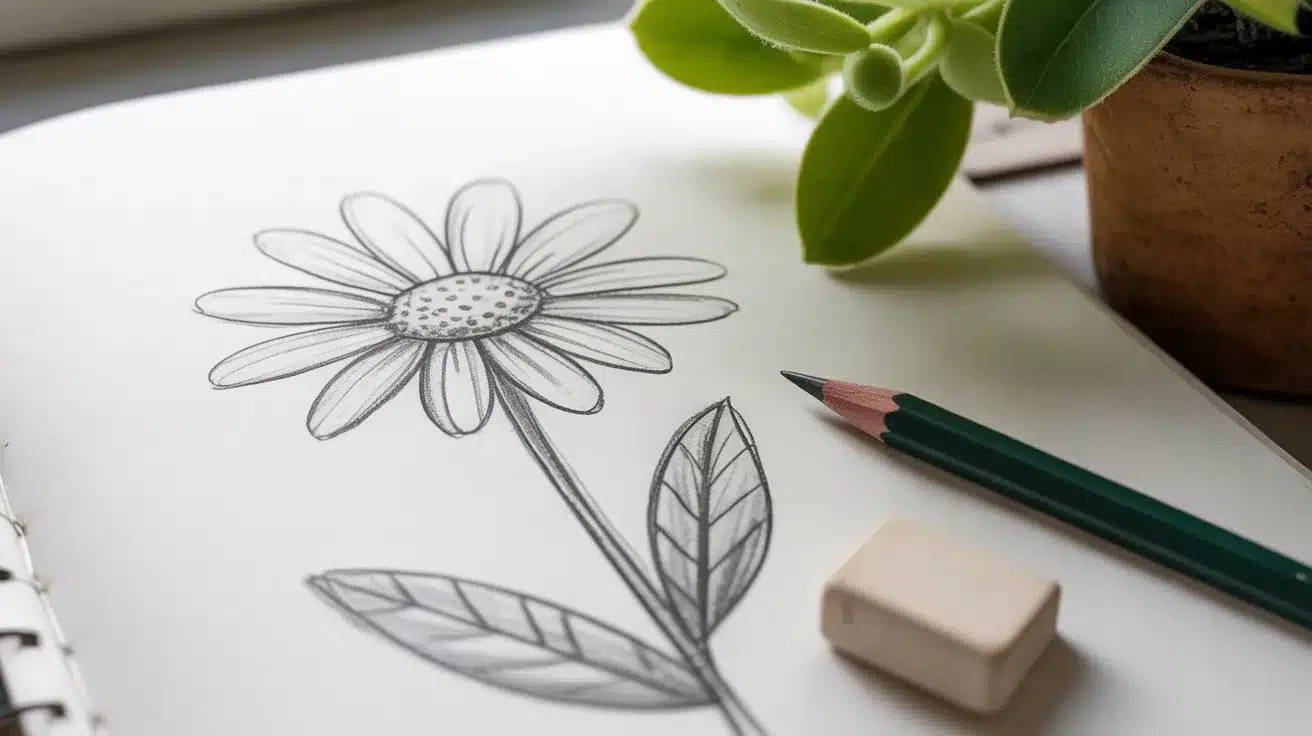
Plants and flowers are excellent subjects for practicing symmetry, detail, and shading. Start with simple flowers like daisies or leaves and experiment with capturing the unique shapes and textures in a relaxed way.
5. Everyday Objects
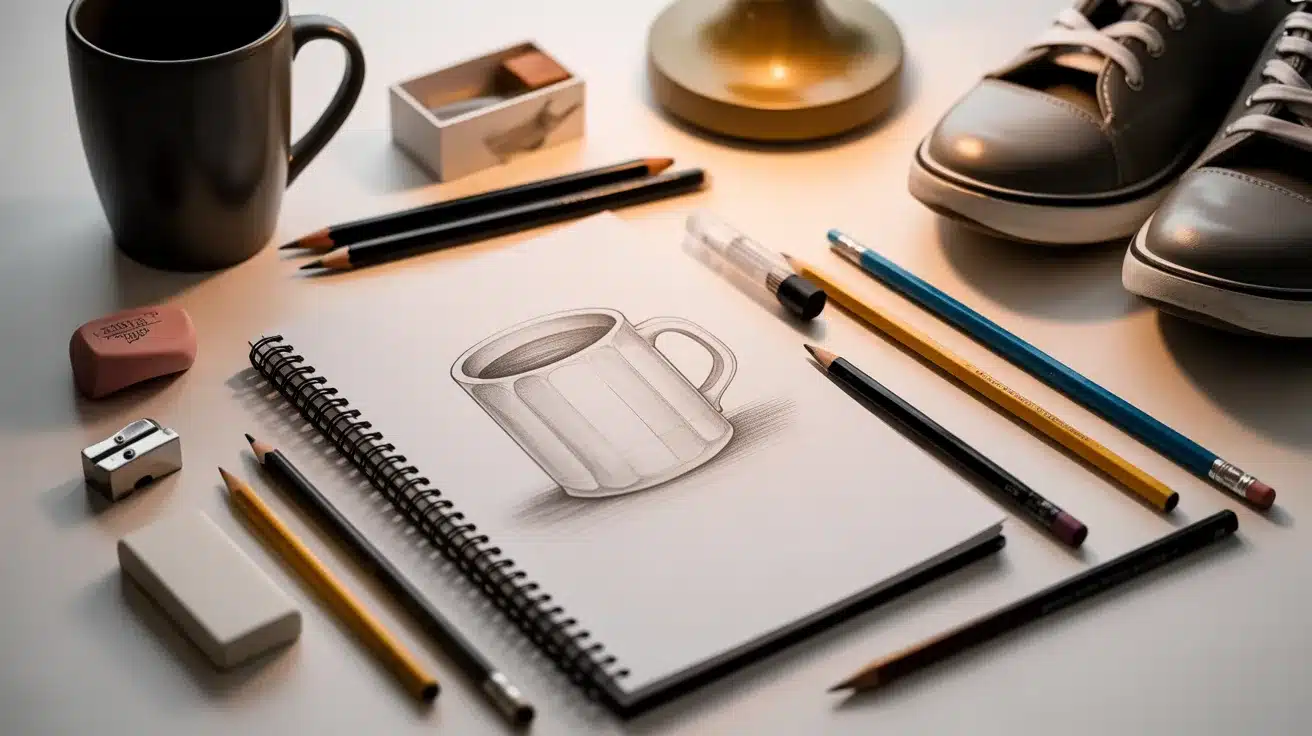
Draw items you use every day, like your favorite mug, shoes, or a lamp. These objects are ideal for practicing accuracy and proportions while working with familiar subjects. Start with basic shapes and refine them into more detailed forms.
6. Cartoons
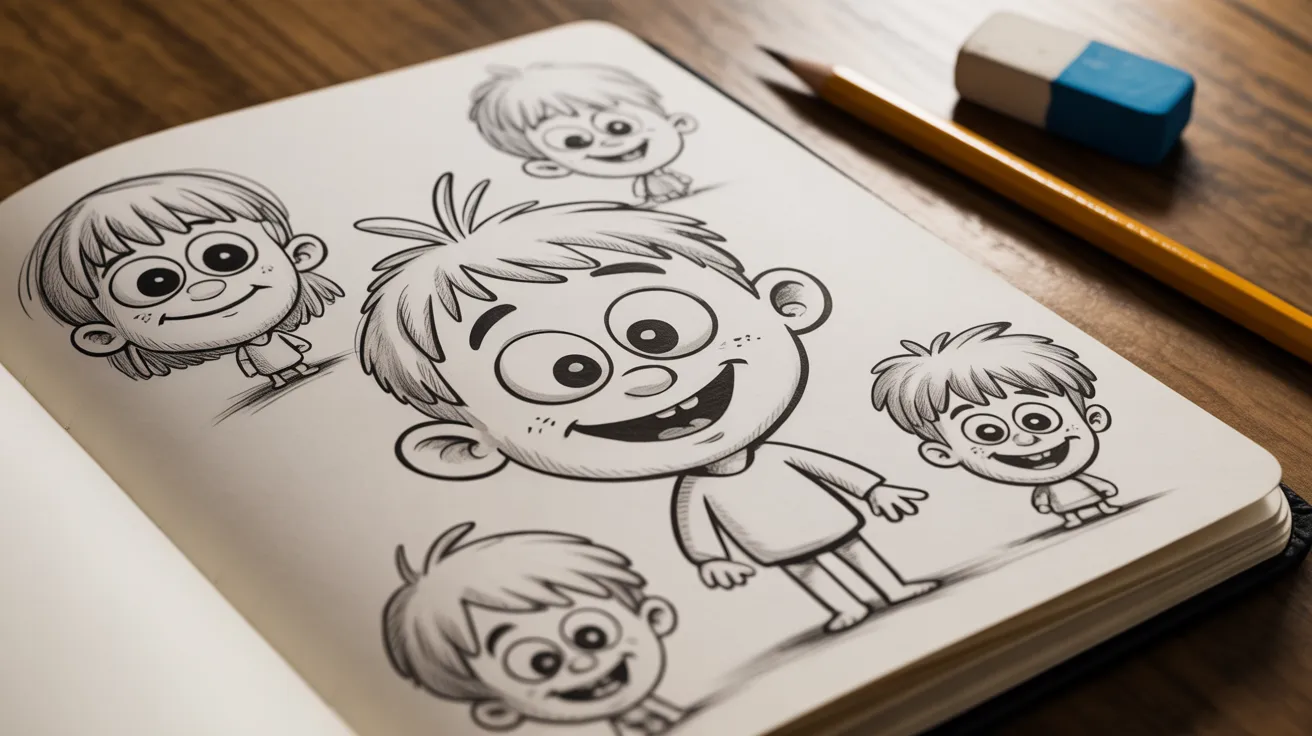
Cartoon characters are a great way to experiment with exaggeration and fluidity in drawing. Try simplifying features like big eyes, oversized heads, or playful poses to capture the essence of the character without worrying about realism.
7. Landscapes
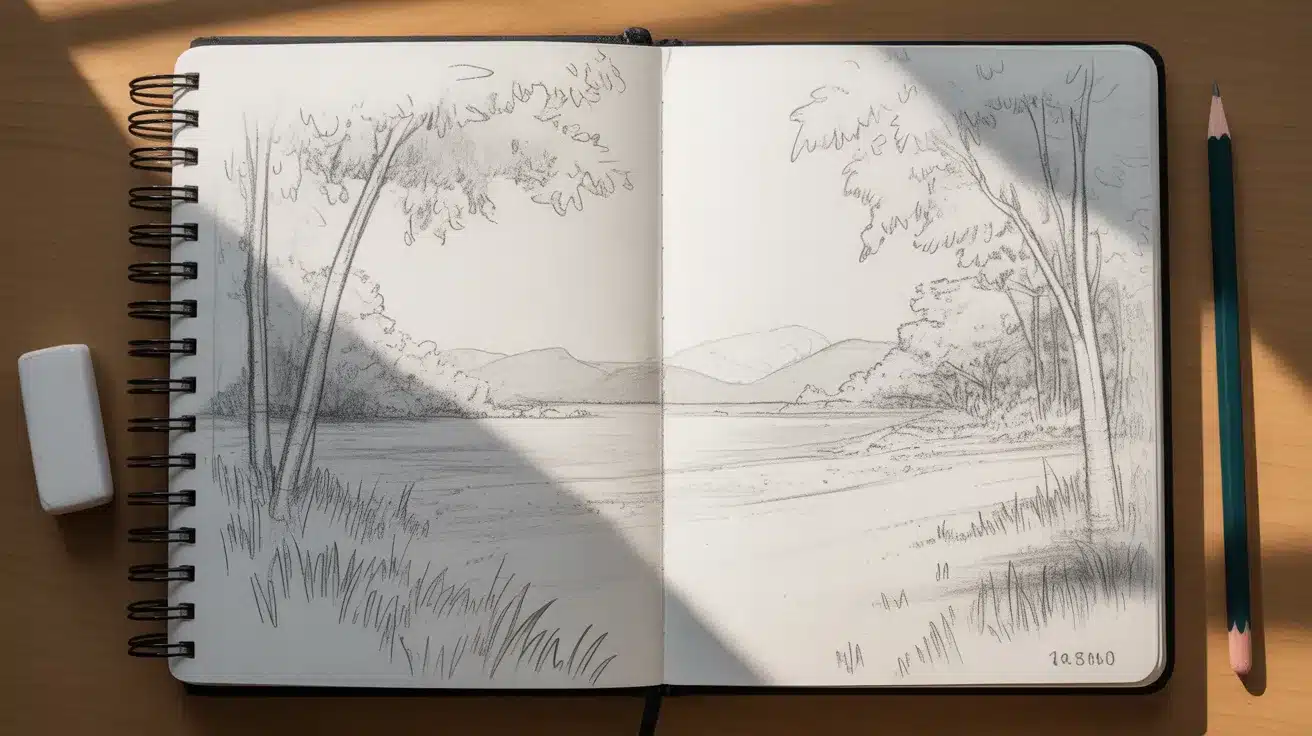
Drawing landscapes like a park, beach, or mountain scene helps you practice perspective and how objects in the foreground appear larger than those in the background. Focus on horizon lines and the relationships between objects to bring your drawing to life.
8. Portraits
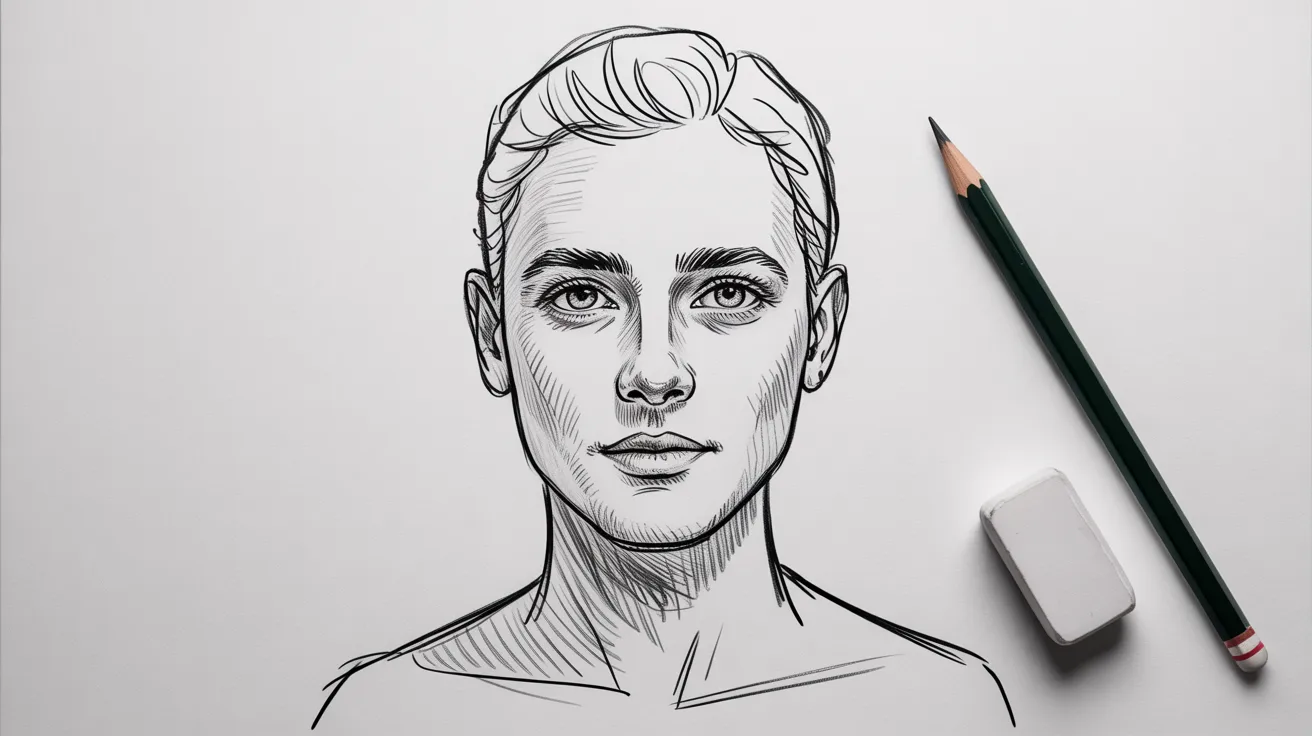
Start by sketching basic facial features, such as eyes, nose, and mouth, using simple shapes like ovals and circles. Once you’re comfortable, work your way up to full portraits. Focus on proportions and capturing the overall structure of the face before adding detailed features.
Avoid These Mistakes When Starting to Draw
When starting your drawing journey, it’s common to make mistakes, but that’s how you learn! Here are five common errors to avoid:
| Mistake | How to Avoid It |
|---|---|
| Overloading Your Sketches | Focus on basic shapes and proportions before adding details. |
| Not Using References | Always draw from life or reference images for accuracy. |
| Skipping Warm-Ups | Warm up with quick sketches before starting complex work. |
| Not Paying Attention to Proportions | Use guidelines and references to maintain proportions. |
| Getting Discouraged by Mistakes | Embrace mistakes and use them as opportunities to learn. |
What is the 4-8-8 Method of Drawing?
The 4-8-8 method is a time management technique designed to maximize focus during your drawing practice.
By breaking your session into manageable intervals, you can tackle different aspects of drawing without feeling overwhelmed.
4 minutes: Warm-up exercises, like simple shapes or quick sketches.
8 minutes: Work on a detailed sketch, focusing on structure and form.
8 minutes: Finish with shading and refining to add depth and detail to your work.
It helps you stay productive and prevents you from spending too much time on a single part of the process.
This method helps keep your practice sessions structured and varied, making your practice more effective and enjoyable. It ensures a balanced approach that improves skills progressively over time.
Final Thoughts
Drawing is a skill anyone can learn with a bit of practice and patience. Whether you’re just starting or looking to improve, focusing on the basics will set you on the right path.
Remember, the key is to enjoy the process and keep challenging yourself. With the right tools, techniques, and consistent practice, your skills will grow.
So, grab your pencil, start sketching, and don’t be afraid to make mistakes; that’s all part of the journey.
Ready to take your drawing to the next level? Keep practicing and see how far you can go! Stay inspired and never stop creating!