
Ever stare at a blank page, wanting to draw but feeling stuck? Your hand freezes. The lines come out wrong. You give up before you even start.
Contour drawing fixes this. It’s simple: you follow edges with your eyes, and your hand follows along. No shading. No fancy tools. Just observation and lines.
Artists have used this technique for centuries because it works. It trains your brain to see what’s actually there, not what you think should be there.
In this guide, you’ll learn what contour drawing is, why it matters, and how to start today.
We’ll cover different types, step-by-step instructions, real examples you can try, and exercises that build your skills fast.
By the end, you’ll have everything you need to improve your drawing with one powerful technique.
What Is Contour Drawing?
Contour drawing is an art technique where you draw the outline of a subject by focusing on its edges and visible lines.
Unlike simple outlining, which traces basic shapes, this method requires you to observe your subject closely as your hand follows every curve and detail.
Artists use it in art schools and workshops because it trains the eye to see accurately. It helps improve hand-eye coordination and quickly builds observational skills.
Many artists rely on this technique for rapid figure studies and quick sketches because it captures form and proportion in minimal time.
Why Practice Contour Drawing?
You might wonder why so many artists start with this technique. The answer is simple: it builds skills that matter for every type of drawing you’ll do later.
- Develops observational skills and attention to form: This technique forces you to study your subject closely, training your eyes to notice details you might otherwise miss.
- Improves hand-eye coordination and drawing flow: Your hand learns to move in sync with what your eyes see, creating smoother and more confident lines over time.
- Encourages artistic confidence and looseness: Regular practice helps you draw without fear of mistakes, making your strokes more natural and relaxed.
- Useful warm-up for more advanced drawing routines: Many professional artists use this as a quick exercise before starting detailed work because it gets their hands and minds ready.
Types of Contour Drawing
Not all contour techniques work the same way. Each type serves a different purpose and helps you develop specific skills.
| Type | What It Is | When to Use It |
|---|---|---|
| Basic Contour Drawing | Traditional outline focused on outer edges and shape | For accurate proportions and quick form capture |
| Blind Contour Drawing | Drawing while looking only at the subject, never at the paper | To train observation and break hesitation habits |
| Continuous Line Contour Drawing | One unbroken line from start to finish | For building line confidence and fluidity |
| Modified Contour Drawing | Drawing by observation with occasional glances at the paper | When balancing accuracy with intuitive drawing |
| Cross Contour Drawing | Internal lines that follow form to show volume | To suggest depth and three-dimensional structure |
Many people confuse gesture drawing with contour drawing. Gesture captures movement and energy with loose, quick marks. Contour focuses on edges and form with deliberate, observant lines. Think of gesture as capturing the action, while contour captures the shape.
7 Examples of Contour Drawing
Now that you know the basics, let’s look at real subjects you can practice with. These examples will help you apply contour techniques to different types of art.
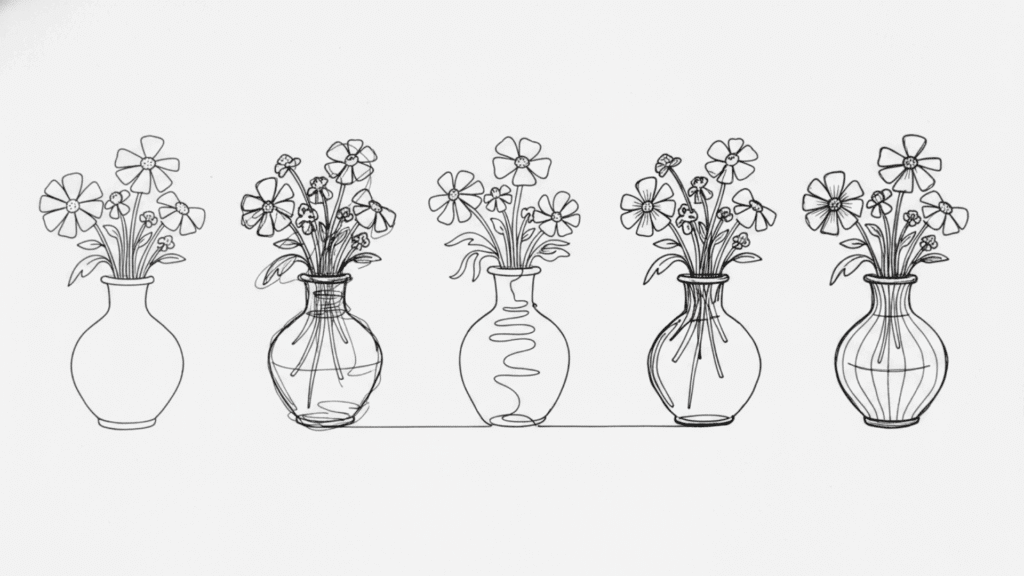
1. Still Life of Objects
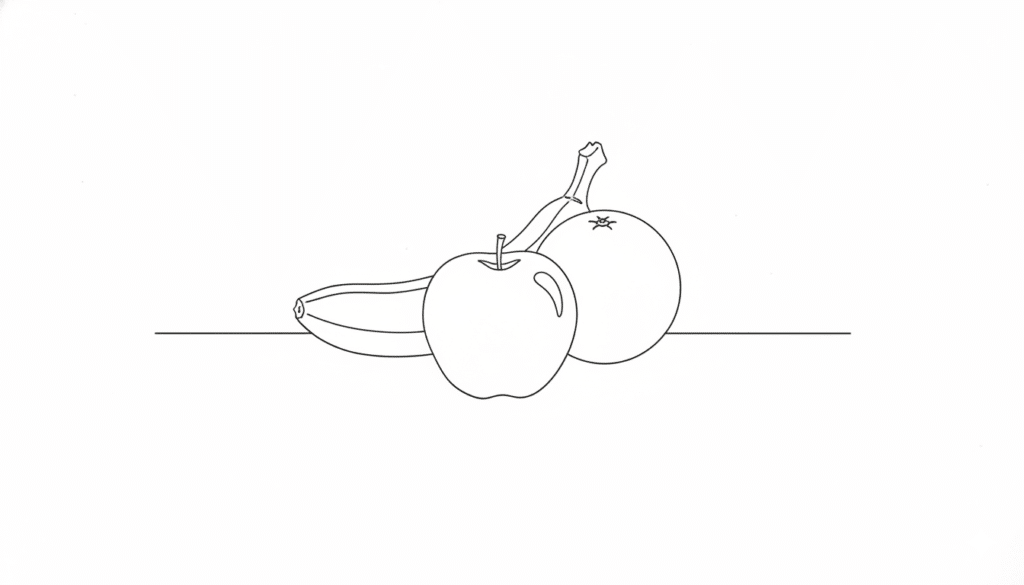
Still life setups are perfect for beginners learning contour drawing. Place a few fruits, bottles, or household items on a table and study their shapes.
- Focus on overlapping: Pay attention to where one object sits behind or in front of another
- Practice ellipses: Round objects like bowls and cups teach you to draw circular forms at different angles
- Group arrangements: Start with 2-3 objects, then gradually add more as your confidence grows
2. Portraits
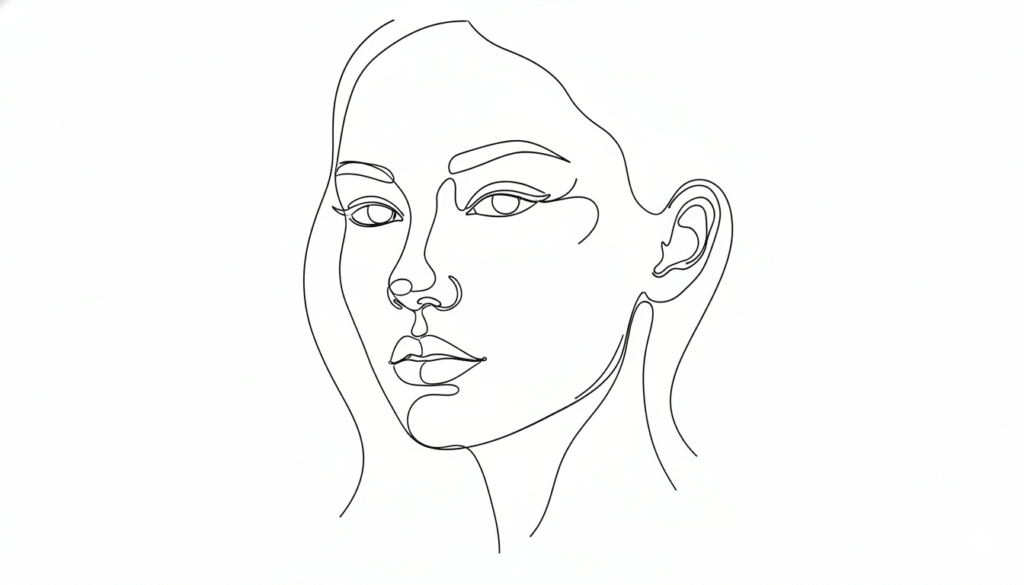
Faces might seem hard, but contour lines make them manageable. You can create realistic portraits or abstract versions depending on how much detail you include.
- Start with the jawline: This defines the face shape before adding internal features
- Map eye placement: Use contour lines to mark where the eyes, nose, and mouth sit relative to each other
- Try profile views: Side angles are easier than front-facing portraits for beginners
3. Landscapes

You can use contour lines to capture mountains, trees, and horizons. This method works great for quick outdoor sketches.
- Simplify complex scenes: Break down forests and fields into major shapes and outlines
- Layer foreground to background: Draw closest objects first, then add distant elements
- Use horizon lines: Let horizontal contours separate sky from land or water
4. Animals
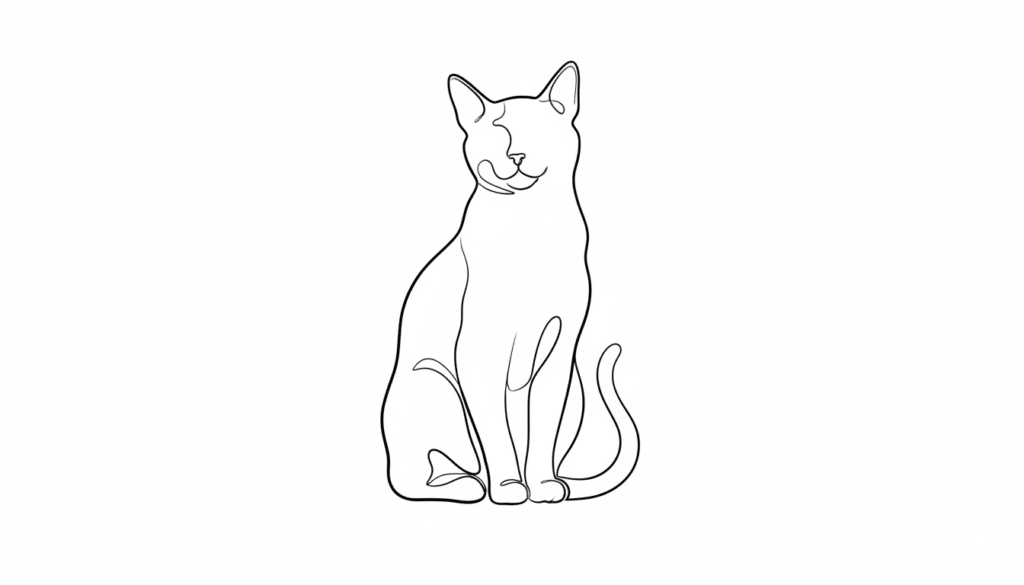
Animals move constantly, so contour drawing helps you work fast. Notice how the body curves and where joints bend.
- Capture the gesture: Draw the main body curve before adding legs and head details
- Study anatomy reference: Understanding bone structure helps you place contour lines correctly
- Work from photos initially: Still images let you practice before attempting live subjects
5. Hands & Feet
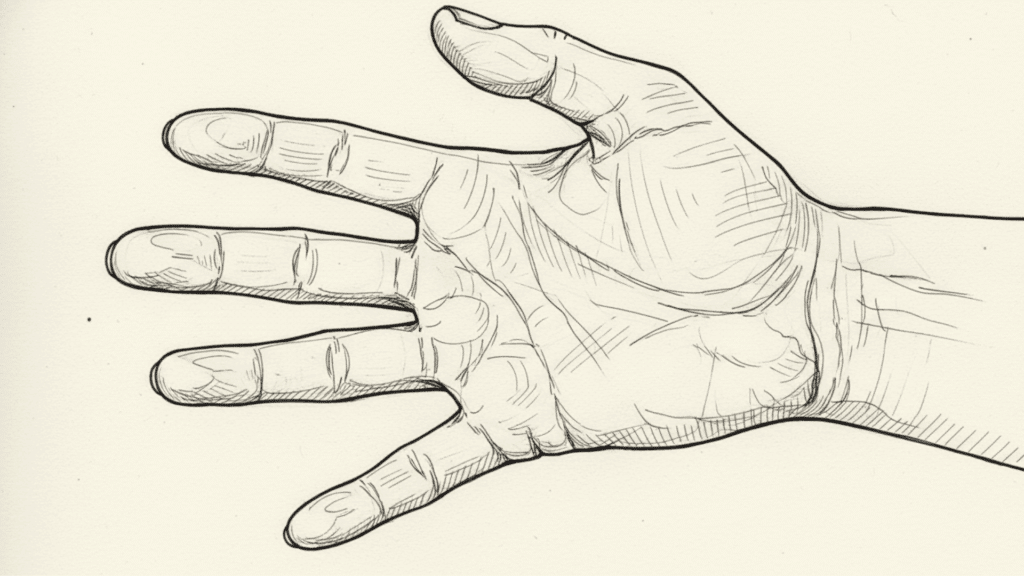
These body parts have complex angles and shapes that challenge most artists. Regular practice with hands and feet significantly improves your overall figure drawing skills.
- Break into simple shapes: See fingers as cylinders and palms as rectangles
- Observe foreshortening: Notice how parts appear shorter when pointing toward you
- Draw your own hand: Use a mirror to study different poses and angles
6. Architectural Structures

Buildings have strong edges and clear perspective lines that work perfectly for contour practice. You can sketch entire cityscapes using just contour lines.
- Identify vanishing points: Notice where parallel lines appear to meet in the distance
- Draw vertical lines first: Establish building height before adding horizontal details
- Include surrounding context: Add trees, cars, or people to show scale
7. Abstract Contour
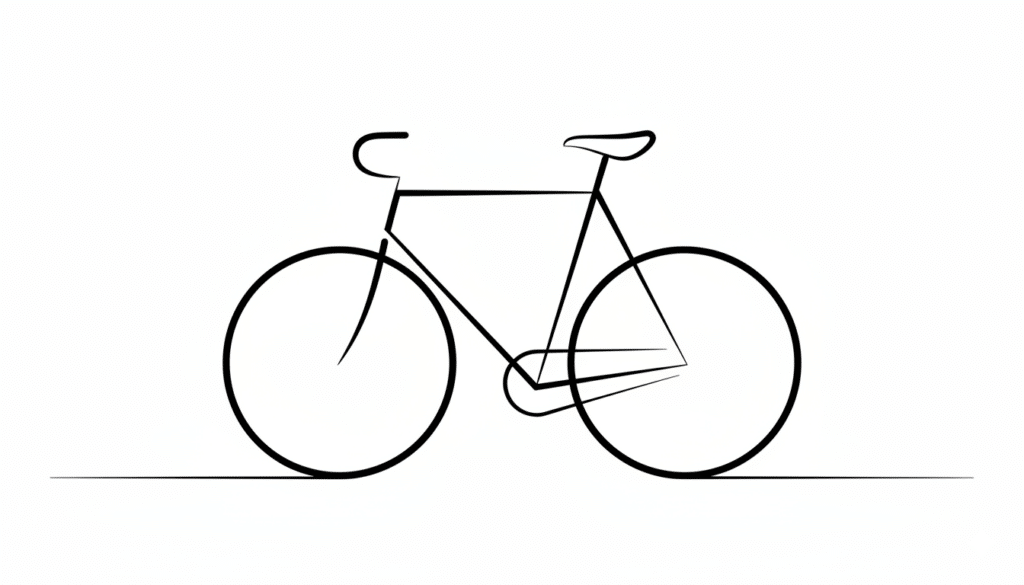
Take any complex object and simplify it to just its essential lines. Many contemporary artists use this technique to make bold, striking compositions.
- Remove internal details: Keep only the most recognizable outer edges
- Experiment with line weight: Vary thickness to create visual interest and emphasis
- Combine multiple views: Show different angles of the same object in one drawing
Tools and Materials for Contour Drawing
The right tools can make your contour drawing practice easier and more enjoyable. You don’t need expensive supplies, but knowing what works best helps you make wise choices.
| Tool/Material | Why It Works |
|---|---|
| Pens | Can’t be erased, forcing you to commit and build confidence |
| Pencils | Allow varied line weight and pressure for different effects |
| Markers | Create bold, definite lines that show up well |
| Sketchbooks | Keep practice organized to track progress over time |
| Paper (70-100 lb) | Handles repeated strokes without tearing or bleeding |
| Digital Tablets | Offer undo options while teaching observation skills |
How to Do Contour Drawing: Step by Step
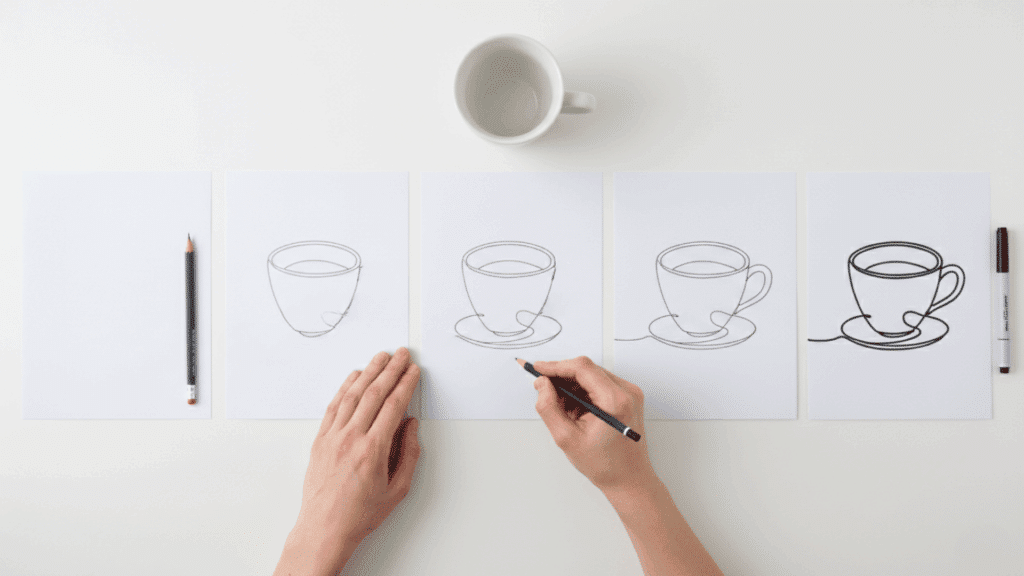
Getting started with contour drawing is easier than you think. Follow these simple steps to begin building your skills today.
Step 1: Gather Your Tools
You don’t need fancy supplies to start. Grab a sheet of paper and a pencil or pen. Some artists prefer markers because they can’t erase mistakes, which keeps them focused and honest. Keep your setup simple so you can focus on observation rather than tools.
Step 2: Choose a Subject
Start with something simple like a cup, a shoe, or a plant. Once you feel comfortable, move on to more complex subjects, such as hands, faces, or full figures. The key is picking objects you can see clearly and study without rushing.
Step 3: Observation First
This step separates good contour drawings from weak ones. Look at your subject more than your paper. Your eyes should trace every edge and curve before your hand moves. This trains your brain to really see what’s in front of you, rather than drawing what you think you see.
Step 4: Start Drawing the Outline
Focus only on the outer edges and major lines. Don’t worry about shading, texture, or tiny details yet. Let your hand follow what your eyes observe. Move slowly and deliberately along each contour, trusting your observation skills.
Step 5: Practice Different Variations
Once you master basic contour, try blind contour to challenge yourself. Then experiment with a continuous line contour for fluidity. A modified contour gives you more control while keeping the observation sharp. Mixing these variations keeps practice fresh and builds different skills.
Practice Exercises You Can Try Today

Ready to put your skills to work? These exercises will help you build speed, accuracy, and confidence in your contour drawing.
Exercise 1: Quick 1 Minute Contour Drawings: Set a timer and draw complete objects in just 60 seconds, forcing yourself to capture essential shapes without overthinking.
Exercise 2: Household Objects Blind Contour: Pick everyday items like shoes, mugs, or keys, and draw them without looking at your paper to strengthen observation.
Exercise 3: Gesture and Contour Combo: Combine quick gesture marks for movement with contour lines for structure, creating drawings that show both action and form.
Exercise 4: Upside-Down Contour Drawing (Challenge): Turn your reference photo upside down and draw it, which tricks your brain into seeing lines rather than recognizable objects.
Exercise 5: Timed Drawings for Speed and Confidence: Practice the same subject at 5 minutes, 3 minutes, and 1 minute to learn what details matter most under pressure.
Is Contour Drawing Good for Beginners?
Yes, contour drawing is one of the best starting points for new artists. It teaches you to observe carefully without worrying about shading or complex techniques.
Beginners often struggle with seeing accurately, and this method trains your eyes and hands to work together. You can start practicing with simple objects around your home.
Most art teachers introduce this technique early because it builds confidence quickly. Even if your first attempts look rough, you’re developing skills that improve every other type of drawing you’ll do later.
The Bottom Line
Contour drawing isn’t just another art exercise. It’s the foundation that makes everything else easier.
When you train your eyes to see edges and your hand to follow them, you stop guessing and start drawing with confidence.
The best part? You can start right now. Grab a pen and an object nearby. Spend five minutes tracing its outline with your eyes glued to the subject. Do this daily for a week and watch your skills grow.
Stop waiting for the perfect moment or better supplies. Your next breakthrough is one contour drawing away. Pick up that pen and start observing.
What will you draw first? Share your contour drawings in the comments below!