That cracked, yellowing caulk around your tub has been sitting on your task list for months. You keep walking past it.
You know it needs to go. But every time you think about tackling it, the questions pile up. Where do I start? Do I need special tools? What if I scratch the surface?
Removing old caulk is not hard. But doing it wrong wastes time and can damage what is underneath. Doing it right takes a few basic tools and the right method for the right surface.
This guide covers how to remove caulk from bathtubs, sinks, siding, and windows, step by step, so you get it right the first time.
What Is Caulk and Why Does It Need to Be Replaced?
Caulk is a flexible material used to seal the gaps and joints between surfaces in your home. It keeps water, air, dust, and pests out of places they should not be.
You will find it around bathtubs, showers, sinks, windows, and doors. Over time, it breaks down. It cracks, shrinks, stains, and loses its grip.
When that happens, water seeps behind the surface, leading to mold, rot, and damage that costs far more to fix than a simple re-caulk job.
Types of Caulk and Why It Matters Before You Start
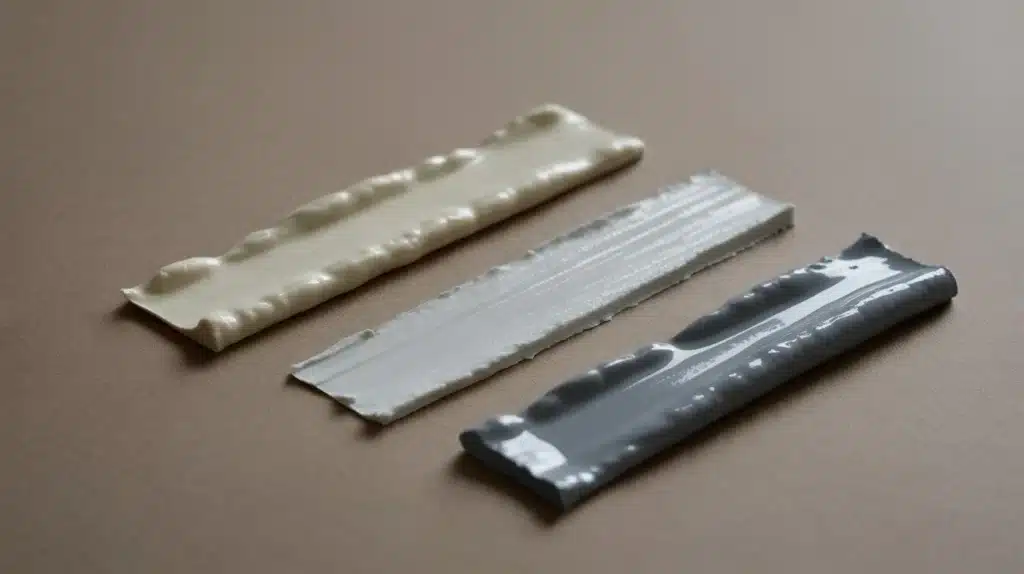
Before you grab any tool, take 30 seconds to figure out what type of caulk you are dealing with. The type changes how you remove it and which products will actually work.
| Caulk Type | How It Feels | Common Locations | Best Removal Method |
|---|---|---|---|
| Silicone | Rubbery, slightly stretchy | Tubs, showers, sinks | Chemical caulk remover or acetone |
| Acrylic or Latex | Harder, chips more easily | Windows, walls, trim | Warm water or standard caulk remover |
| Polyurethane | Very firm, highly durable | Siding, outdoor joints | Caulk remover product plus extra scraping |
Signs It Is Time to Remove Old Caulk
Old caulk does not always announce itself. But if you look closely at the lines around your tub, sink, or windows, the signs are right there.
- Cracks or gaps: The caulk has split or pulled away from the surface, leaving openings where water can get in.
- Peeling or flaking: The caulk is lifting from the surface, indicating it has completely lost its bond.
- Yellowing or staining: It has turned yellow or brown and does not clean up, no matter how hard you scrub.
- Mold spots: Dark spots on or around the caulk line indicate moisture has worked its way beneath the caulk.
- Shrinkage: The caulk has pulled back from the edges, leaving visible gaps along the joint.
- Water in the wrong places: If water is pooling outside the tub or leaking under the sink, failing caulk is often the cause.
How to Remove Caulk: Step-by-Step Guide
Tools You Need to Remove Caulk
| Tool | What It Does |
|---|---|
| Utility knife or razor blade | Score both edges of the caulk line to cut its bond with the surface |
| Flexible putty knife | Lifts and peels caulk off in strips |
| Hook-shaped caulk removal tool | Gets into tight corners and pulls out long sections cleanly |
| Plastic razor blade with scraper | Safer option for fiberglass, acrylic, and glass surfaces |
| Needle-nose pliers | Grips and pulls out broken or stubborn pieces |
| Chemical caulk remover | Softens caulk so it scrapes off with much less effort |
| Hair dryer or heat gun | Heats the caulk to make it soft and easier to pry off |
| Isopropyl rubbing alcohol | Removes residue after the main caulk is gone |
| Nylon scrub brush or an old toothbrush | Cleans tight corners and grooves |
| Painter’s tape | Protects surrounding surfaces from accidental scratches |
| Rubber gloves and safety glasses | Basic protection when working with chemical removers |
Now that your tools are ready, here is the full process. Follow each step in order. Skipping ahead is what causes most of the damage and frustration people run into.
Step 1: Clean the Area First
Wipe the caulk and the surrounding surface with mild dish soap and warm water. Remove soap scum, dirt, and any buildup. Dry the area thoroughly with a clean cloth before doing anything else.
Step 2: Protect Surrounding Surfaces
Place painter’s tape along both sides of the caulk line. This keeps sharp tools from scratching tile, countertops, or tub surfaces while you work.
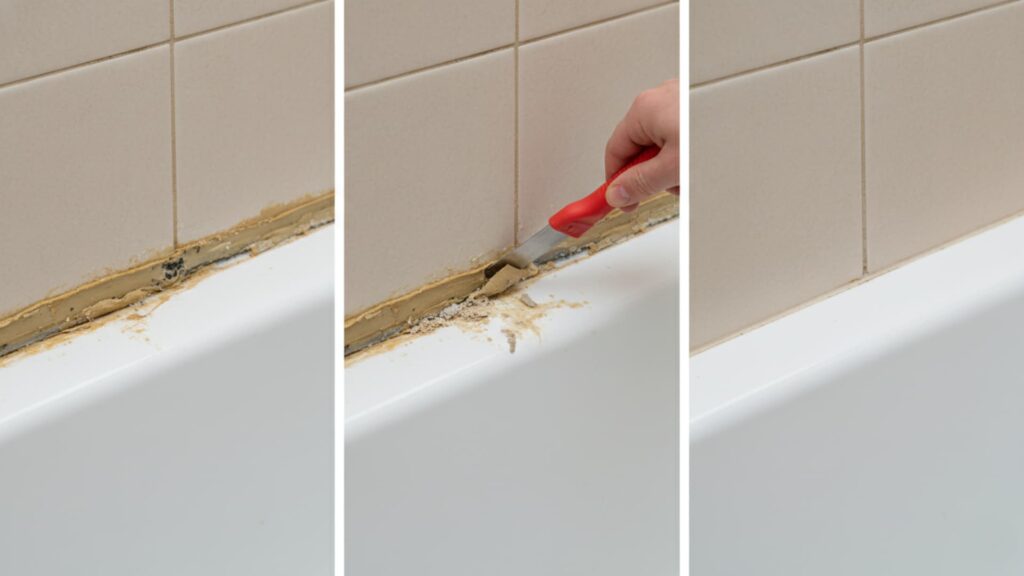
Step 3: Score Both Edges of the Caulk
Run a utility knife carefully along both sides of the caulk line to cut its bond with the surface. Go slow and stay close to the caulk. Avoid pressing too hard into the surface below.
Step 4: Pull Off the Loose Pieces
Use a flexible putty knife to lift one edge of the caulk and pull it away in strips. Take off everything that comes loose with light pressure. Do not force anything that is still holding firm.
Step 5: Apply a Caulk Remover
Coat any remaining caulk with a chemical caulk remover. Let it sit for at least 3 to 4 hours. For old, hardened caulk or multiple layers, leave it overnight. The longer it soaks, the softer the caulk becomes and the easier the next step gets.
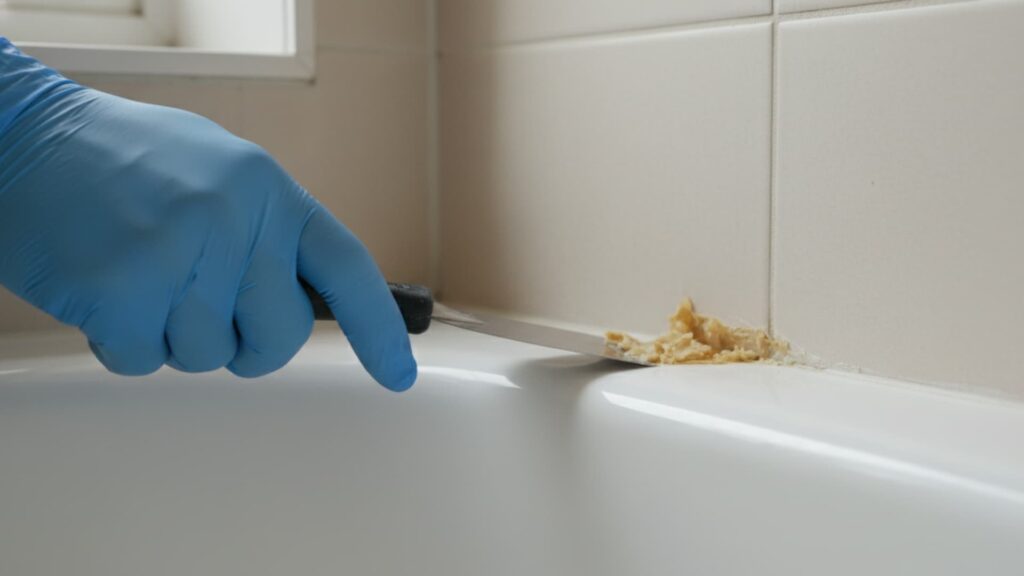
Step 6: Scrape Away the Softened Caulk
Use a putty knife or caulk removal tool to scrape off the softened material. Work in small sections. For tight corners, switch to a hook-shaped tool or grip stubborn pieces with needle-nose pliers.
Step 7: Remove the Last Bits of Residue
Use a no-scratch plastic scrub pad to clear any leftover material. Then wipe the area down with isopropyl rubbing alcohol on a clean cloth. This step is what gets the surface truly clean and ready for new caulk.
Step 8: Check for Mold
Look closely at the surface once all caulk is gone. If you spot dark areas, mix 1 part bleach with 10 parts water and apply it to those spots. Scrub, rinse well, and let the area dry fully before moving on.
How to Remove Caulk from Specific Areas
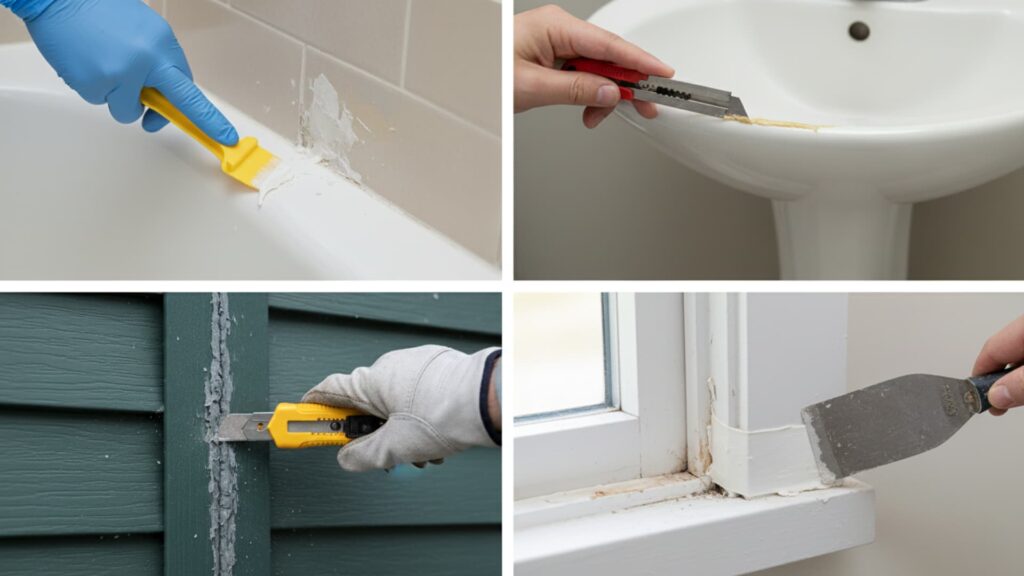
Different surfaces call for slightly different approaches. Here is what to keep in mind for each common area in your home.
- Bathtub: Apply caulk remover and wait at least 4 hours, then use a plastic caulk tool instead of a metal blade to protect fiberglass or acrylic surfaces from scratches.
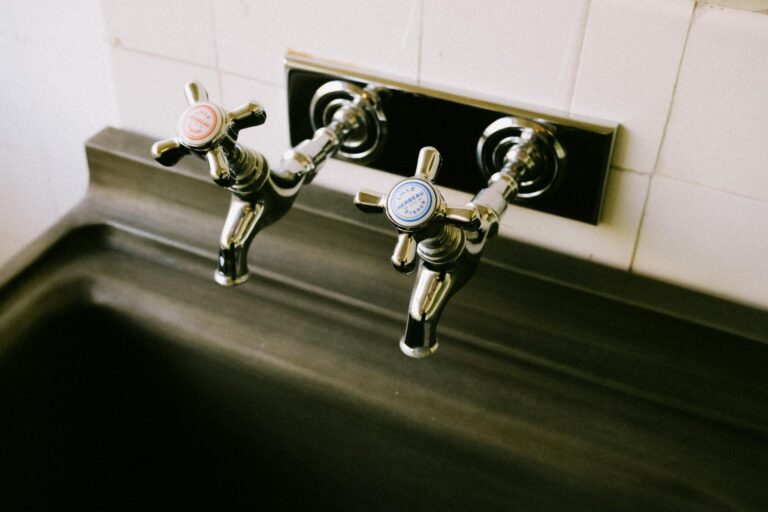
- Sink: For porcelain sinks, a straight razor blade works well; for stainless steel or metal sinks, always use a plastic scraper to avoid leaving marks on the surface.
- Siding: Score with a utility knife first, then use a heat gun on a low setting to soften the caulk, keeping the gun moving so you do not warp or melt the vinyl.
- Windows: Use a plastic scraper near the glass and a small toothbrush for the frame grooves; score parallel to the glass only so you do not risk a crack.
Mistakes to Avoid When Removing Caulk
Most problems during caulk removal stem from skipping steps or using the wrong tool. These are the most common ones, and what to do instead.
| Mistake | Why It Causes Problems | What to Do Instead |
|---|---|---|
| Rushing the softening step | Hard caulk requires more scraping force, which increases the risk of surface damage | Wait the full time recommended, or leave the remover on overnight |
| Using metal blades on fiberglass or acrylic | Metal scratches these surfaces easily, leaving marks that are hard to repair | Switch to a plastic scraper or plastic razor blade on softer surfaces |
| Skipping the initial surface clean | Grease and soap scum make scraping harder and messier from the start | Wipe the area down with dish soap and warm water before anything else |
| Re-caulking over residue or moisture | New caulk will not bond and starts peeling within weeks | Remove all residue, wipe with rubbing alcohol, and let the area dry fully |
| Covering mold without treating it first | Mold grows back fast under a new layer of caulk | Clean mold with a diluted bleach solution, rinse, and dry before re-caulking |
| Forcing caulk off without softening it | Gouges and scratches the surface below the caulk line | Let the remover do the work, then scrape gently |
How Soon Can You Re-Caulk After Removal?
The surface must be completely dry before you apply new caulk. In a bathroom or kitchen, give it at least 24 hours. In a humid space or a poorly ventilated room, wait 48 hours for safety.
If you treated the area for mold, rinse it well and add extra drying time before moving forward.
Once you apply new caulk, keep it away from water for at least 24 hours. Most types need up to 48 hours to fully cure.
Conclusion
Removing old caulk is one of those jobs that looks harder than it actually is.
Once you have the right tool and give the softener enough time to work, most of it comes off in strips. Clean the surface well, check for mold, let it dry fully, and you are set for a fresh seal that actually holds.
The spots that trip people up most are bathtubs, sinks, and windows. Take your time in those areas. Use the right scraper for the surface you are working on. And never rush the drying step before re-caulking.
Have a tip that worked for you, or a surface you are not sure about? Drop it in the comments below.