
That pile of old t-shirts and worn-out sheets sitting at the back of your wardrobe? It could be on your floor as a beautiful rug by this weekend.
Rag rugs have been made by hand for centuries, and the craft is much simpler than most people expect.
You don’t need a sewing machine, a loom, or any fancy tools to get started. Just fabric, a bit of patience, and this guide.
Learning how to make a rag rug means turning what you would normally throw away into something that actually adds character to your home.
Every rug turns out different, and that is exactly what makes this craft so satisfying.
What Is a Rag Rug and Why Should You Make One?
A rag rug is a handmade floor covering built from strips of old fabric such as t-shirts, bedsheets, and worn-out clothes.
The craft goes back to Victorian times, when families repurposed every scrap of clothing to cover cold stone floors.
Today, people make rag rugs to clear out old fabric, skip the $50 to $200+ price tag of a store-bought area rug, and end up with something genuinely one-of-a-kind for their home.
Best Materials for Making a Rag Rug
Not every fabric behaves the same way once it is cut into strips. Here is a quick breakdown of what works well and what to avoid before you start cutting.
- T-shirts: Soft, stretchy, and easy to cut; around 10 regular t-shirts cover a small rug.
- Old bed sheets: Two full-size sheets make roughly a 2×3 foot rug, and flannel sheets braid cleanly without stretching.
- Denim or jeans: Long-lasting and sturdy; use older, softer pairs since stiff denim is hard to fold and work with.
- Towels and sweaters: Great for no-sew or hooked styles where a thick, cushioned pile is welcome.
- Fabrics to skip: Very thin or sheer fabrics fray fast and won’t hold shape in a finished rug.
How to Prepare Your Fabric Strips?
Start by washing all your fabric on a hot cycle before cutting anything; this removes shrinkage that might distort the rug later.
For sheets, snip 2 inches into the edge and tear the strip across for a clean, even line. For t-shirts, cut across the width to make loops, then cut each loop open.
For jeans, cut the leg off, lay it flat, and cut strips stopping 3cm from the top, then cut diagonally to connect them into one long strip. Roll finished strips into balls so they stay neat while you work.
Easy Methods to Make a Rag Rug: Step by Step
Each method below stands on its own, so you can skip straight to the one that fits your skill level and the fabric you have on hand. Pick one, gather your materials, and start from the top.
Method 1: Braided Rag Rug (Best for Beginners)
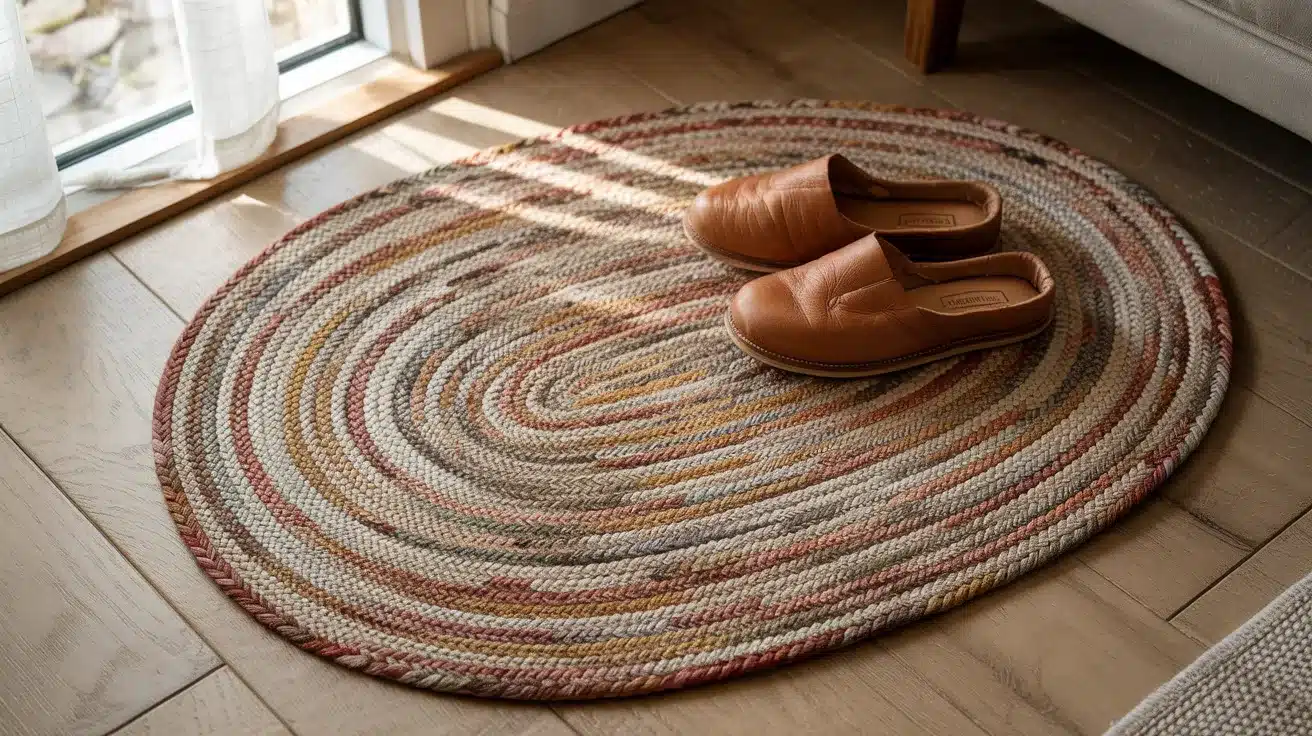
Alt Text: Braided oval rag rug in soft neutral tones placed on a wooden floor by a window, with a pair of brown leather slippers resting on top.
This is the most beginner-friendly way to make a rag rug. You braid three strips of fabric together, coil the braid into a shape, and stitch it as you go. No loom, no sewing machine, just your hands and a needle.
| Tools and Materials | Details |
|---|---|
| Fabric strips | T-shirts or bed sheets, 1.5 to 2 inches wide |
| Tapestry needle | Large-eye needle for stitching coils together |
| Strong thread or string | Warp string or heavy-duty cotton thread |
| Scissors | For trimming strip ends |
Steps:
- Knot or sew three strips together at one end and start braiding tightly.
- Add a new strip each time one runs short by tying or threading the ends together.
- Once the braid is about 2 feet long, start coiling it flat and stitch each round to the one before it.
- Keep the rug flat as you coil; loosen the braid slightly if the edges begin to curve up.
- Tuck the final braid end under the last row and stitch it firmly in place.
Method 2: Woven Rag Rug (No Loom Needed)
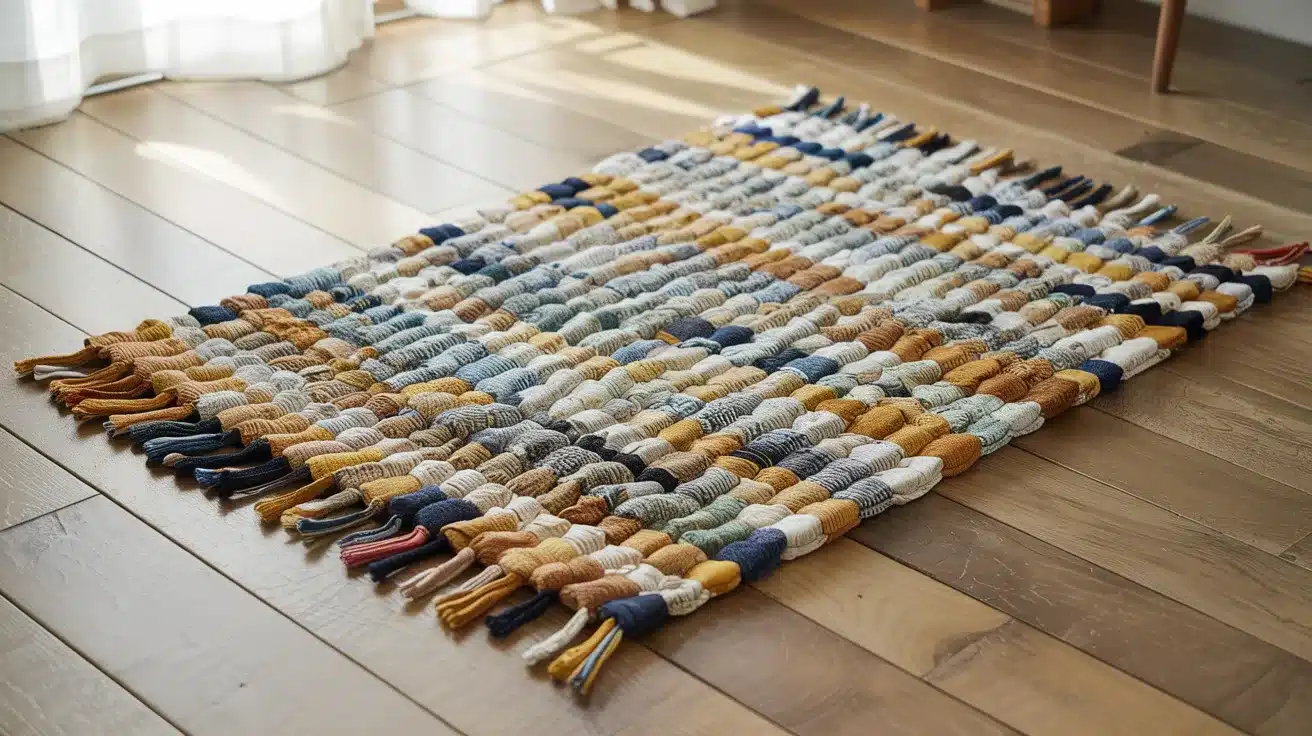
Alt Text: Handwoven rag rug with a mix of neutral and earthy fabric strips, featuring textured rows and fringe edges, placed on a light wooden floor in a sunlit room.
This method uses a piece of cardboard instead of a loom, making it affordable and easy to set up at home. The result is a firm, flat rectangular rug that works well in kitchens and entryways.
| Tools and Materials | Details |
|---|---|
| Old bed sheets | 2 to 3 king-size sheets for a medium rug |
| Cardboard piece | Cut to 23 inches x 43 inches |
| Masking tape | To hold warp strips in place at the top |
| Fabric scissors | Sharp scissors or a rotary cutter |
| Ruler and marker | For marking even strip widths |
Steps:
- Cut slots every 2 inches along both short ends of the cardboard.
- Thread fabric strips through the slots, running top to bottom, and tape them at the top.
- Pass a new strip over the first vertical strip, then under the next, alternating all the way across.
- Push each row down firmly after finishing it to close any gaps.
- Remove from cardboard, trim the fringe ends to about 4 inches, and tie each one off.
Method 3: Hooked or Prodded Rag Rug (Traditional Style)
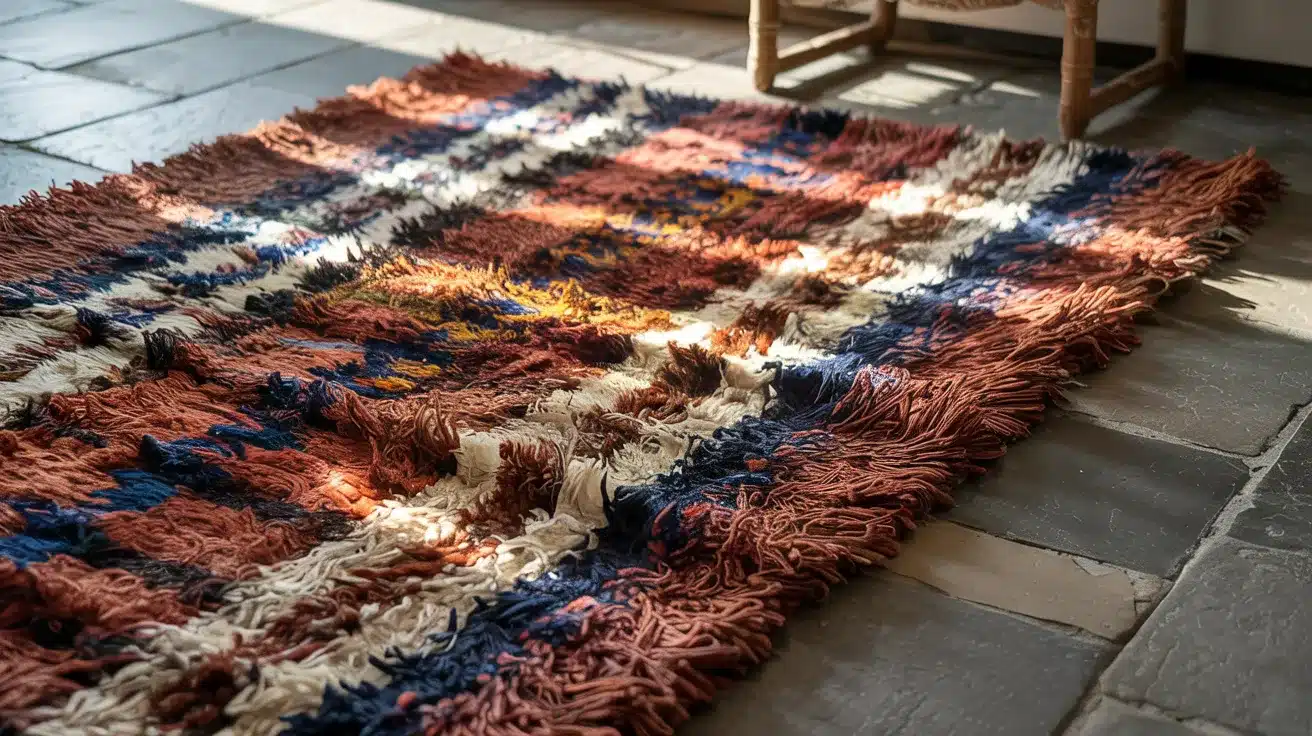
Alt Text: Textured hooked rag rug with a geometric pattern in warm earthy tones, laid on a stone floor with soft sunlight highlighting its raised fabric details.
This is the method that most closely follows how rag rugs were originally made. Short strips of fabric are pushed through a hessian backing using a pointed tool. It takes more time but gives a thick, textured finish.
| Tools and Materials | Details |
|---|---|
| Hessian or burlap backing | 10 holes per inch for best strip hold |
| Fabric strips | 2cm wide and 10cm long; non-fraying cotton works best |
| Spring tool or prodder | Pointed wooden or metal tool for pushing strips through |
| Scissors | Sharp pair for trimming the finished pile |
| Pencil or chalk | For marking a pattern on the backing |
Steps:
- Cut hessian to size, fold the edges down 3cm, and glue or stitch them to stop fraying.
- Draw a simple pattern such as stripes or blocks on the hessian with pencil or chalk.
- Push the spring tool through a hole in the hessian from the front side.
- Hook one fabric strip through the hole so half sits on each side, then pull back to secure it.
- Leave 2 to 3 holes between each strip and repeat across the whole surface; trim uneven strips at the end.
Method 4: Crocheted Rag Rug (No Sewing Machine Required)
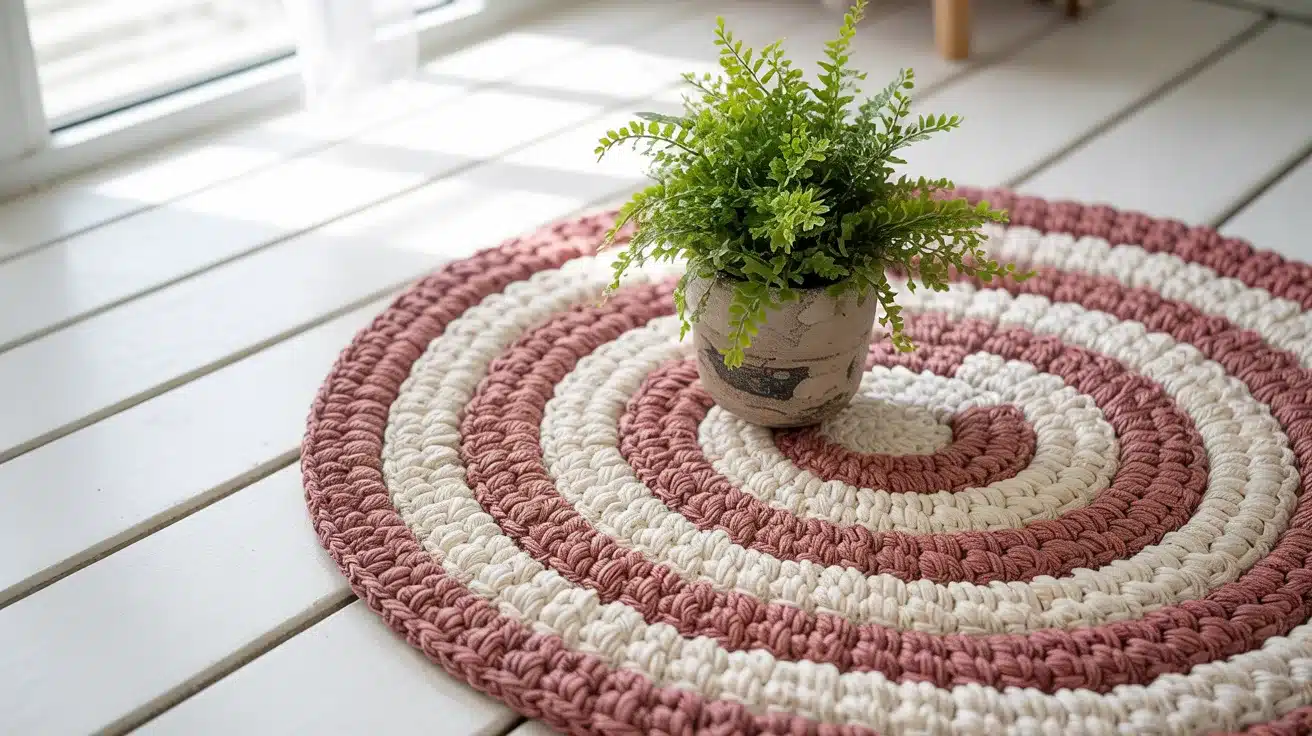
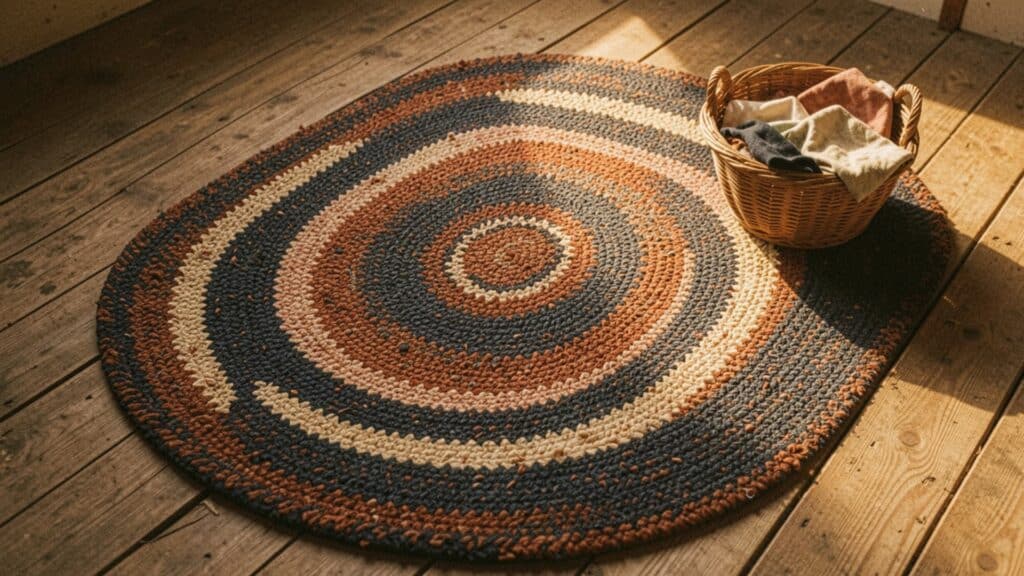
Alt Text: Crocheted round rag rug in soft pink and cream tones on a light wood floor, styled with a small potted plant in the center near a sunlit window.
This method turns fabric strips into a thick yarn and crochets them into a circular or oval rug. You only need basic crochet knowledge, and finger crochet works just as well if you don’t own a hook.
| Tools and Materials | Details |
|---|---|
| T-shirt strips | Lightweight cotton, 1 to 1.5 inches wide |
| Crochet hook | Large hook (size N or P) or use your fingers |
| Scissors | For trimming ends |
Steps:
- Tie all fabric strips end to end and roll them into one large ball.
- Make a slip knot and chain 6 to 8 stitches, then connect the ends to form a loop.
- Work single crochet stitches around the loop, adding one extra stitch every few to keep the rug flat.
- Keep stitches loose throughout; tight stitches cause the rug to curl up at the edges.
- Finish by cutting the last strip and threading the end back through the final row to secure it.
Method 5: No-Sew Rag Rug (Quickest Option)
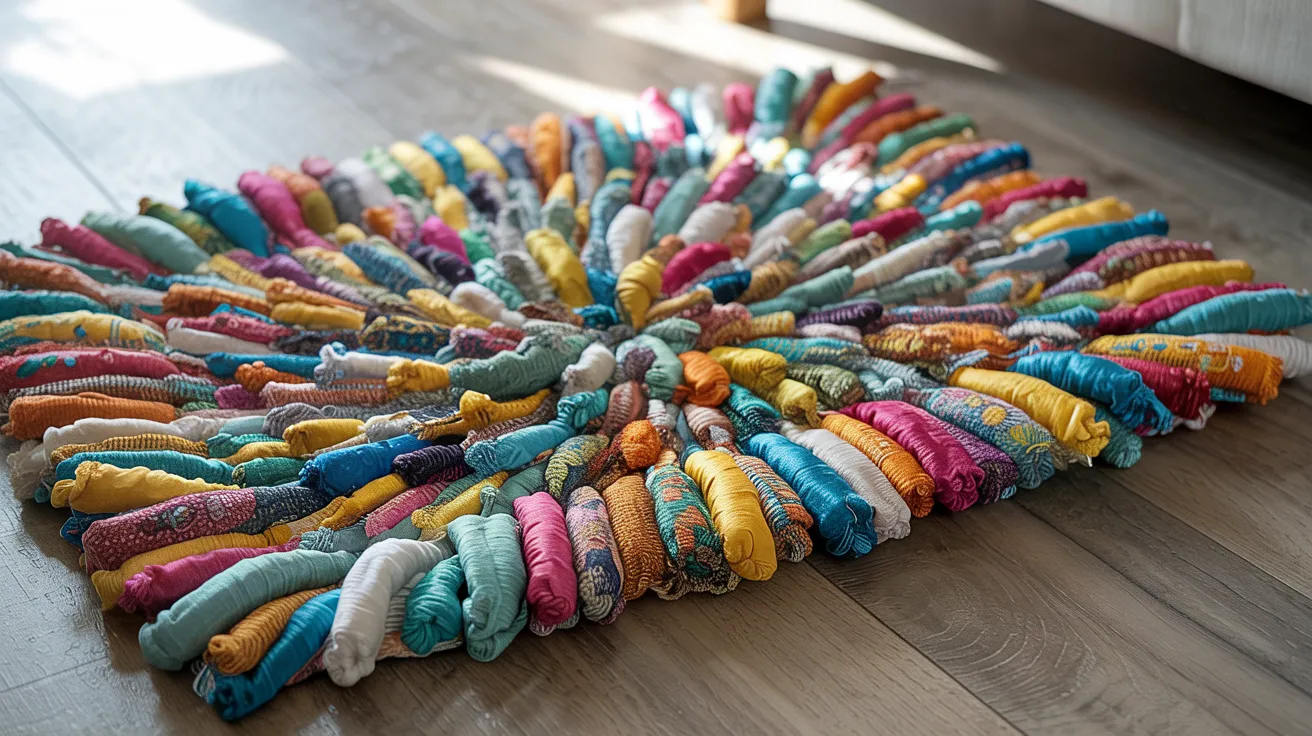
Alt Text: Colorful no-sew rag rug made from tightly rolled fabric pieces arranged in a circular pattern, spread across a wooden floor in a bright room.
This is the fastest way to make a rag rug, and it needs no stitching at all. Short strips of fabric are simply tied through a rug mesh mat until the entire surface is covered with a thick pile.
| Tools and Materials | Details |
|---|---|
| Non-slip rug mesh mat | Available at most craft stores |
| Fabric strips | Any soft fabric, 1.5 inches wide and 5 inches long |
| Scissors | For trimming the finished pile to an even height |
Steps:
- Cut all fabric strips to the same width (1.5 inches) and length (5 inches).
- Push one strip through a hole in the mesh from the top.
- Pull both ends up through the same hole and tie a tight knot on the front side.
- Repeat across every hole until the mat is fully covered.
- Trim all strip ends to the same length for a clean, even pile.
How to Choose the Right Method for You?
If you have never made a rug before, start with the braided or no-sew method since both are quick, need very few tools, and give a result you can be happy with from the first try.
The woven and crocheted methods take a bit more time but give a cleaner, more structured finish. If you want something thicker and more traditional, the hooked method is worth the extra effort.
Pro Tips to Get Better Results
A few small habits during the process go a long way in how the final rug looks and holds together. Keep these in mind from the start.
- Pre-wash all fabric on hot before cutting to stop future shrinking or warping.
- Sort strips loosely by color before you start; a rough color plan gives a more polished result without overcomplicating things.
- Keep tension even while braiding or threading; uneven pressure causes edges to curl or ripple.
- Add a non-slip mat underneath on hard floors; even well-made rugs slide without one.
- Use older, softer denim rather than stiff new jeans; it cuts easier and folds without resistance.
- Stick to simple shapes in hooked rugs; stripes and blocks show up clearly, while detailed patterns lose their form once the fabric folds over.
Rag Rug Ideas by Room
Once you know how to make a rag rug, the next question is where to put it. Each room has slightly different needs, so here are some ideas that work well in practice.
1. Bathroom
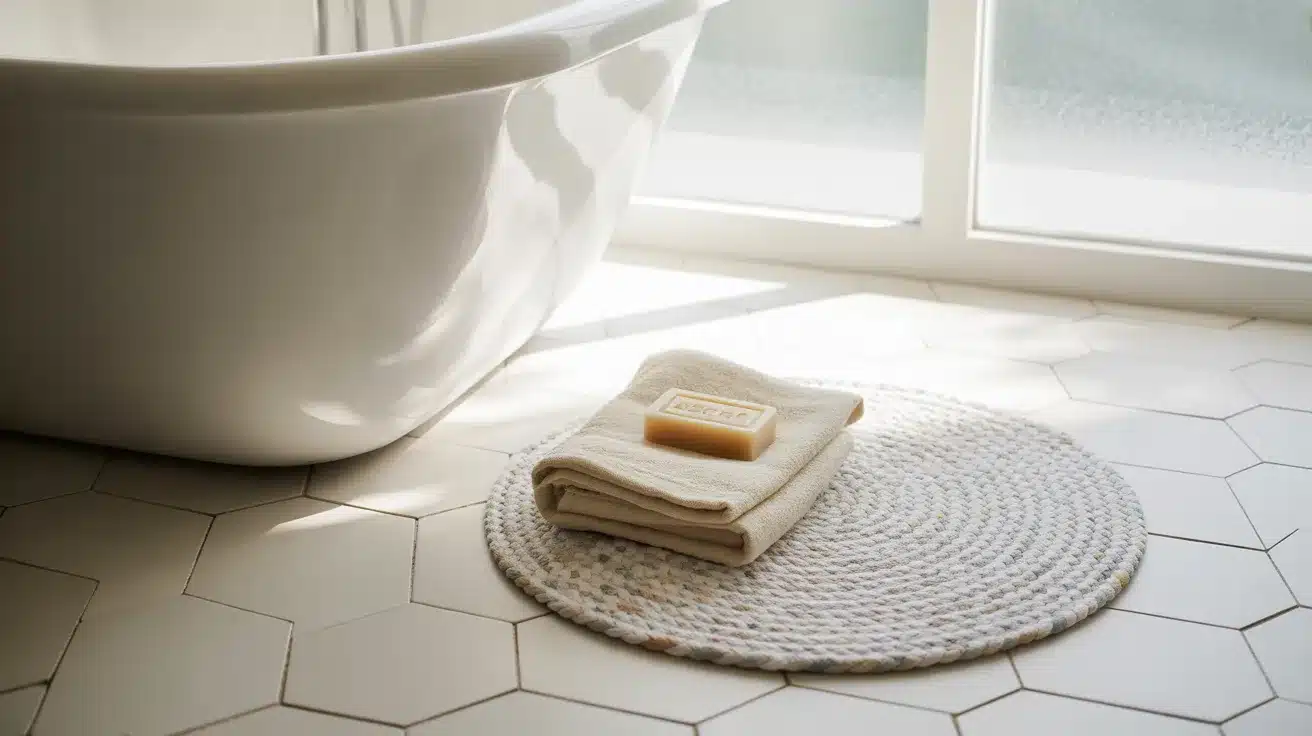
Alt Text: Minimalist bathroom with a freestanding bathtub, hexagon tile floor, and a round woven rug holding a folded towel and bar of soap in soft natural light.
Small braided or no-sew rugs made from old towels sit perfectly next to the sink or bath. Cotton handles moisture without holding smell, and these rugs go straight into the wash when needed. A round shape fits most bathroom floors better than a rectangle and stays out of the way of cabinet doors.
2. Kitchen
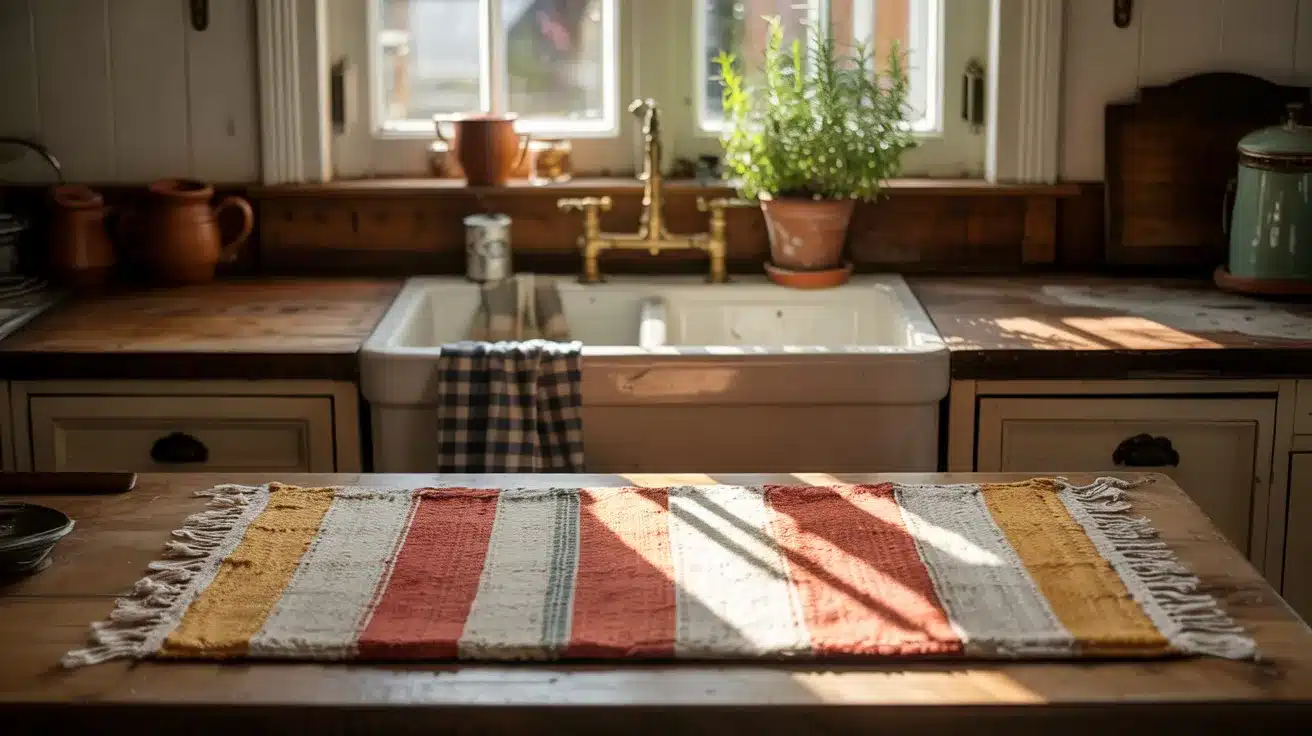
Alt Text: Rustic kitchen with a striped woven rug on a wooden counter, farmhouse sink by a sunlit window, and potted herbs adding a warm, cozy feel.
A flat woven rag rug made from old cotton sheets handles daily foot traffic well and wipes clean easily. Keep it simple since kitchen floors take constant use. Placing it in front of the sink or stove gives your feet a softer spot during the parts of cooking that take the longest.
3. Kids’ Room
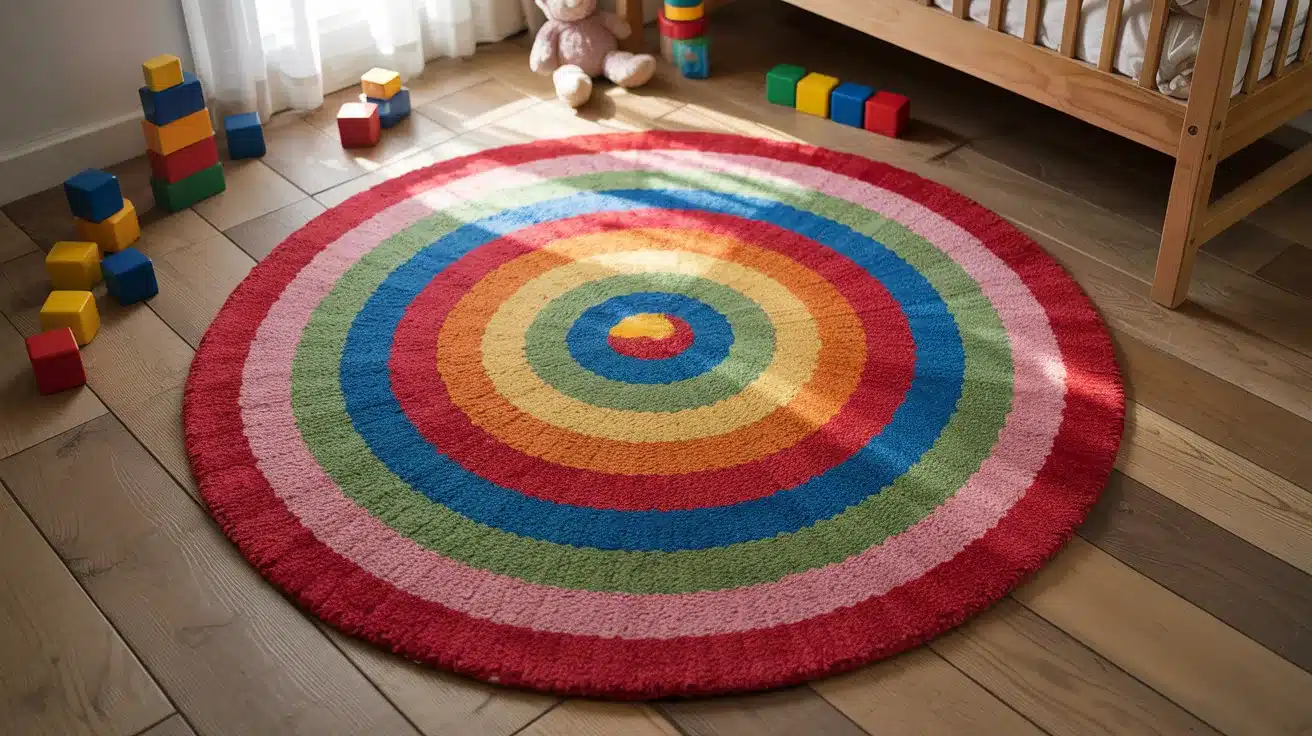
Alt Text: Colorful round rug with rainbow concentric circles placed on a wooden floor in a bright kids’ room, surrounded by toys, blocks, and a crib nearby.
Bright circular braided rugs made from colorful t-shirts add softness and warmth underfoot. Kids tend to love having something on the floor that feels made just for their space. Using fabric from outgrown clothes makes it personal in a way a store-bought rug never could be.
4. Entryway
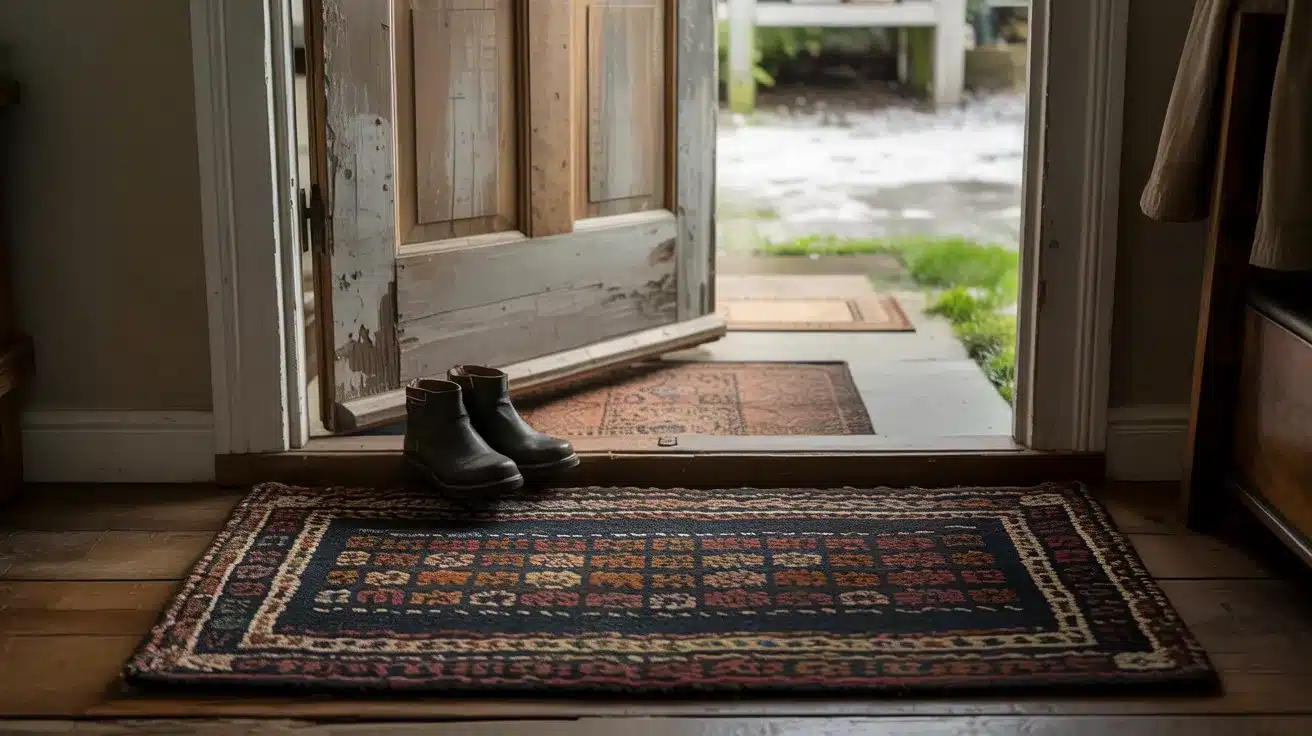
Alt Text: Cozy entryway with a patterned rug on wooden flooring, an open rustic door, and a pair of black boots placed near the threshold on a rainy day.
Thicker hooked or prodded rugs hold up better near the front door where dirt and heavy use are constant. Denim or layered cotton gives the most durable result in high-traffic spots. A rectangular shape works best here since it fits naturally in front of a door without taking up too much room.
5. Living Room
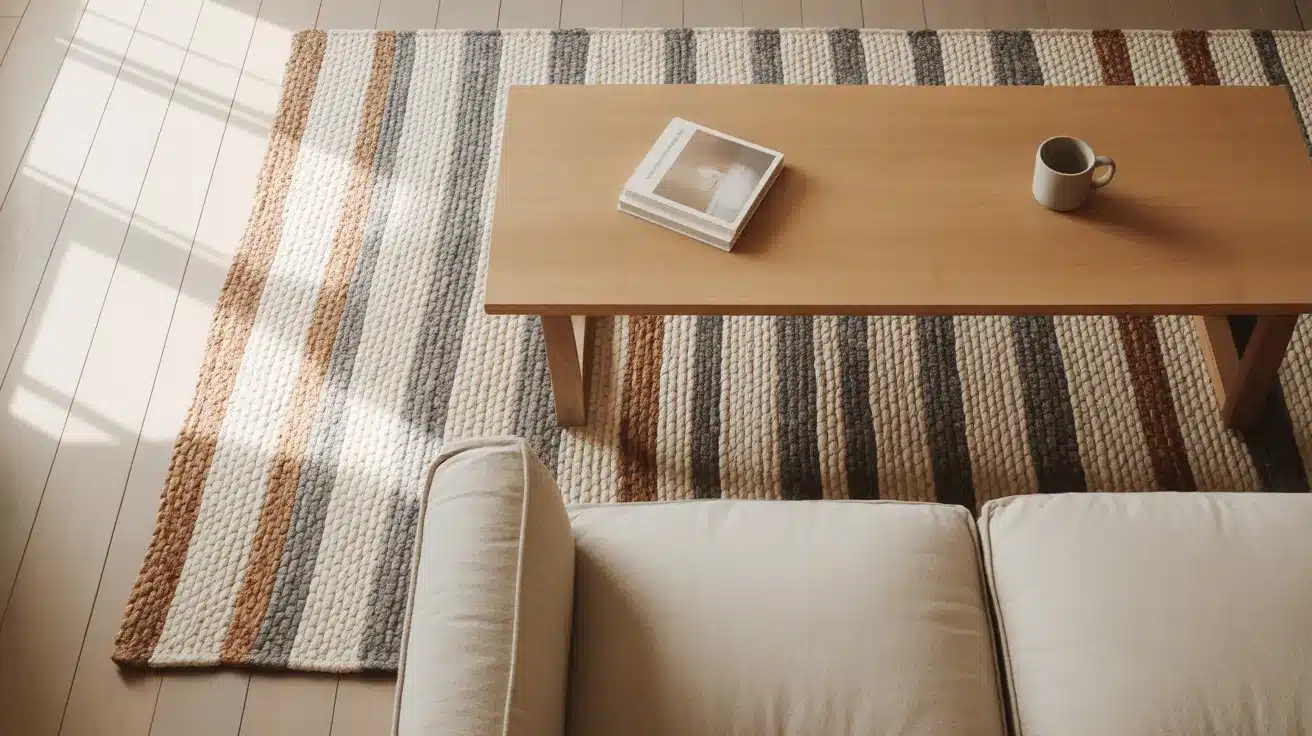
Alt Text: Neutral-toned striped area rug in a bright living room, styled under a wooden coffee table with a book and mug, next to a light-colored sofa.
A larger woven or crocheted rug in softer, neutral tones sits well under a coffee table. Aim for a size where the front legs of the sofa can rest on the rug for a pulled-together look. Neutral colors like cream, grey, and warm brown tend to work across most living room setups without clashing.
Mistakes That Can Ruin Your Rag Rug
These are the slip-ups that catch most first-timers off guard. Knowing about them ahead of time makes the whole process go more smoothly.
| Mistake | What Happens | Fix |
|---|---|---|
| Braiding the full length before coiling | Braid tangles and becomes unmanageable | Start coiling when the braid reaches about 2 feet |
| Cutting thick fabric too wide | Hard to fold, braid, or push through backing | Keep thick fabric strips under 1.5 inches wide |
| Skipping the pre-wash step | Rug shrinks or warps after the first wash | Wash all fabric on a hot cycle before cutting |
| Placing strips too close in hooked rugs | Hessian backing buckles and rug won’t lie flat | Leave 2 to 3 holes between each strip |
| Loose or uneven stitching while coiling | Rug falls apart with regular use | Stitch firmly and check tension after every few rows |
How to Care for and Wash Your Rag Rug?
Shake the rug outside regularly to clear out dust and loose debris.
For braided or woven cotton rugs, a gentle machine wash in cold water works well; air dry flat afterwards and skip the dryer since heat causes shrinkage and shape loss.
Hot water can make colors from mixed fabrics bleed into each other. Hooked rugs with hessian backing should only be spot cleaned with a damp cloth since hessian weakens when fully soaked.
Checking the stitching every few months and re-stitching any loose sections will keep the rug in good shape for a long time.
Summing It Up
Making a rag rug takes time, but it is one of those crafts where the result always feels worth it.
You start with a pile of old fabric and end up with something that actually belongs in your home.
It costs almost nothing, keeps old clothes out of the bin, and every finished rug tells its own small story based on what you used to make it.
Pick the method that fits your skill level, grab whatever fabric you have on hand, and just start. You don’t need everything to be perfect on the first try.
Which method are you planning to try first? Let us know in the comments below!