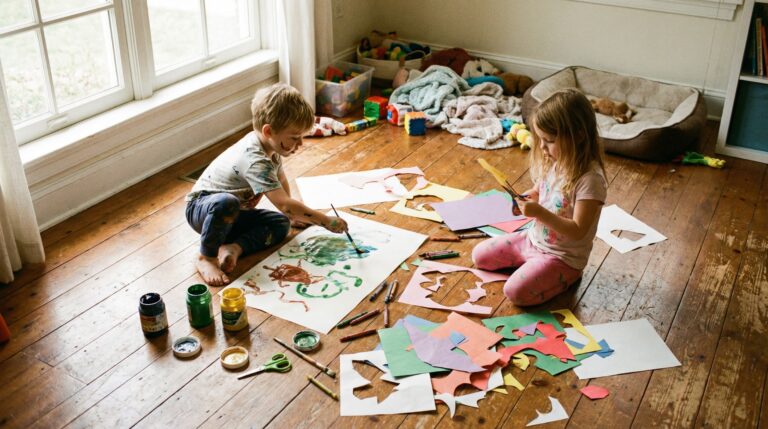

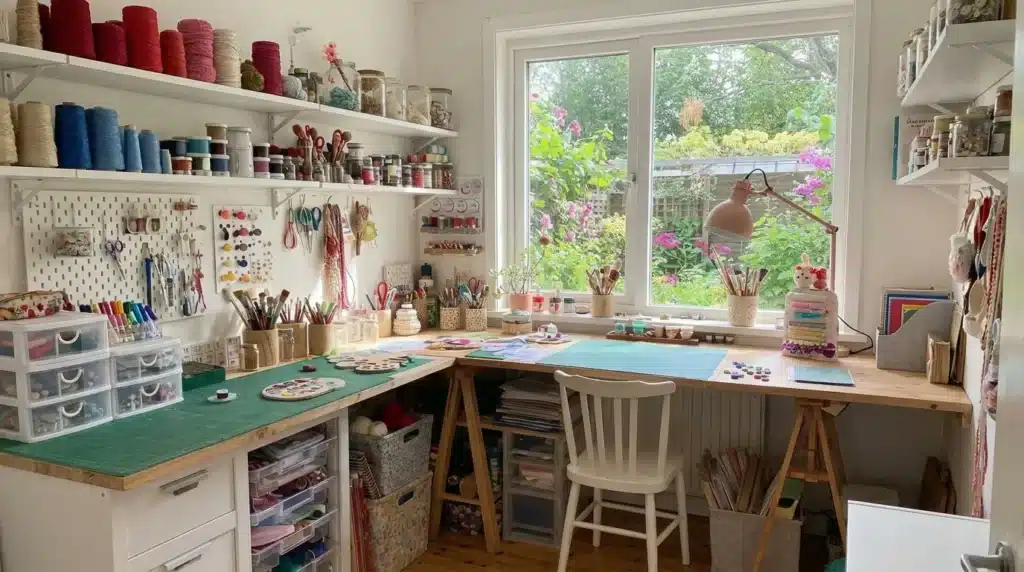
Most craft rooms don’t start as rooms. They start as a corner of the kitchen table, a drawer that won’t close, and a hot glue gun lying on the couch cushion. Sound familiar?
The good news is that a great craft space doesn’t need a big budget or a spare bedroom. It needs a plan.
This post covers craft room ideas that real crafters use, from closet setups to full garage builds, so you can stop hunting for your scissors and start making things.
How Do You Set Up a Craft Room?
Start by listing every type of craft you do, then measure the space you have.
From there, pick a layout that fits your room size, assign a spot for each supply category, and make sure your work surface gets good light. That’s really it. The best craft rooms aren’t the biggest ones.
They’re the ones where everything has a place.
Before You Start: What to Think About First
A little planning upfront saves a lot of frustration later. Before you buy a single shelf or storage bin, work through these questions first.
| Factor | What to Consider |
|---|---|
| Space Size | Measure the area and note any limitations |
| Craft Type | Sewing, painting, and paper crafts all need different setups |
| Storage Needs | Small tools vs bulky materials |
| Lighting | Natural light plus task lighting |
| Budget | Decide how much to invest upfront |
| Workflow | Easy movement between tools and workspace |
17 Craft Room Ideas
Once the basics are clear, it becomes easier to shape a craft room that feels both useful and inviting. These ideas focus on real solutions that improve everyday use.
1. Wall-Mounted Storage
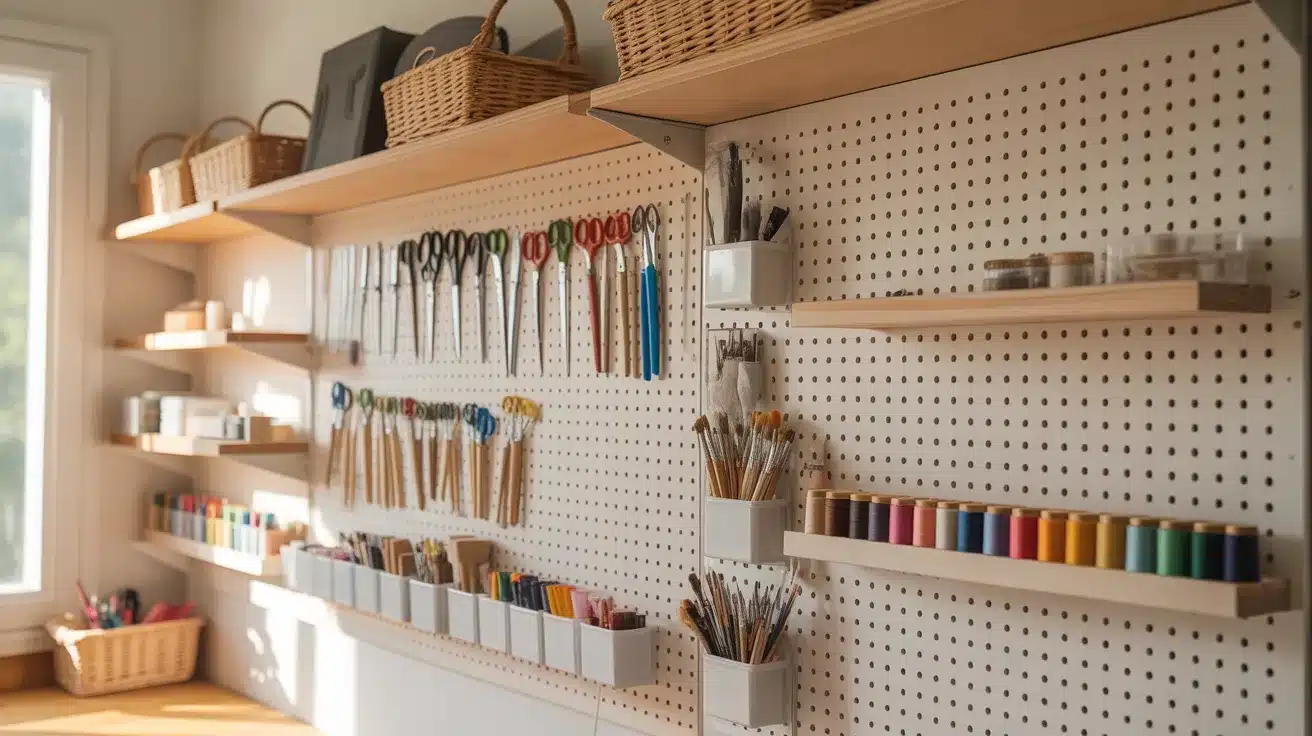
Alt Text: Wall-mounted pegboard organizing scissors, threads, brushes, and craft tools
Most craft rooms lose floor space fast. Moving storage to the walls keeps your floor clear and puts supplies right where you need them.
- Pegboard panels: Mount above your desk for hooks, baskets, and tool strips
- Floating shelves: Stack in rows for jars, paint bottles, and small bins
- Wall rails with clips: Hold ribbon spools, tape rolls, and cutting tools
- Best wall height: Keep daily-use items between shoulder and eye level
2. Clear Storage Bins
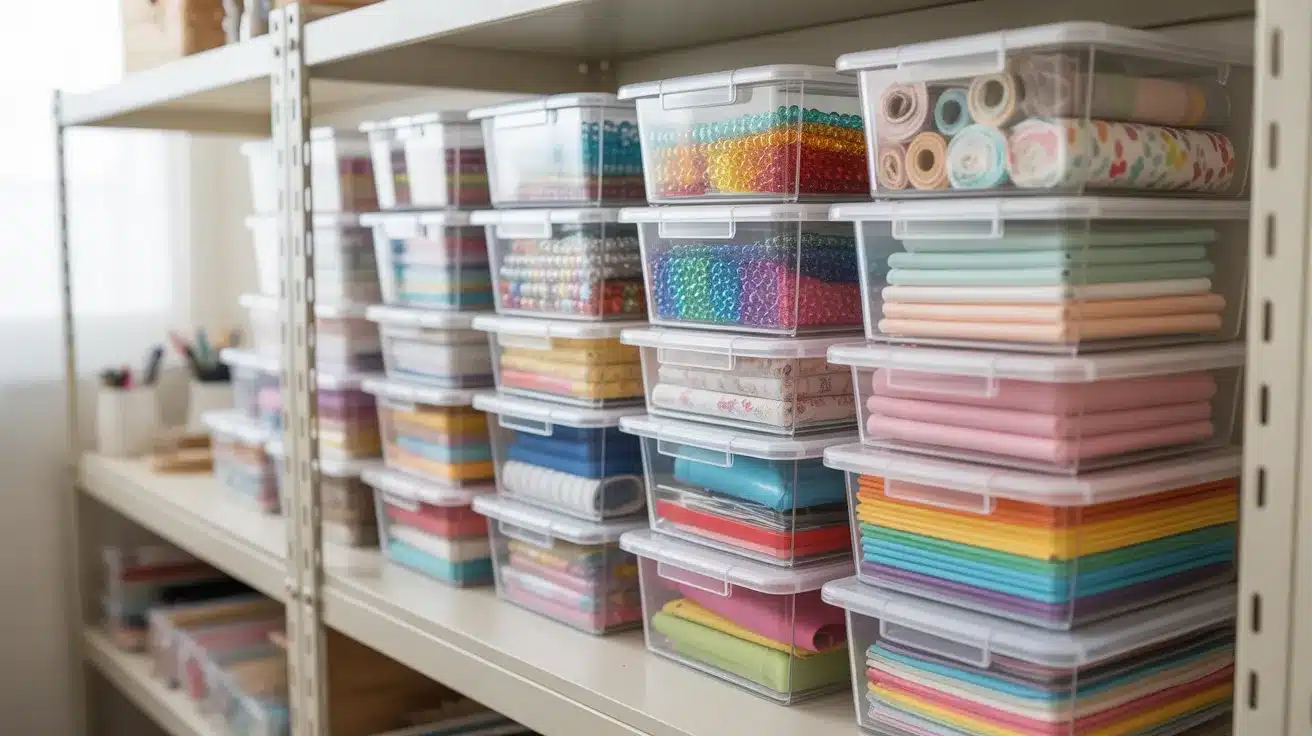
Alt Text: Clear storage bins neatly organizing colorful craft supplies on shelves
When you can see what’s inside without opening anything, you save real time. Clear bins work especially well for small supplies that tend to disappear.
- Stackable clear boxes: Ideal for beads, buttons, sequins, and clips
- Clear drawer units: Sort by supply type, one category per drawer
- Labels on the front: Add a written label even on clear bins for faster scanning
- Size tip: Use shallow bins for flat items like stickers, stamps, and washi tape
3. Multi-Purpose Table
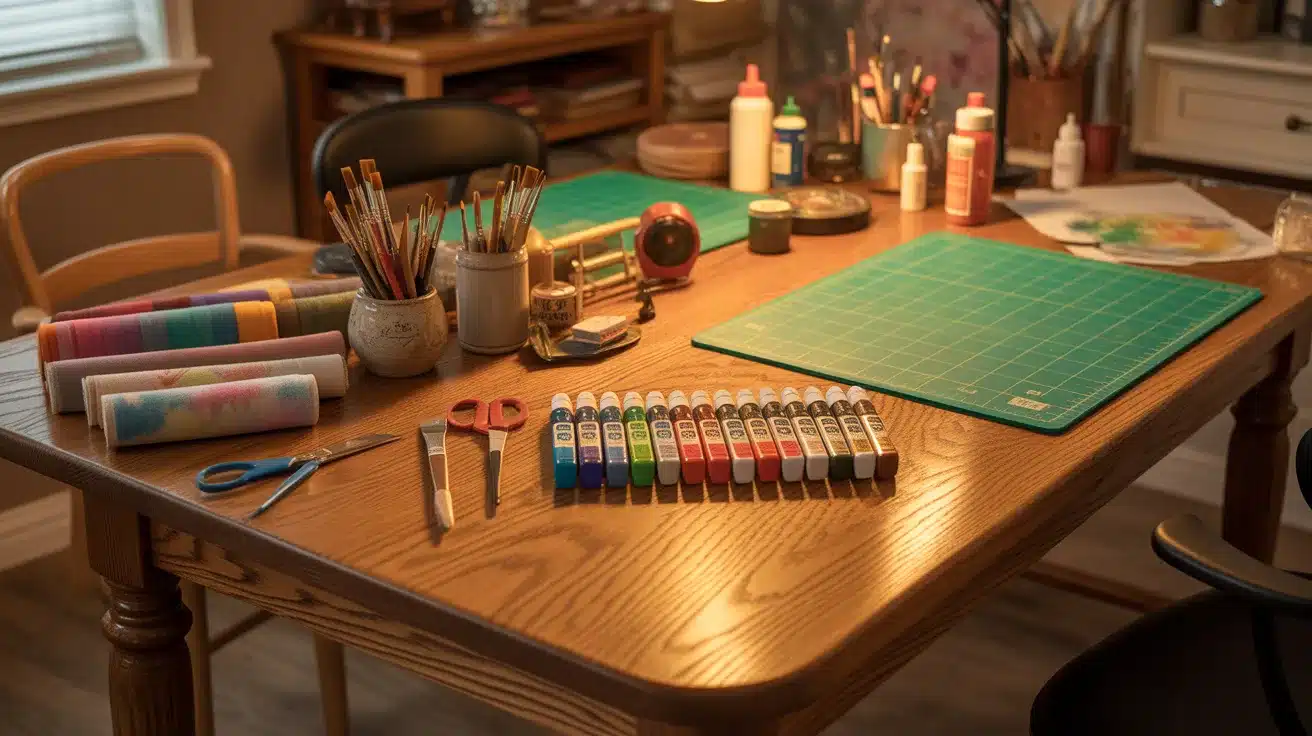
Alt Text: Craft table with neatly arranged tools, paints, and cutting mats ready for projects
A single large table that handles cutting, painting, and assembling is the backbone of most craft rooms. Choosing the right one means you rarely have to rearrange mid-project.
- Surface size: Aim for at least 48 inches wide to give yourself real working room
- Easy-clean top: A glass or laminate surface wipes down fast after messy projects
- Built-in storage: Tables with drawers underneath double your usable storage without taking up extra space
- Height check: Standard desk height (28 to 30 inches) works for seated crafting; 36 inches suits standing work like cutting fabric
4. Rolling Carts
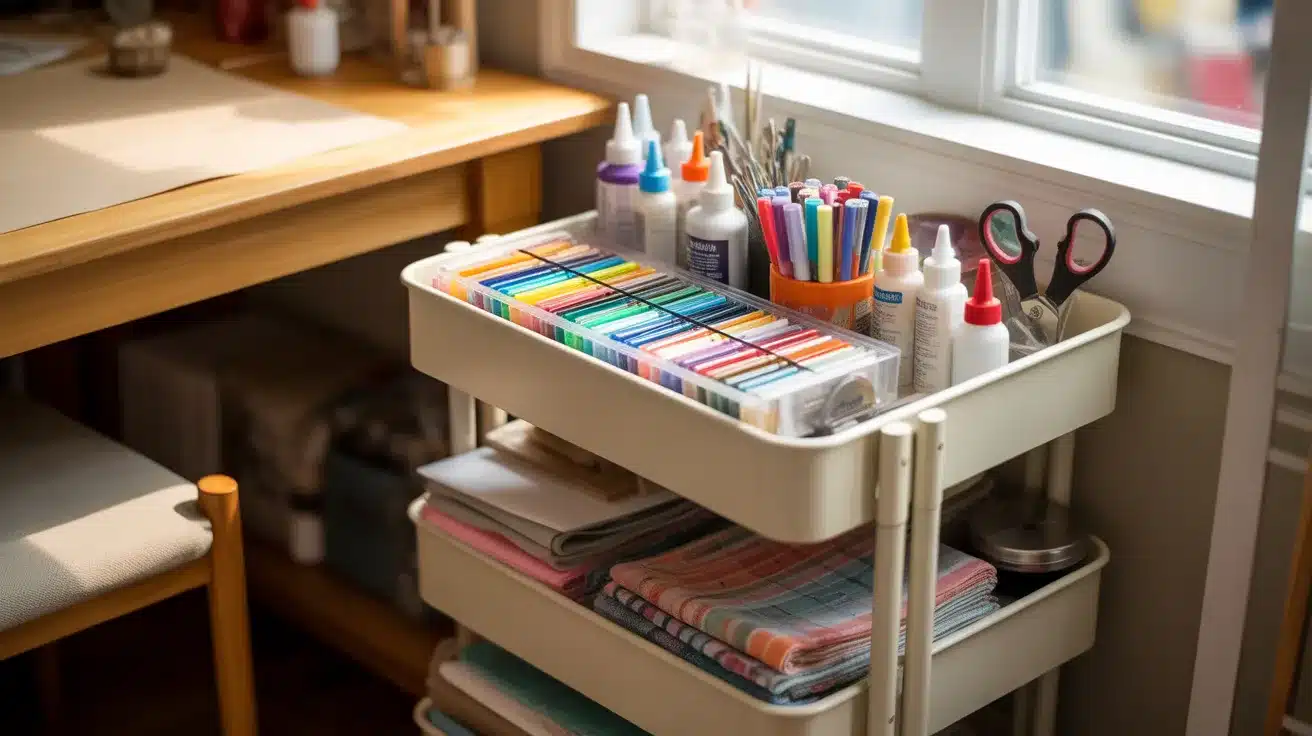
Alt Text: Rolling cart with organized craft supplies, markers, glue, and fabrics near a workspace
Rolling carts solve the problem of a lack of a dedicated room. Load one up with your current project supplies and roll it wherever you work.
- IKEA RASKOG: One of the most popular picks; three tiers, easy to push, fits in tight spots
- Supply sorting: Top tier for active tools, middle for materials, bottom for overflow
- Zip-top bags: Keep loose small supplies from sliding around between tiers
- Labeling: Clip a small tag to each shelf so items get returned to the right spot
5. Label Everything
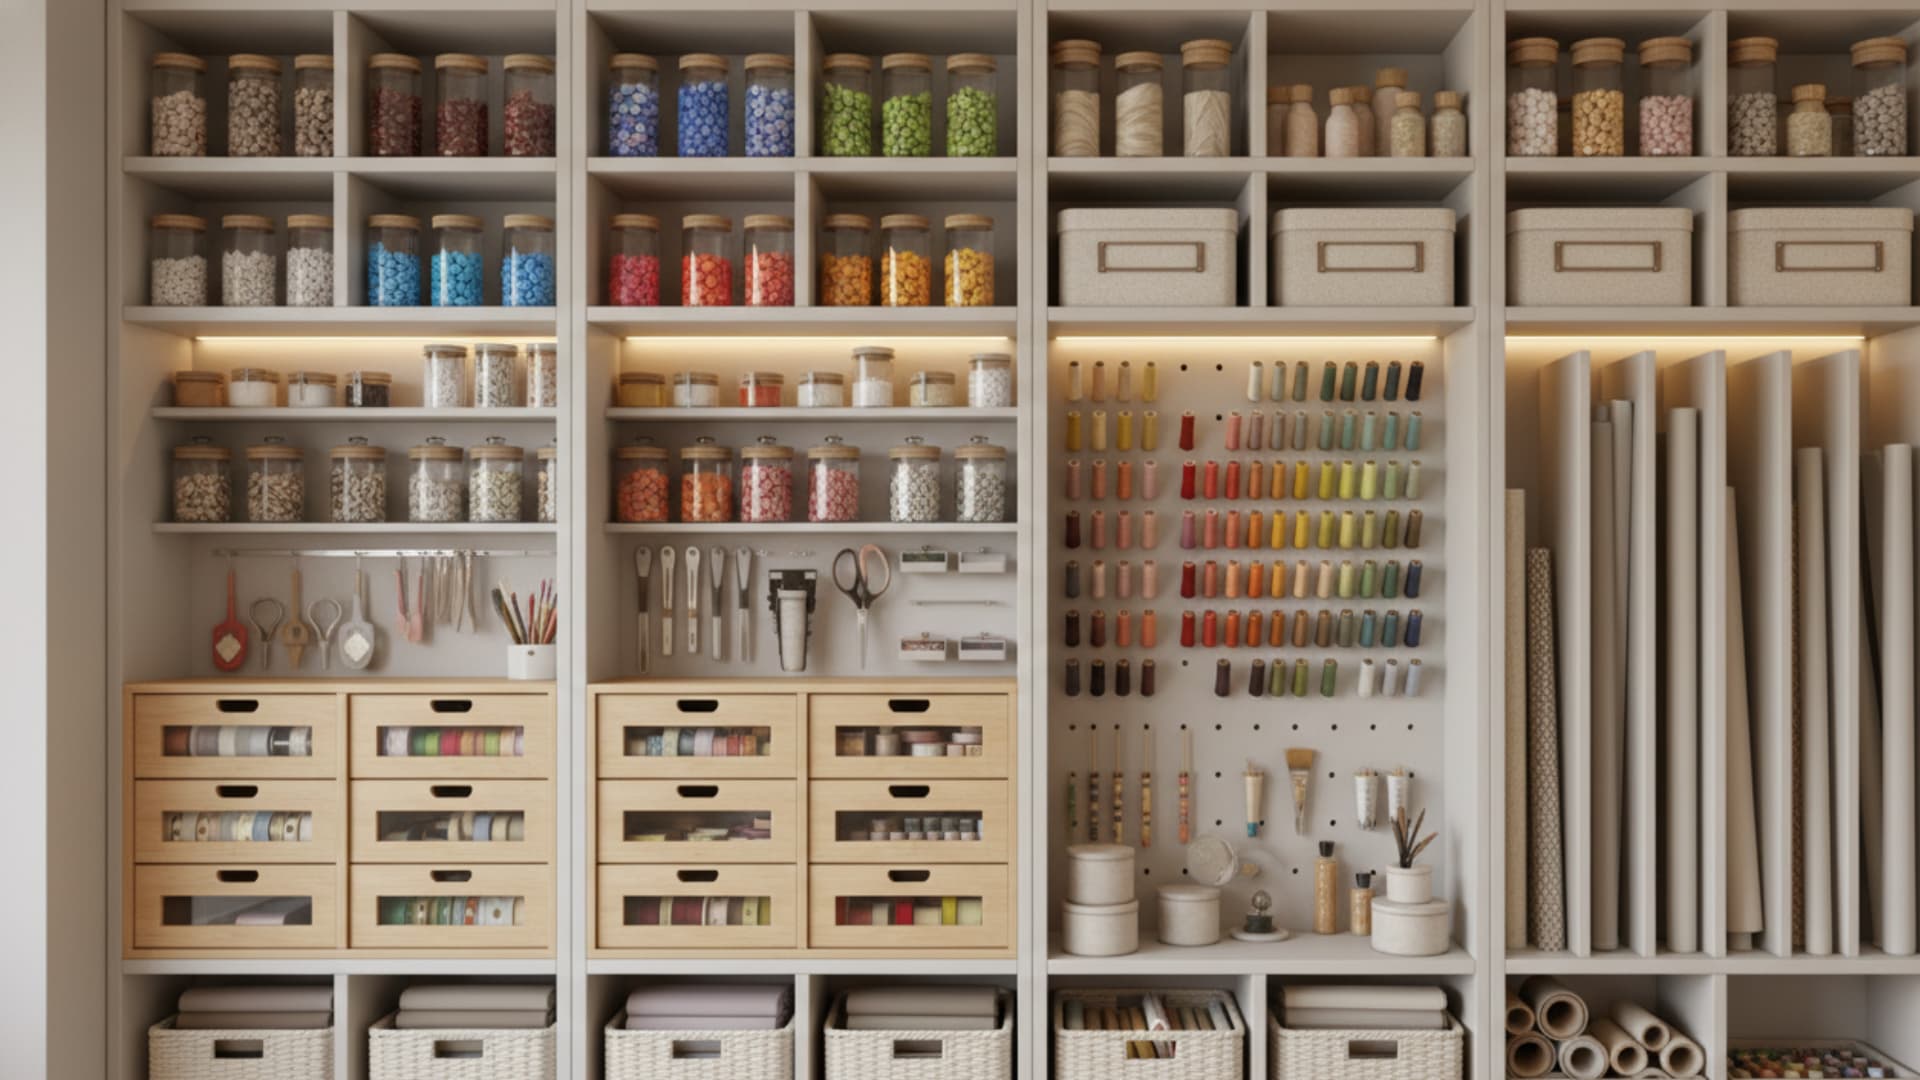
Alt Text: Organized craft storage wall with labeled jars, drawers, and neatly arranged supplies
A craft room without labels quickly turns into a search-and-rescue mission. Good labels are one of the cheapest and most effective things you can do for your space.
- Cricut or hand-written labels: Both work; consistency matters more than style
- Label placement: Front and center on bins, not the top, so you can read them without lifting anything
- Picture labels: Add a small drawn icon for kids’ supply zones or visual learners
- Laminate paper labels: Protects them from glue, paint splatter, and moisture
6. Natural Light Setup
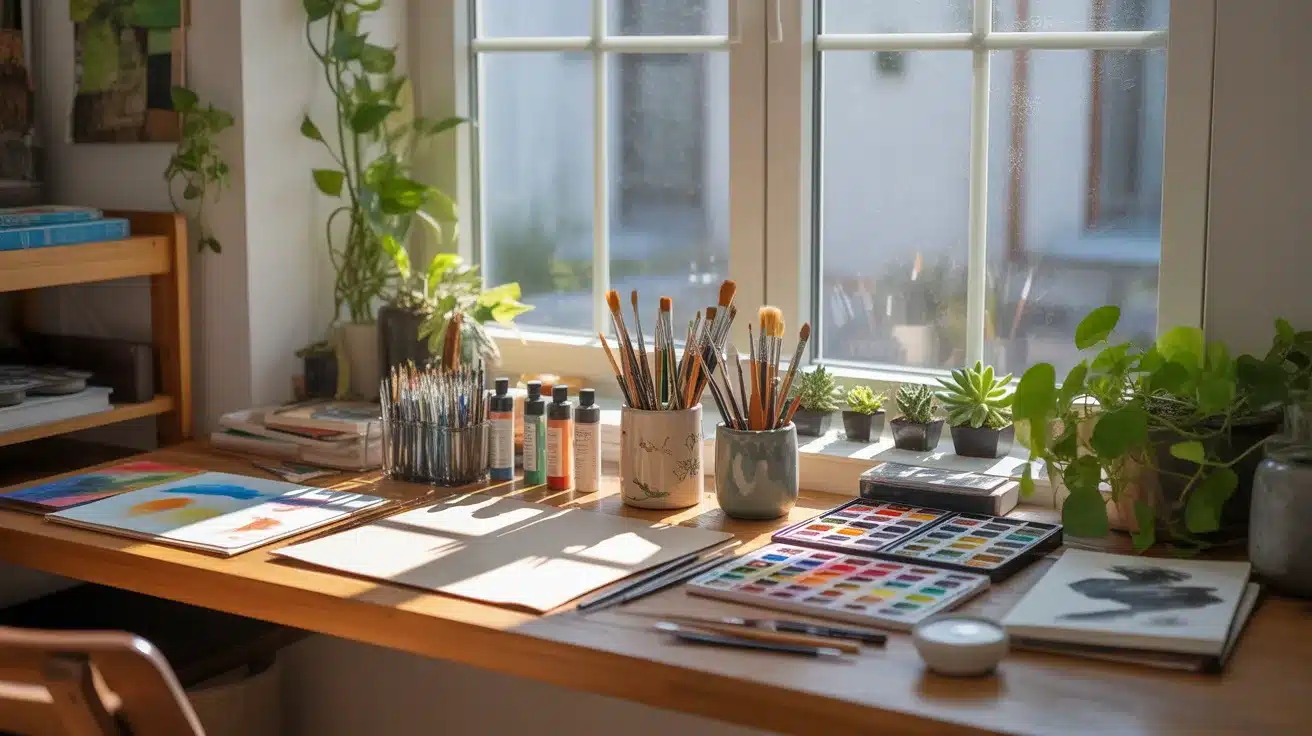
Alt Text: Art workspace by a window with natural light, paints, brushes, and plants
Good light changes how you see your work. Colors look different under a dim overhead bulb versus natural daylight, which matters a lot for fabric, paint, and paper crafts.
- Desk placement: Position your main work surface as close to a window as the room allows
- North-facing windows: Give the most consistent light throughout the day with no direct glare
- Sheer curtains: Diffuse harsh afternoon sun without blocking natural light entirely
- Backup task lamp: Keep an adjustable lamp on the desk for cloudy days and evening sessions
7. Drawer Organizers
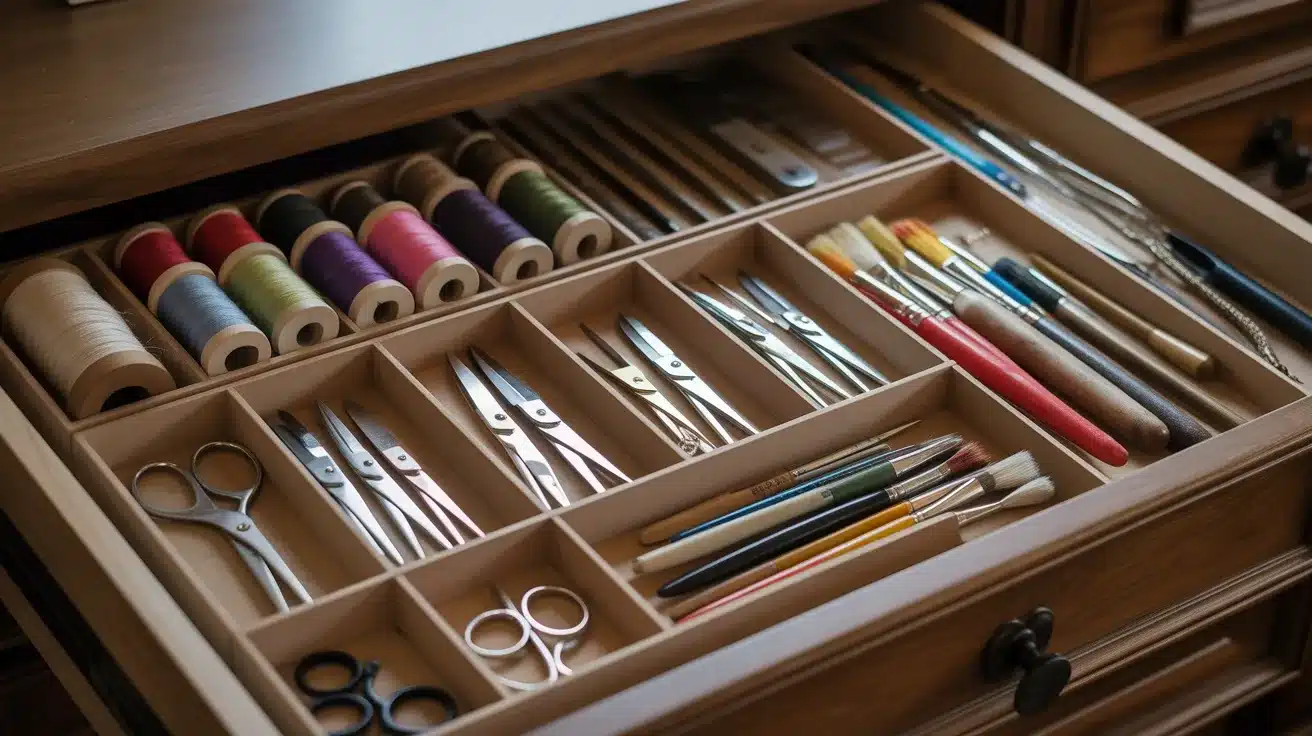
Alt Text: Drawer organizer neatly storing threads, scissors, brushes, and small craft tools
Drawers without dividers quickly turn into a mess. A simple insert transforms a chaotic drawer into a sorted, usable space.
- Adjustable dividers: Let you resize compartments as your tool collection changes
- One category per section: Scissors in one spot, brushes in another, pens in a third
- Shallow vs. deep drawers: Shallow ones work for flat tools; deeper ones suit larger items like glue guns and rulers
- Dollar Tree picks: Their plastic drawer inserts fit most standard desk and dresser drawers
8. Hanging Rods or Hooks
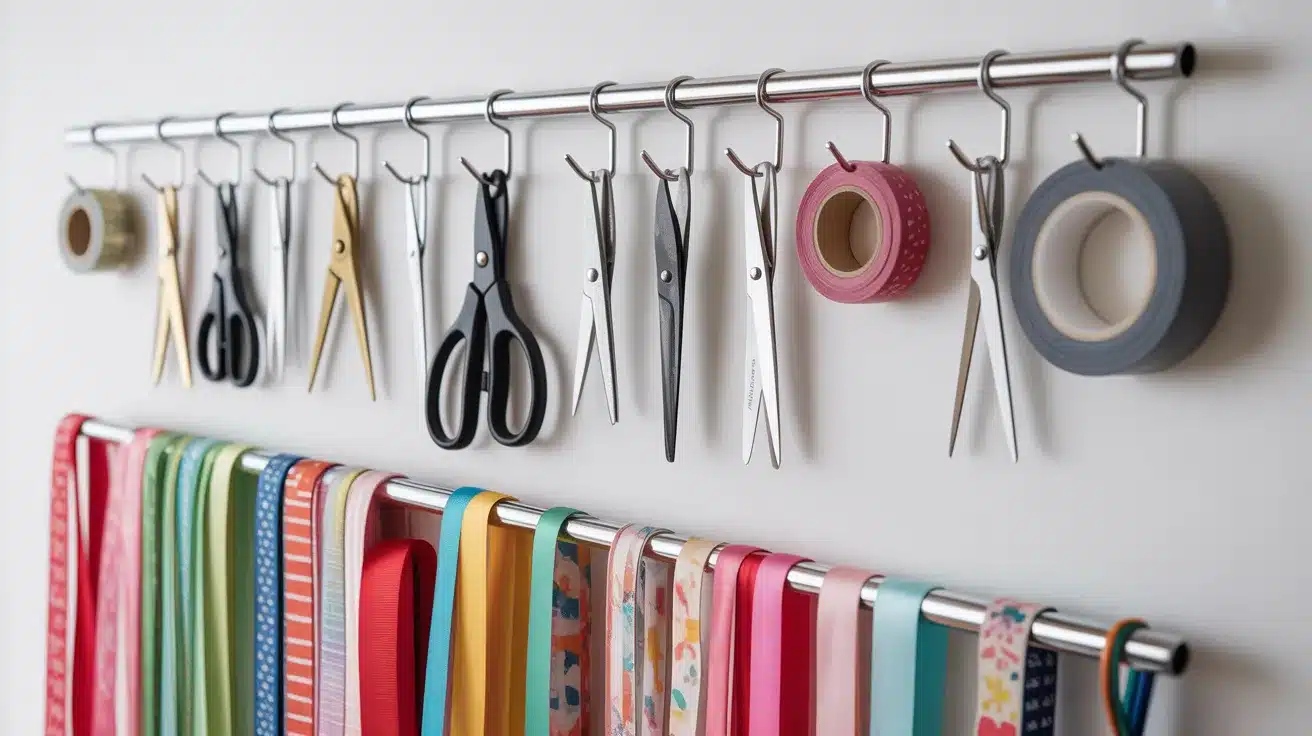
Alt Text: Hanging rods with scissors, tape, and colorful ribbons neatly organized
Rods and hooks free up drawer and shelf space by moving longer or bulkier supplies to the wall or the back of a door.
- Ribbon rods: Mount a curtain rod on the wall and thread ribbon spools directly onto it
- Over-door hooks: Great for bags of supplies, aprons, or tool pouches
- Magnetic strips: Hold metal scissors, needle cases, and small metal tools flat against the wall
- S-hooks on pegboards: Hang tapes, cording, and tools that don’t sit flat on a shelf
9. Dedicated Cutting Zone
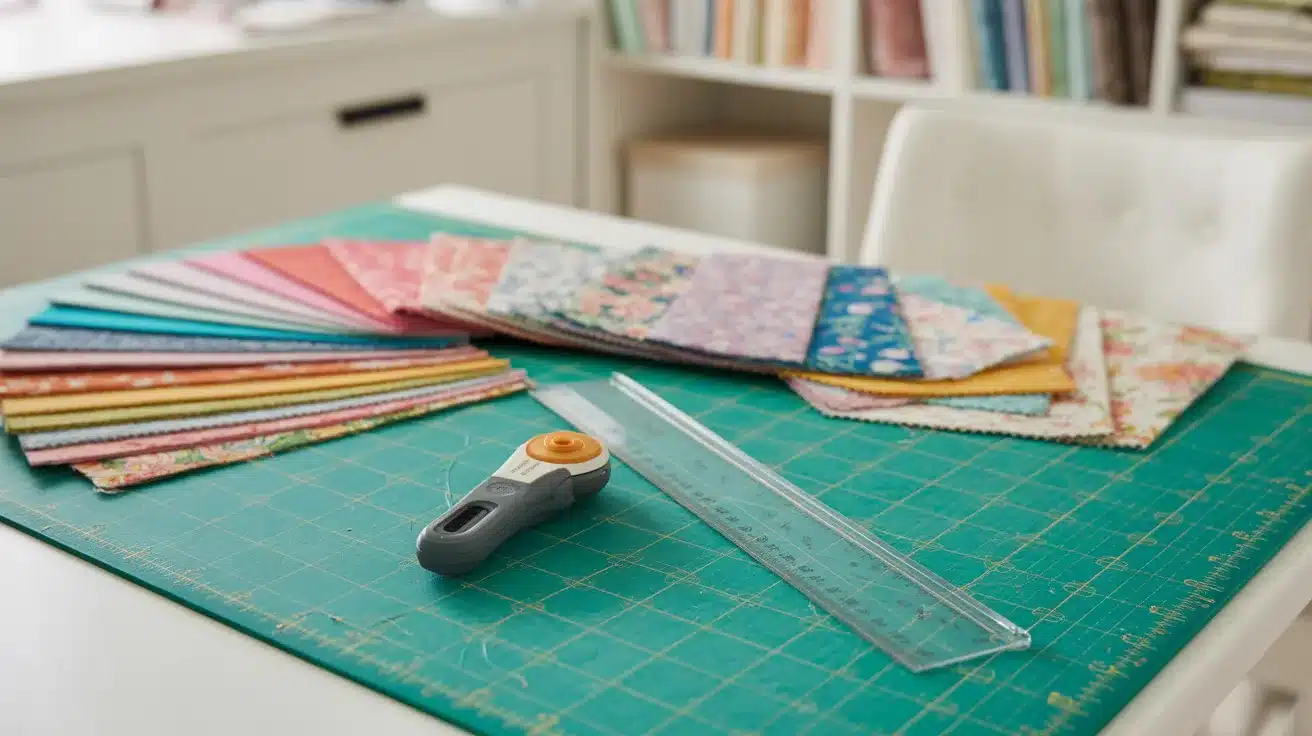
Alt Text: Fabric squares, rotary cutter, and ruler on a cutting mat
Mixing your cutting area with your painting or gluing area leads to messy cuts and ruined materials. Keeping one clean, flat surface just for cutting makes precision work much easier.
- Self-healing cutting mat: Protects the table and keeps fabric or paper from shifting while you cut
- Clear the zone rule: Nothing sits on the cutting surface except the current project
- Good overhead light: Bright, direct light above the cutting area reduces measurement errors
- Size: Even a 24-by-36-inch section of your table is enough to work as a proper cutting zone
10. Color-Coded Storage
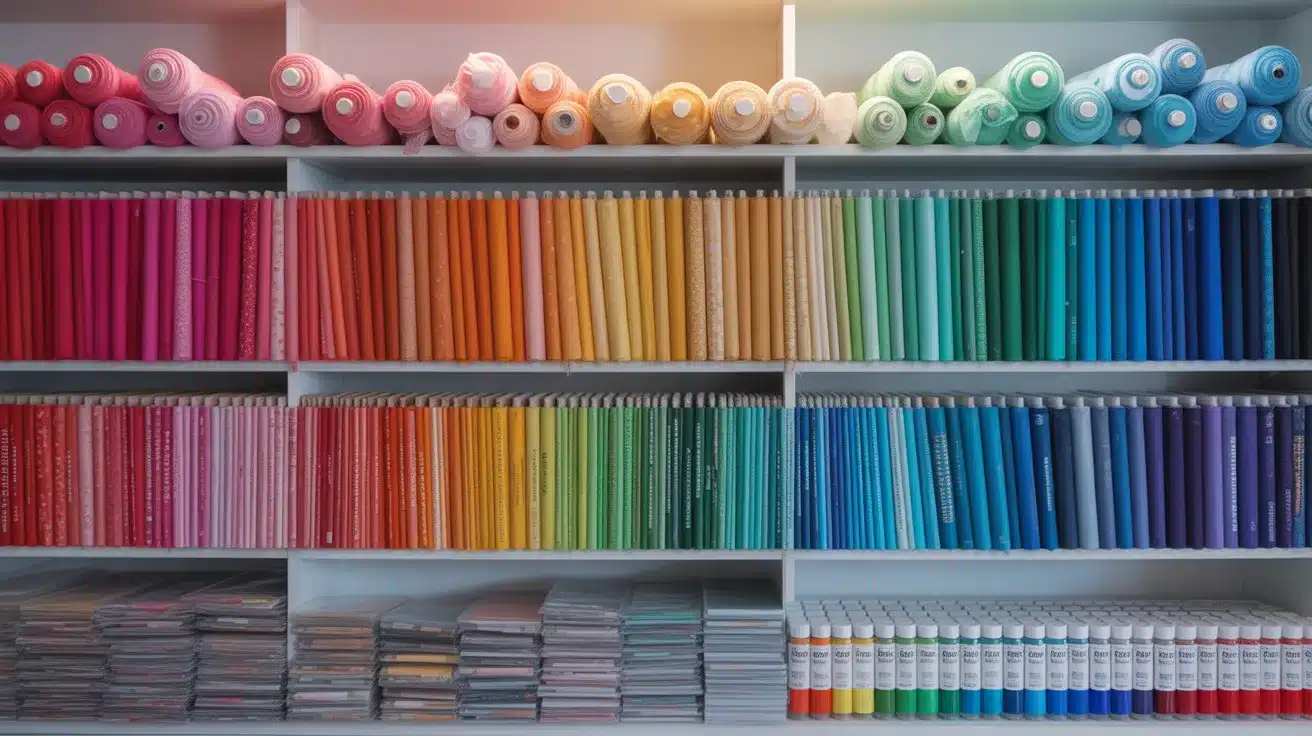
Alt Text: Color-coded fabric rolls and craft supplies arranged on shelves
Grouping supplies by color turns your shelves into a system you can read at a glance. It also keeps the room looking put-together without much extra effort.
- Start with one supply type: Sort yarn or paint by color first, then expand the system
- Color-matched bin lids: Use colored bins or lid stickers to match the supply color inside
- Rainbow order on shelves: Red to violet from left to right gives every item a fixed address
- Clear bins work best here: You see the color of the contents and the label at the same time
11. Foldable Furniture
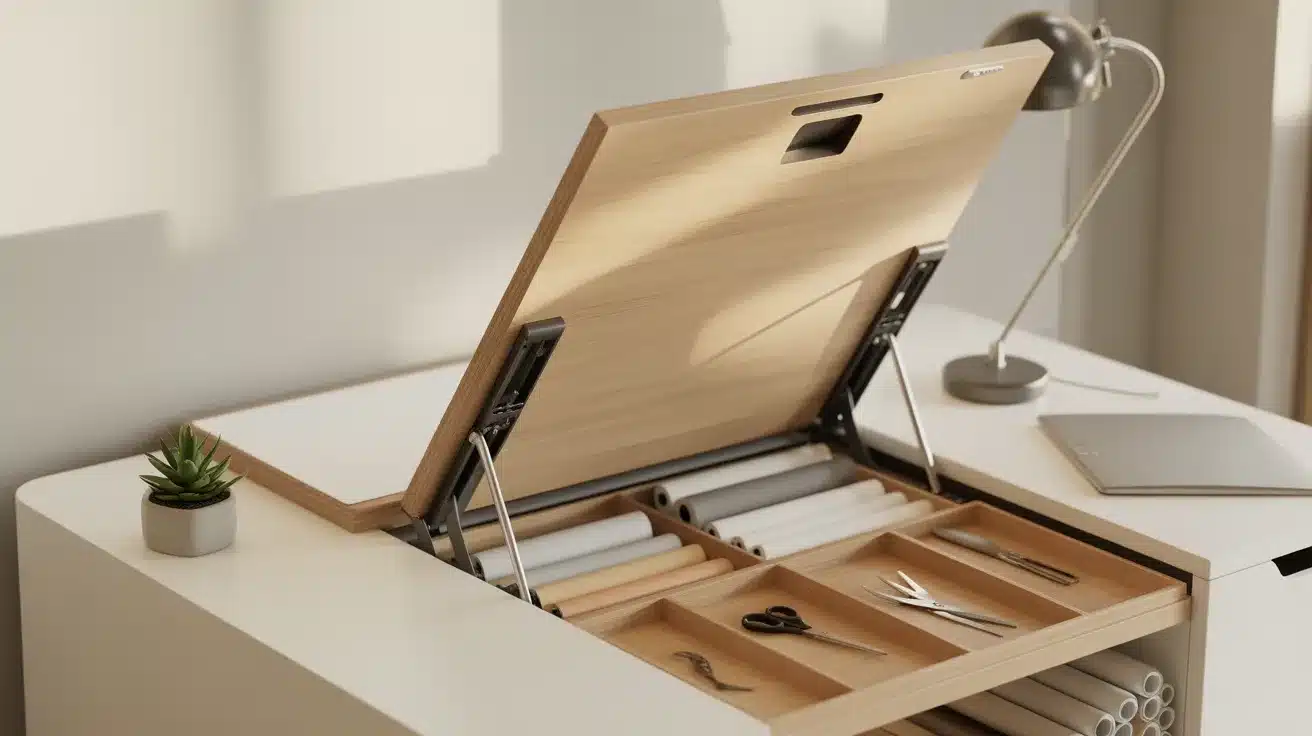
Alt Text: Foldable desk with hidden storage compartments for craft tools and paper rolls
In a small craft room, furniture that folds flat gives you full working space when you need it and the room back when you don’t.
- Wall-mounted fold-down table: IKEA NORBERG runs $40 to $60, and folds flush against the wall
- Folding chairs: Store flat in a closet and pull out when a second person joins
- Fold-out ironing board: Doubles as a pressing surface for fabric crafts without taking up permanent floor space
- Best rooms for this: Guest rooms, shared living spaces, or any room under 120 square feet
12. Inspiration Board
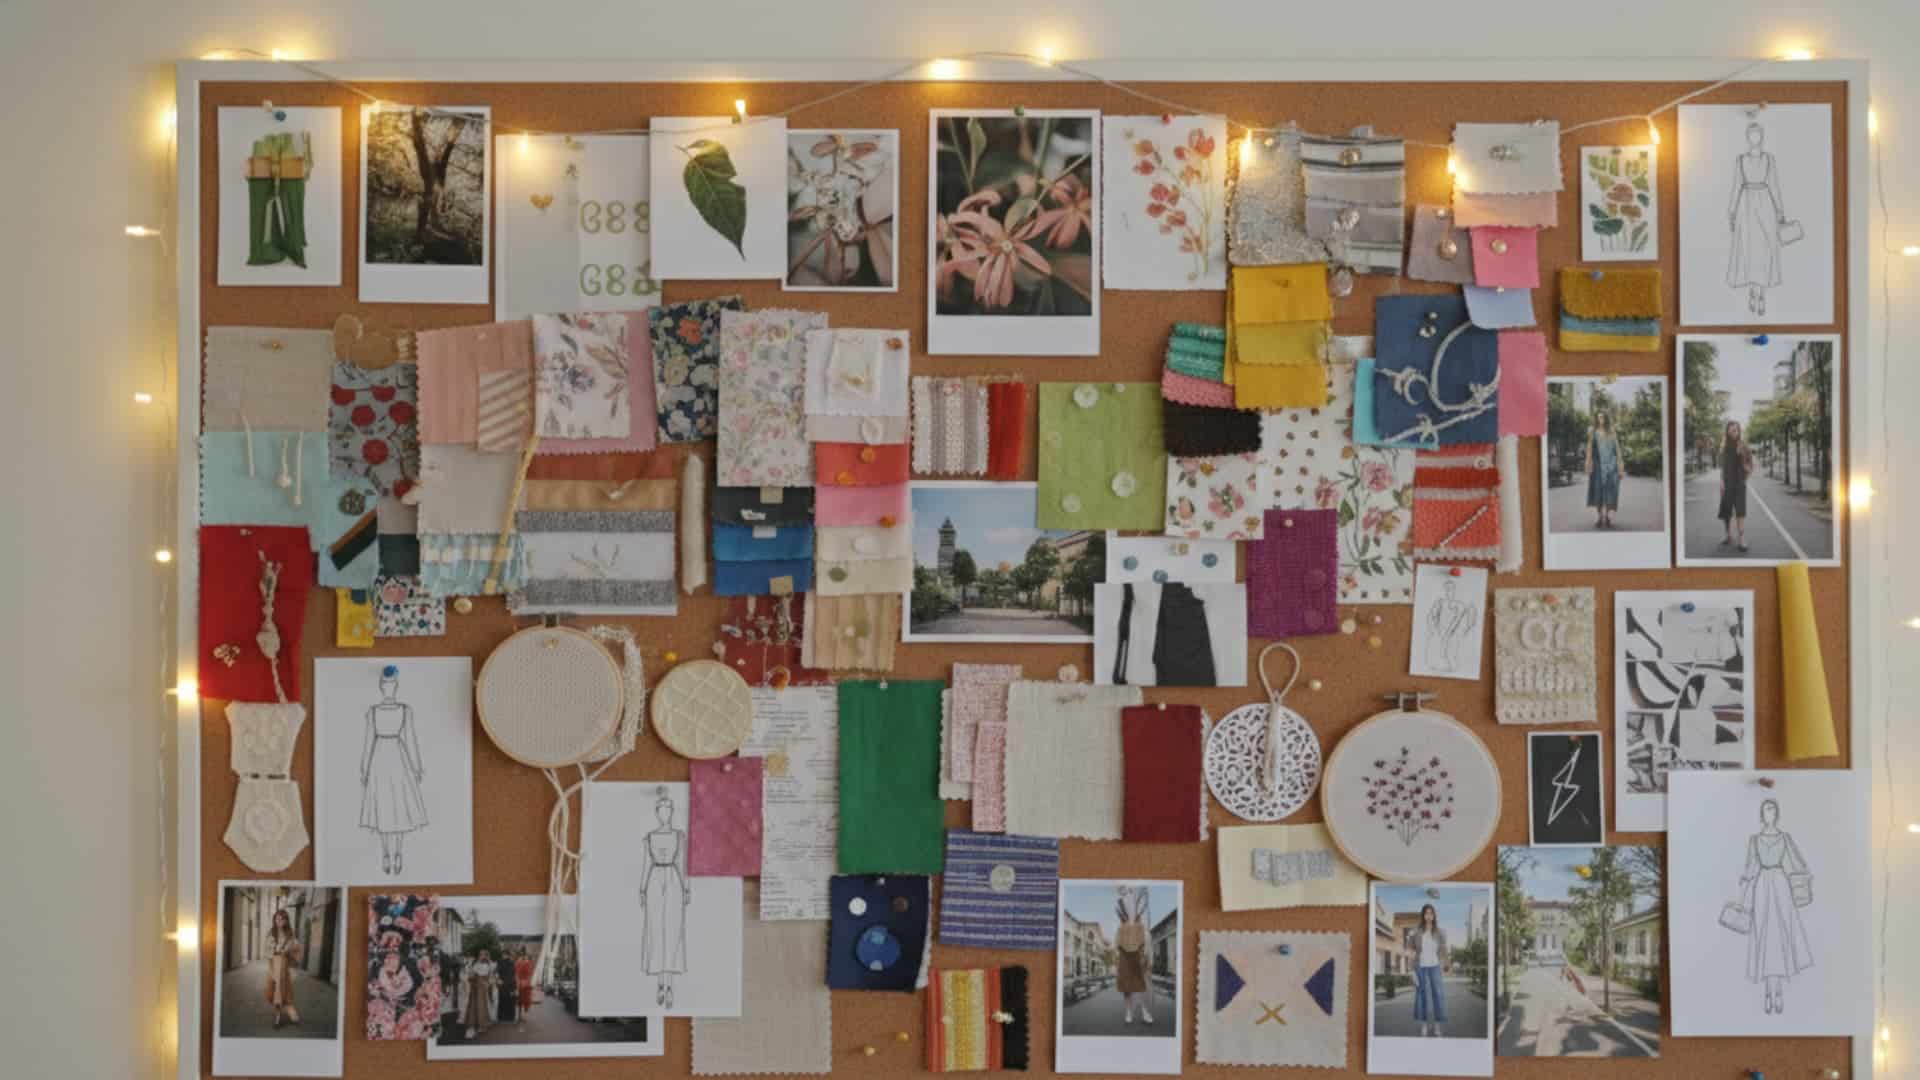
Alt Text: Inspiration board with fabric swatches and photos
A dedicated board for ideas, samples, and reference material keeps your creative thinking visible while you work. It’s a practical tool, not just decoration.
- Corkboard: Pin fabric swatches, color palettes, sketches, and printed references
- Magnetic whiteboard: Lets you move things around and write notes directly on the surface
- Size: Even a 16-by-20-inch board above your desk gives you enough room for an active project
- Placement: Position it at eye level, directly in your line of sight while seated at the desk
13. Stackable Storage Units
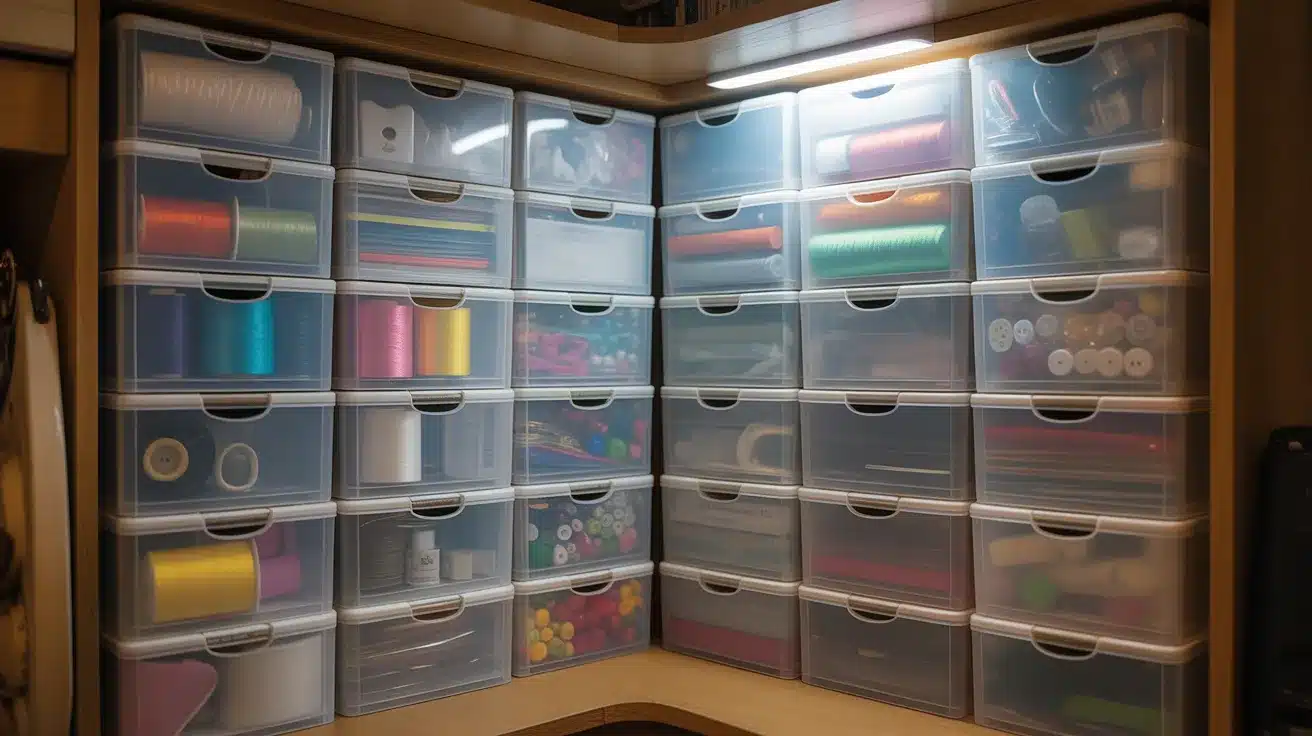
Alt Text: Stacked plastic drawers filled with organized craft supplies
Stackable units let you build up as your supply collection grows without rearranging the whole room. You add a unit on top instead of buying an entirely new piece of furniture.
- Cube shelves: Stack two or three high and mix open cubes with drawer inserts
- Plastic stacking bins: Good for heavier supplies like fabric rolls, yarn skeins, and paper reams
- Modular systems: IKEA KALLAX and similar builds let you extend the setup in any direction
- Weight tip: Put heavier bins at the bottom and lighter ones at the top to keep the stack stable
14. Under-Table Storage
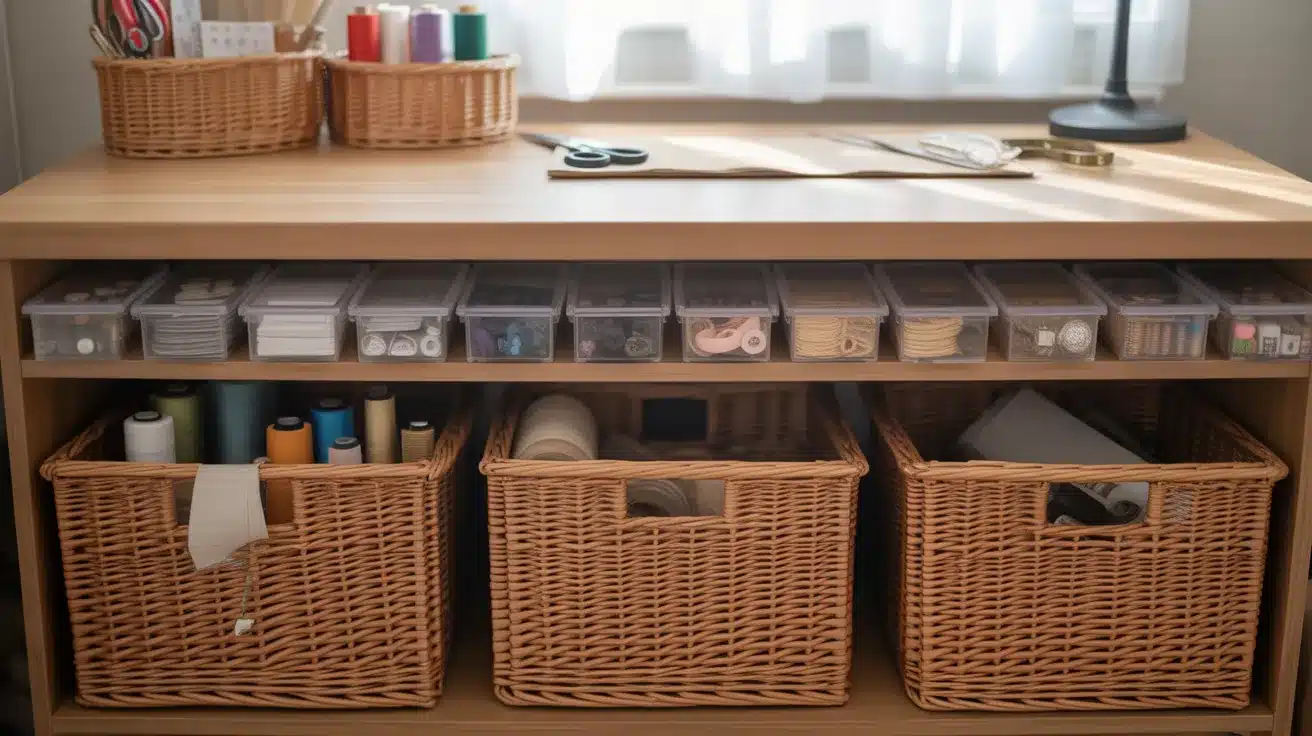
Alt Text: Craft table with baskets and labeled bins for organized storage
The space below your work table is one of the most overlooked storage spots in a craft room. A few baskets or bins turn dead space into a practical second layer of storage.
- Rolling bins: Slide in and out easily; good for large fabric cuts, yarn, or project totes
- Open baskets: Use for supplies you grab often, so they stay accessible without opening anything
- Cube bins with lids: Stack two high under a standard-height table for more storage in the same footprint
- Size check: Measure the clearance under your table before buying bins. Standard desk clearance runs 24 to 28 inches.
15. Tool Station
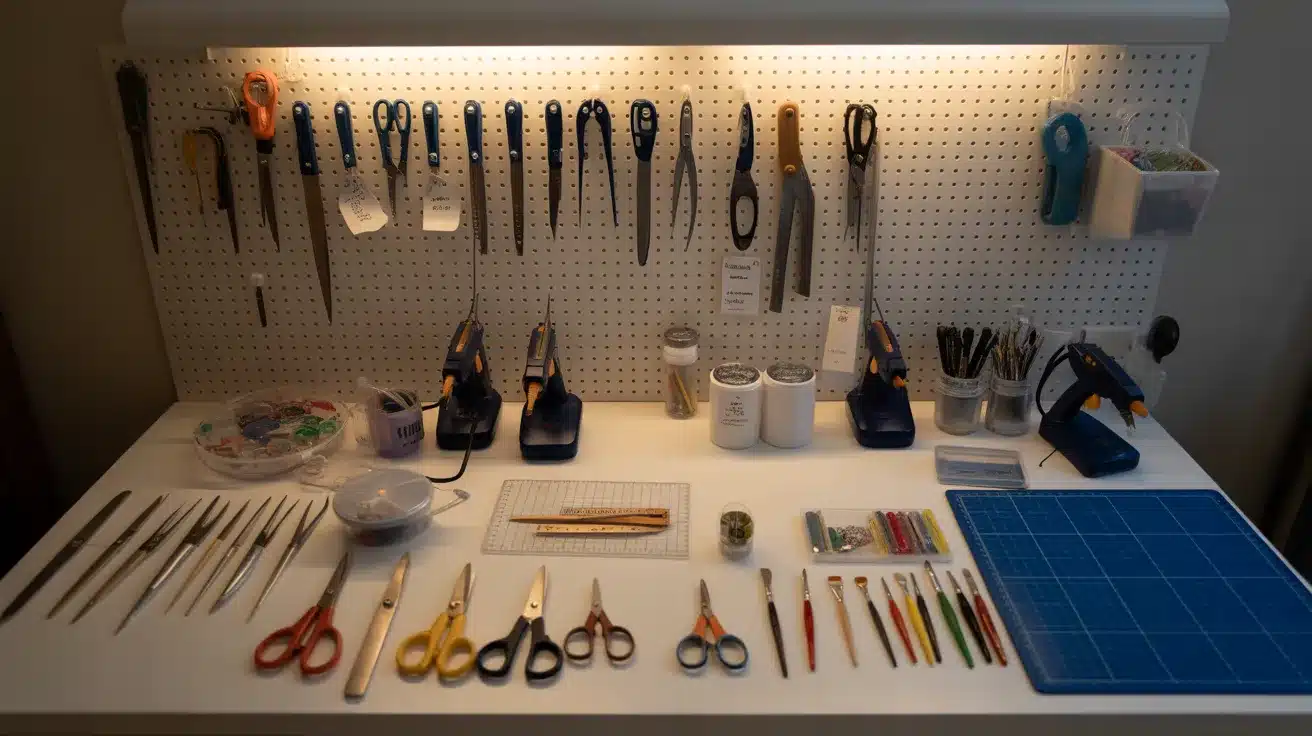
Alt Text: Organized craft tools on a pegboard with scissors, glue guns, and a cutting mat
Keeping all your frequently used tools in one fixed spot means you stop walking around the room looking for your scissors. A dedicated tool zone speeds up the entire workflow.
- Pegboard section: Dedicate a portion of your pegboard to tools only: scissors, rulers, bone folders, cutters
- Desktop caddy: A divided caddy on the corner of your desk holds upright tools within arm’s reach
- One tool, one hook: Don’t stack tools on the same hook. Give each one its own spot so you notice when something’s missing.
- Tool audit: Check the station every month or so. Remove tools you haven’t used and free up space for ones you actually reach for.
16. Cable Management
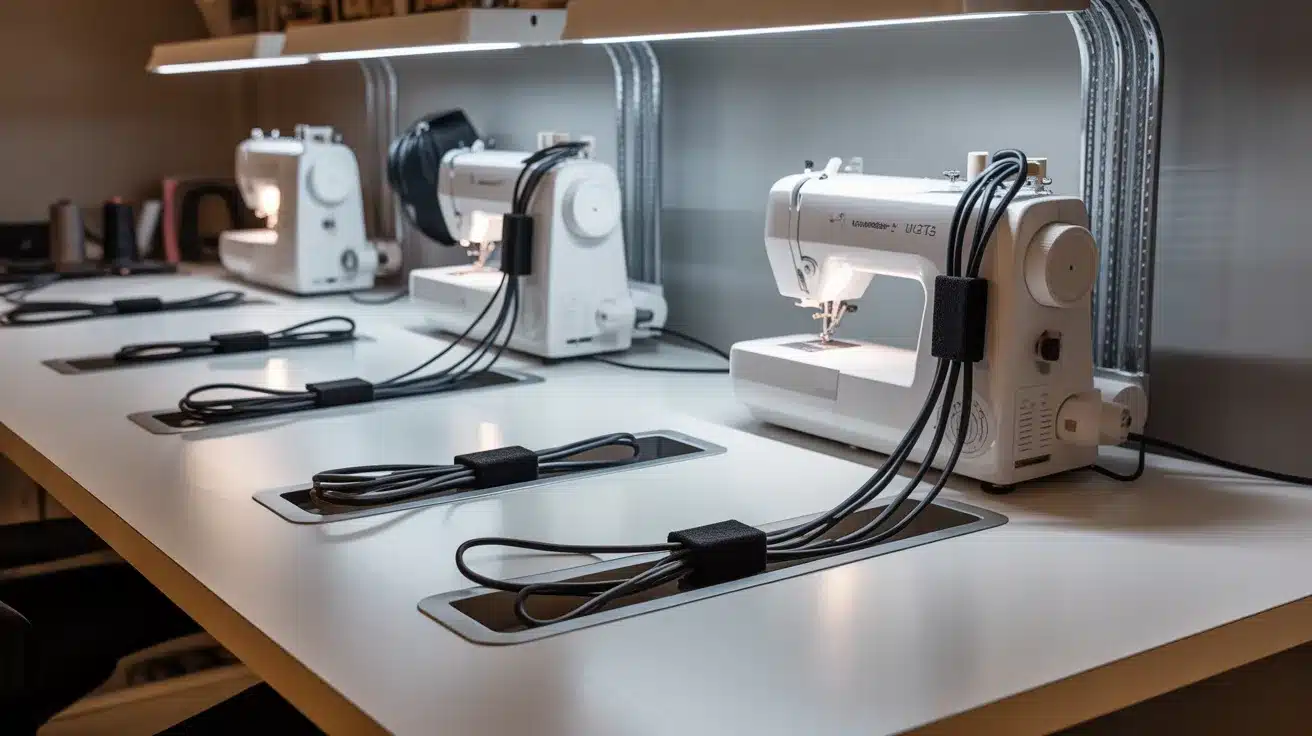
Alt Text: Sewing machines with neatly organized cables on the work table
Craft rooms often have several machines running at once: a Cricut, a heat press, a sewing machine, and a lamp. Loose cords on a work surface slow you down and create a safety issue.
- Cable clips: Mount along the back edge of the desk to route cords off the surface
- Velcro ties: Bundle cords from the same machine together so nothing tangles
- Power strip with a long cord: Mount the power strip under the desk or on the wall to get it off the floor
- Label each cord: A small piece of tape with the machine name on each cord saves time when unplugging
17. Comfortable Seating
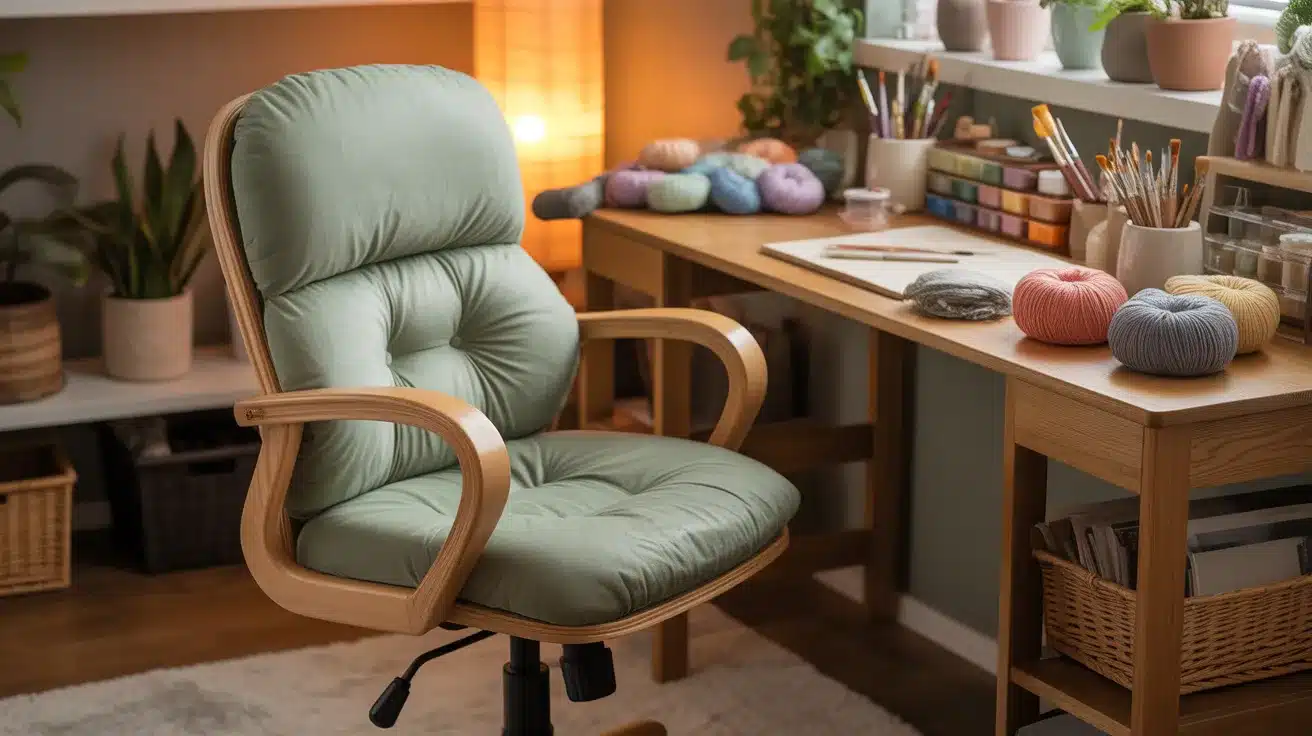
Alt Text: Cushioned chair beside organized craft workspace
Long crafting sessions put real strain on your back and neck. The chair you sit in matters as much as any storage solution in the room.
- Adjustable height: Your feet should sit flat on the floor with your knees at a 90-degree angle
- Lumbar support: A chair with lower back support reduces fatigue during multi-hour projects
- Seat cushion: If you already have a chair you like, but it’s hard, a memory foam cushion makes a real difference
- Avoid bar stools at desks: They look good in photos, but are uncomfortable for more than 20 minutes of seated work
How to Pick the Right Craft Room Layout for Your Space?
Match your layout to your square footage and your craft type. Rooms under 100 square feet do well with a closet nook, a fold-down wall table, or a rolling cart setup.
Rooms between 100 and 200 square feet work well with an L-shaped or pegboard layout. Anything over 200 square feet gives you room for a center island or a full gallery-style studio.
If you share the space with a family room or bedroom, color-coded zones and closed storage bins keep the craft area from spreading.
Summing It Up
A well-set-up craft room changes how you work. You stop wasting time searching for supplies and spend that time actually making things.
Whether you’re working with a closet or a full basement, these craft room ideas give you a real starting point based on what actually works.
Pick the one idea that fits your space and budget right now. Start there. You can always add more later. Which of these craft room ideas are you planning to try first? Drop it in the comments below.